
Gif is a sequence of images that are looped endlessly . You can visualize them as a 5-15 second video ( without audio ) that keeps playing without the user having to click the play button.
Here is an example of a Gif that I created to show what happens when we change the CF7 Tag using select dropdown that was recently added in ‘CF7skins Visual‘ addon.
- If I would have opted to use either .jpeg or .png images then it would be impossible for me to show this happening in realtime also I would have to write a step by step tutorial and add an image for each step to convey whats happening. It still wouldn’t match the experience one gets by seeing things happening live.
- The Other option that could have been used is creating a Video. This option was ruled out because I had to upload the video to some hosting website like youtube, vimeo and then embedded it into bitbucket comment ( this is where this gif is posted by me ). Also the videos are usually have bigger size and requires the users to click on play button to see the content.
When Should I use Gifs?
This is completely your wisdom. I prefer Gifs when I want to show something happening in live, it is self conveying ( doesn’t require audio ) and it isn’t too long ( 5-15 seconds max ).
Should I Always use Gifs?
As with everything .. use of too many Gifs in a post/comment can be distracting because they keep animating and it becomes difficult to read text content when there is something that is contentiously asking for your attention by animating.
How to Create a Gif Image?
There are addons for Google chrome, apps for windows and Mac that are specifically targeted for creating Gif Images. I can’t personally recommend or mention them here because I haven’t used them but I know they are there.
I use Camtasia Studio 8 which is more known for creating and editing videos rather then Gifs but it has functionality to make one. In this tutorial I will guide you through the whole process just in case you decide to use Camtasia.
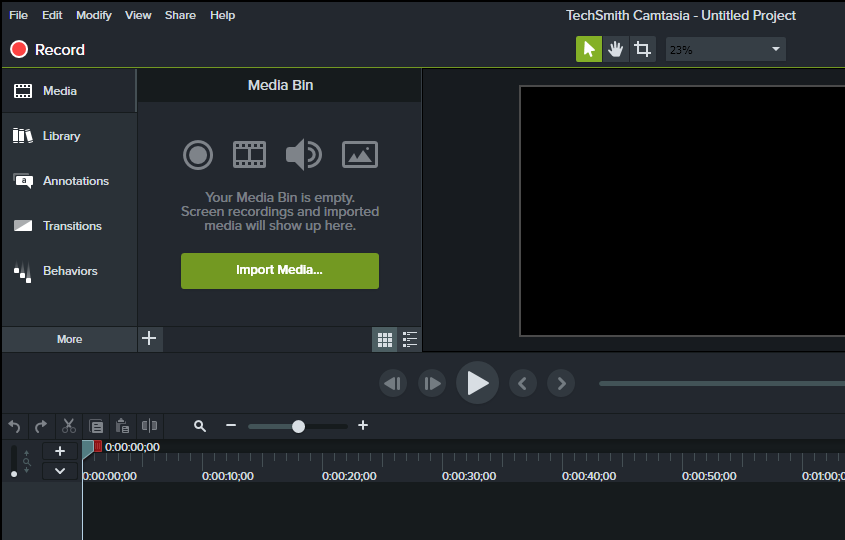
- Open Camtasia Recorder by clicking on ‘Record‘ button in camtasia studio. Here you can select the dimensions for the screen to record.
- Now click on the ‘rec‘ button . It will give you a timer of 3 secs before it starts recording your screen.
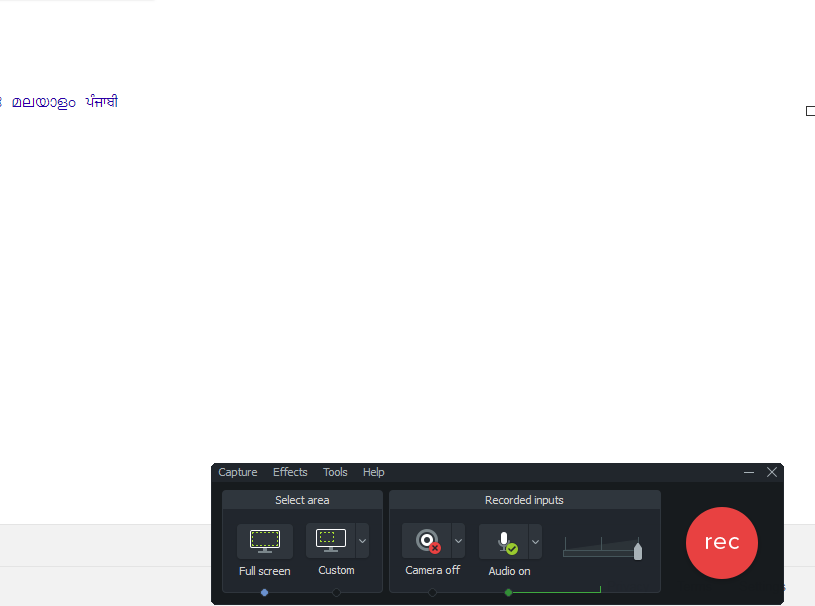
- Once you have recorded you steps press F10 key to stop recording .
- Now Camtasia studio will open automatically. Here you can modify the recorded video ( add markers, zoom the video, increase its speed etc). If you don’t know about any camtasia studio editing features even then its not an issue.
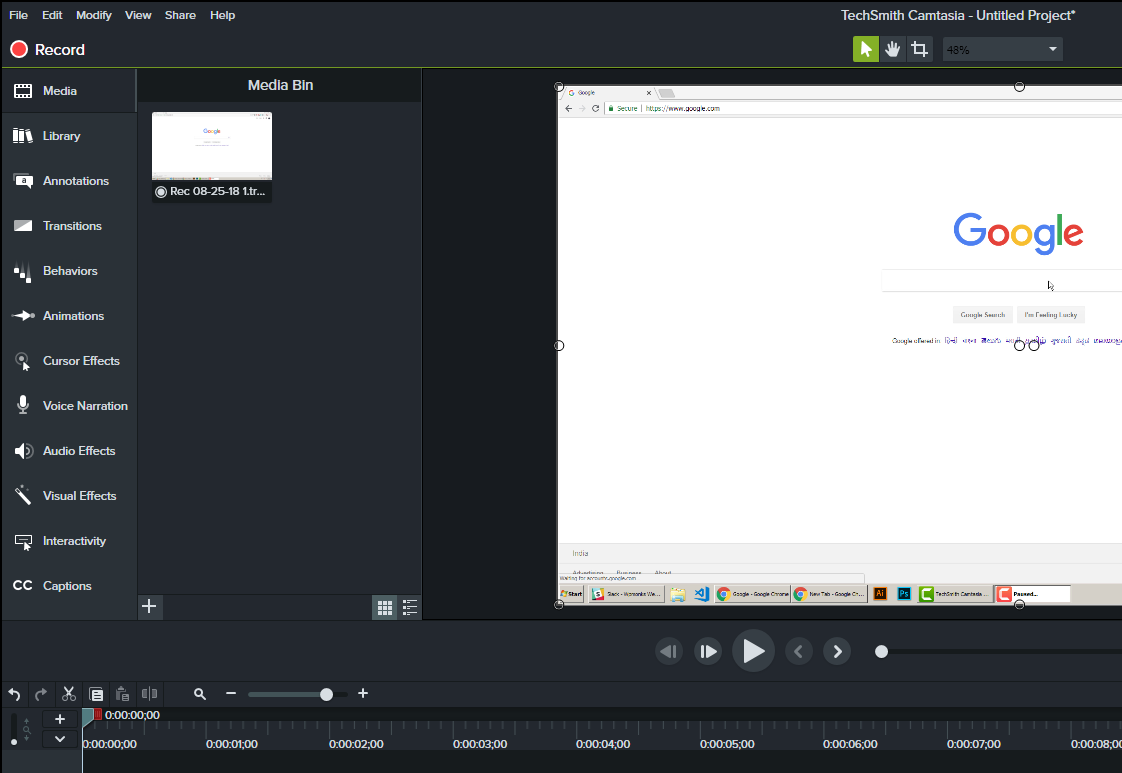
- Now click on ‘Share‘ in the top menu and then go to ‘custom production‘ . Select ‘Gif‘ as file type and keep pressing ‘Next‘ button until you are asked for file name and location. Add the name and location and then your file will be processed and saved.. ready to be uploaded in posts/ comments etc.

Note: Bitbucket has a limit of 1mb size per image. If any of Gifs is exceeding that limit then you have to edit ( cut unnecessary sequences from your recording, increase speed or re-record the video ) before saving it as Gif and then re-uploading it to bitbucket.