
Last Updated on December 11, 2024 by Neil Murray
Many on the CF7 Skins Team now use Local as our local WordPress development environment.
See Getting started with Local to get started.
Step by step instructions #
Add site
After you download & install Local by Flywheel you can add a new site as follows.
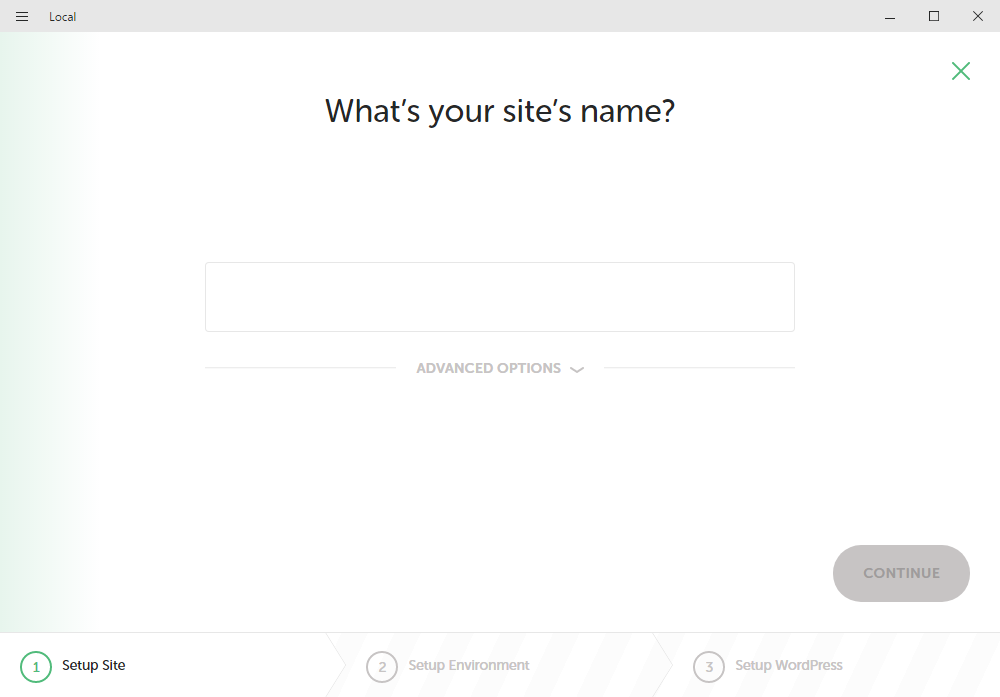
Choose Advanced Options ..
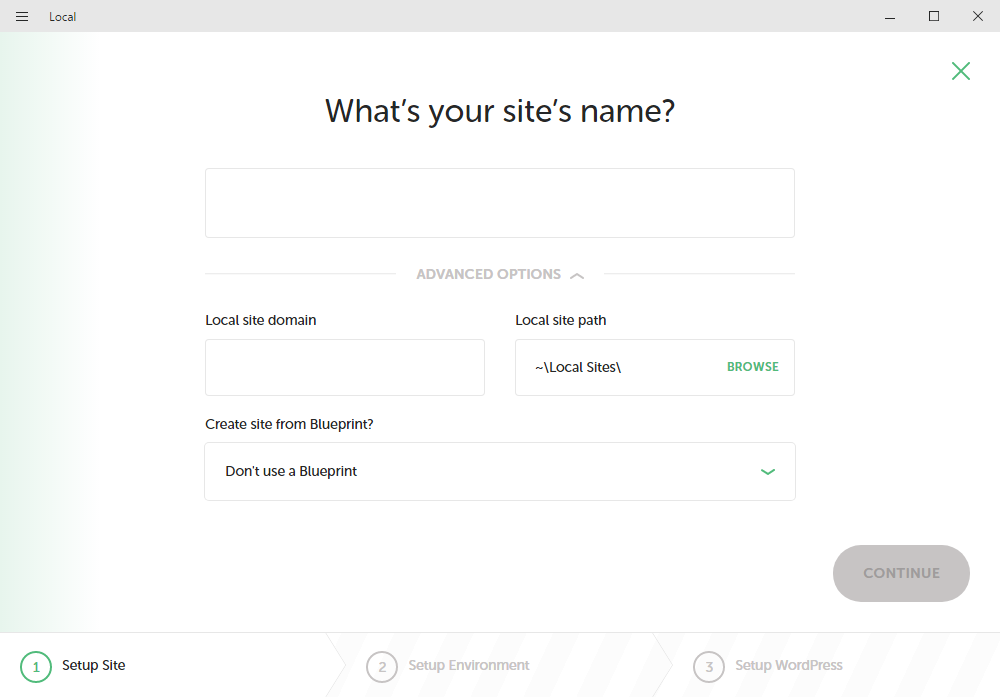
You can choose a saved Blueprint ..
Choose your environment #
You then need to select some options for your desired environment.
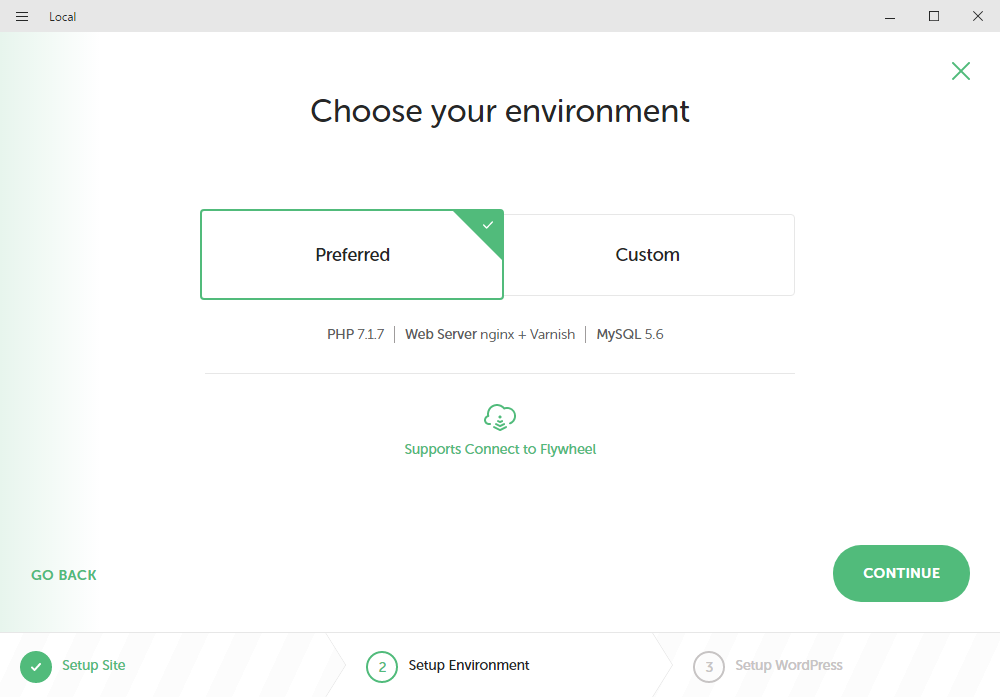
Don’t use Preferred – it is only suitable if you are using Flywheel hosting and more importantly imposes some restrictions on the range of options available which you are likely to need.
Choose Custom ..
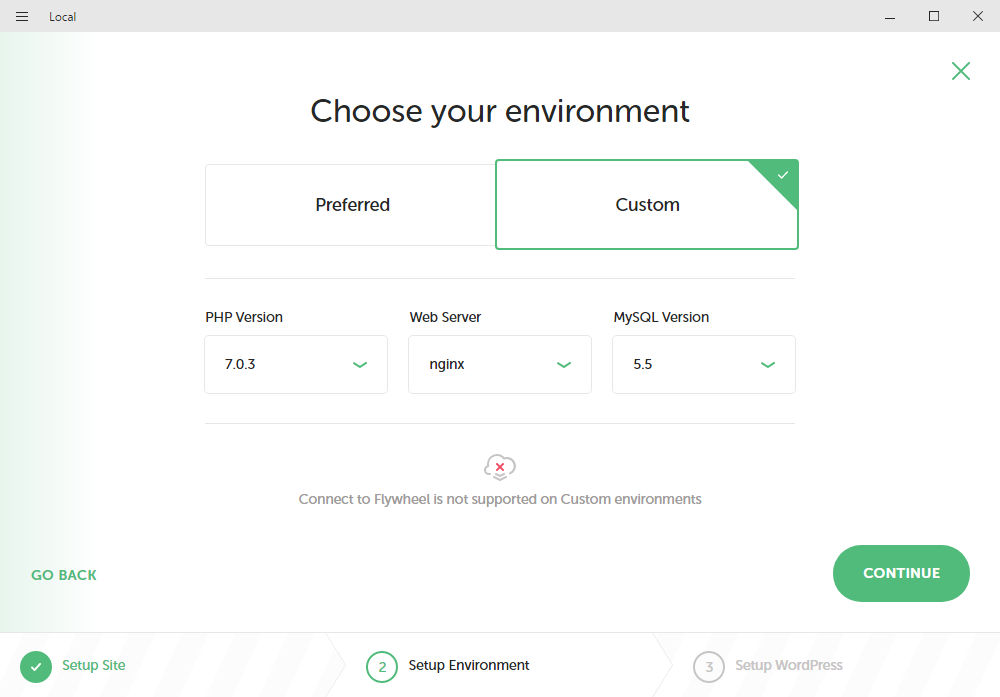
NOTE: You need to make sure you select Custom when you Choose your environment. Otherwise you won’t have the ability to change PHP versions.
Setup WordPress #
You need to supply your WordPress Admin login details.
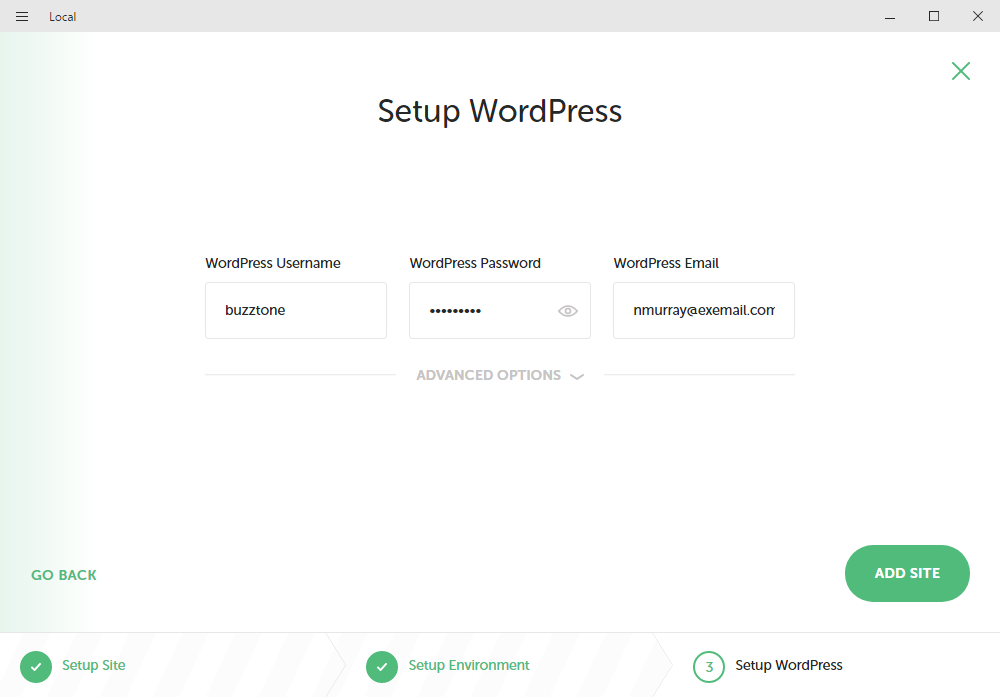
Choose Advanced Options if you want a WordPress Multisite install.
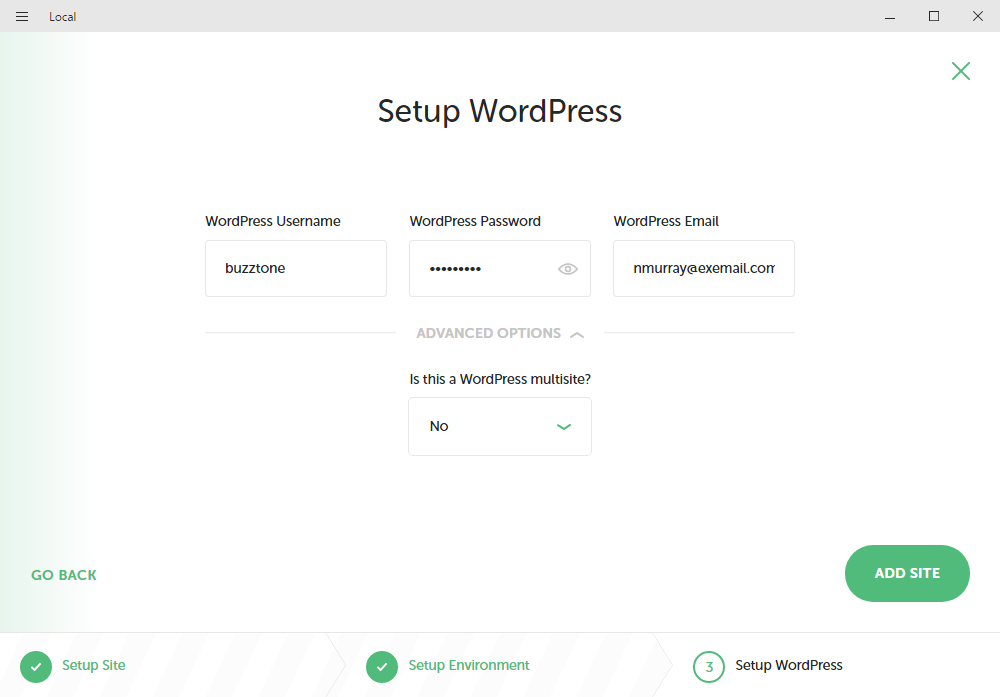
You can setup Default Options ..
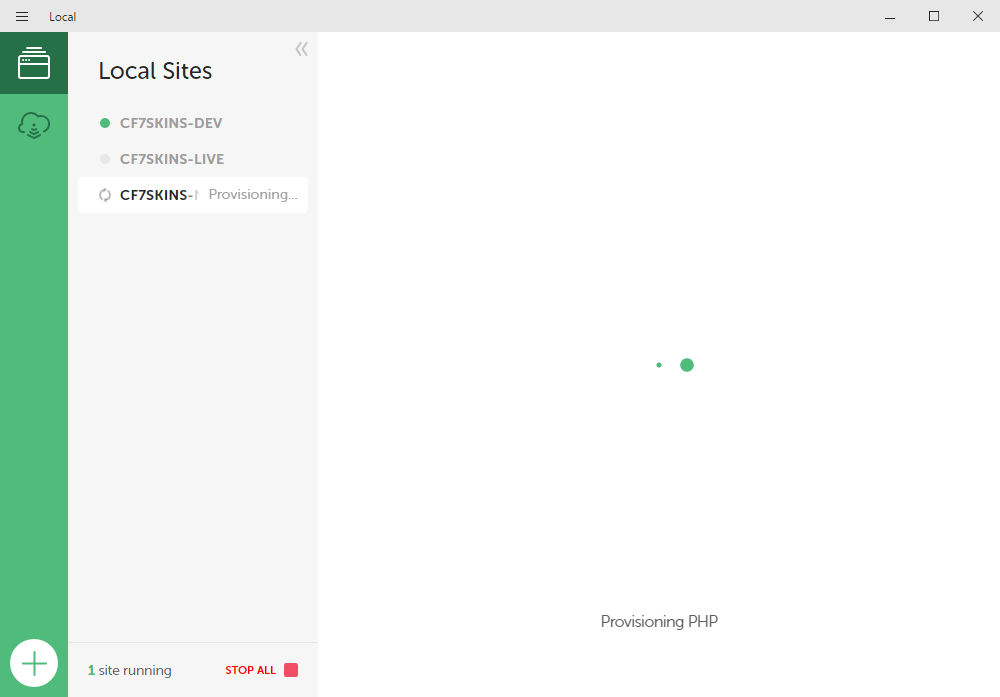
Installation #
Local by Flywheel will then go through a large number of steps – this may take 5 – 10 mins.
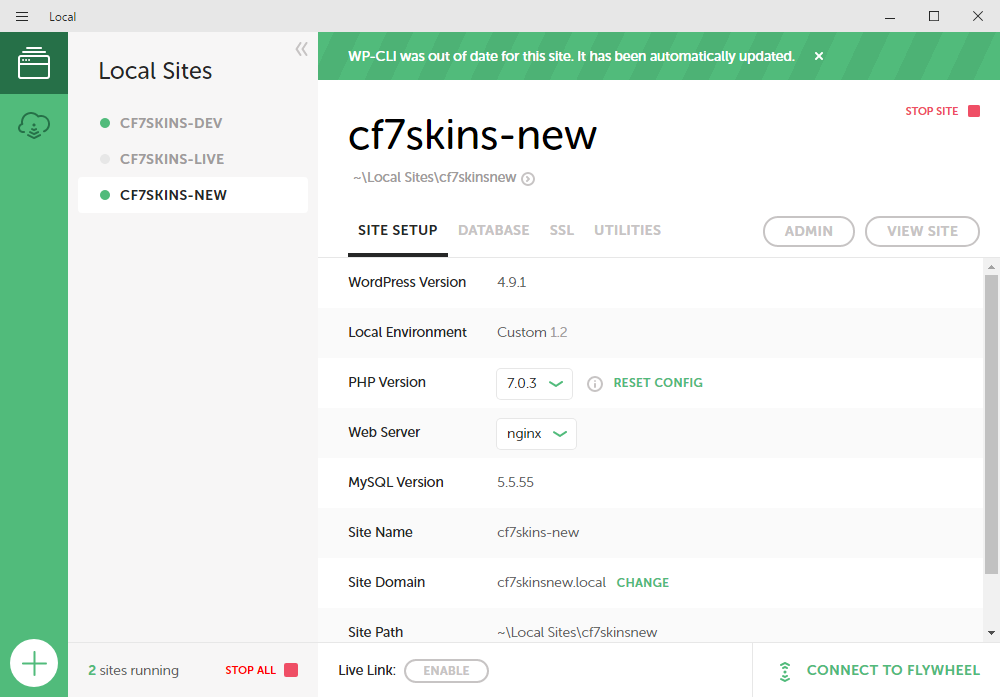
When done you will be able access to your new site from the Local by Flywheel interface.
Further Reading:
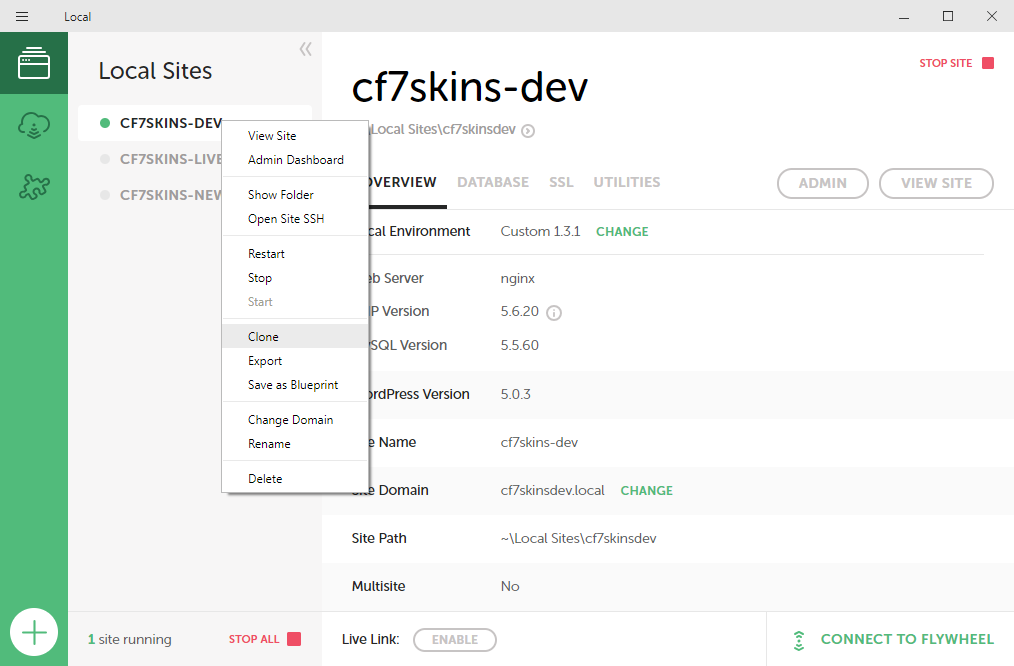
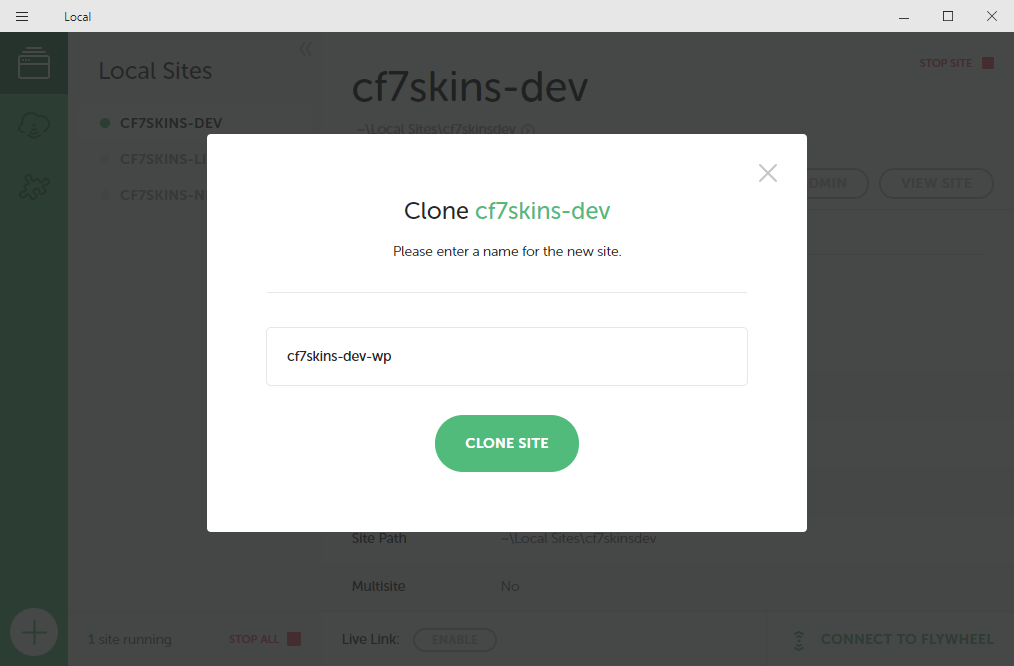
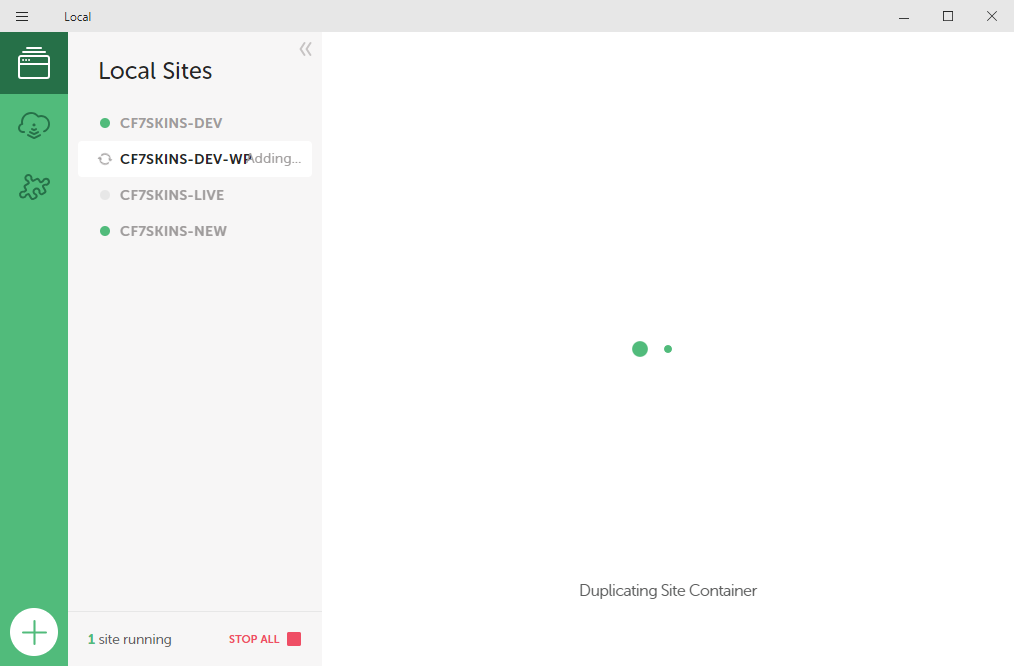
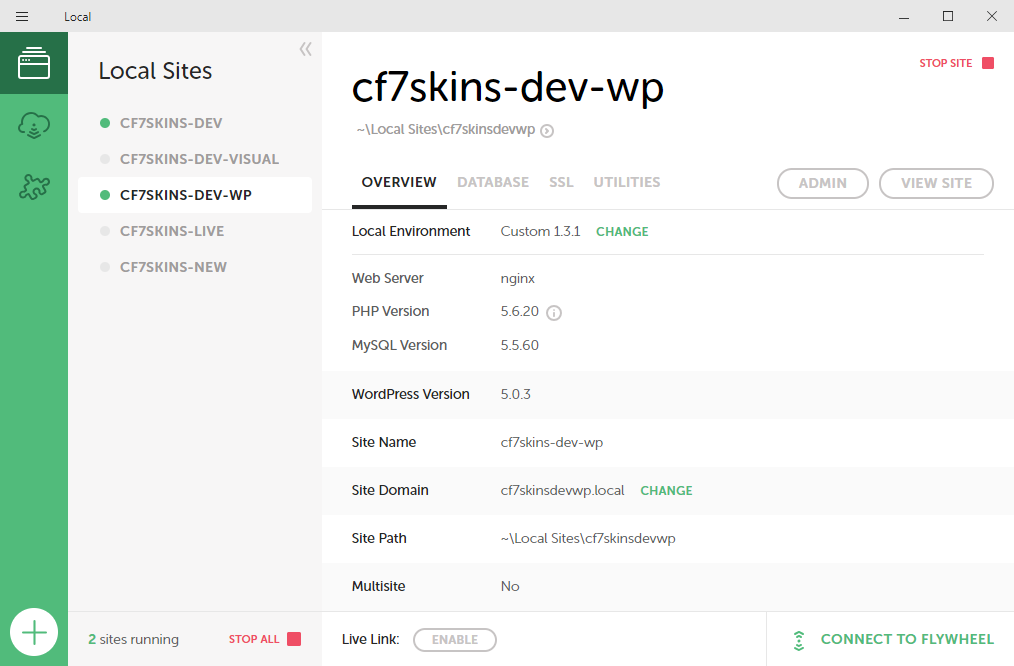
Clone an existing site #
Further Reading:
Notes
Save all Images to Sync – use ..\Sync\..\Development\Development Guidelines\Development Team Tools\Local Development Environment\Local by Flywheel\