
Last Updated on March 18, 2024 by Neil Murray
Table of Contents #
- Manual Testing System
- Testing Tasks List
- Replicate testing in each area
- Manual Testing Sync Folders
- Taking Screenshots
- Compare Screenshots
- Testing Screenshots Folder
- Report Differences/Changes/Issues
- Testing without taking Screenshots
Manual Testing System #
Tip: In testing for new release, your job as a tester is not to hunt for bugs. Instead your main role is record everything that is being done correctly via screenshots.
We have created a Manual Testing System which is used to test all code changes & in particular all new releases of our plugins.
This system includes detailed testing in the following areas:
- UI Areas – what user sees in an area before taking any user action
- Actions – changes that happen when user takes action in the UI
- Testing Sequences – follow these sequences to test changes & releases
- Logic – testing CF7 Skins Logic (both Backend & Frontend)
- Front End Forms – how CF7 Skins forms display on WordPress website
- Responsive Styling – WP Backend/Admin at different screen sizes
Each of these areas has:
- A website Manual Testing page (e.g. UI Areas ) where we show screenshots of testing done previously in this area.
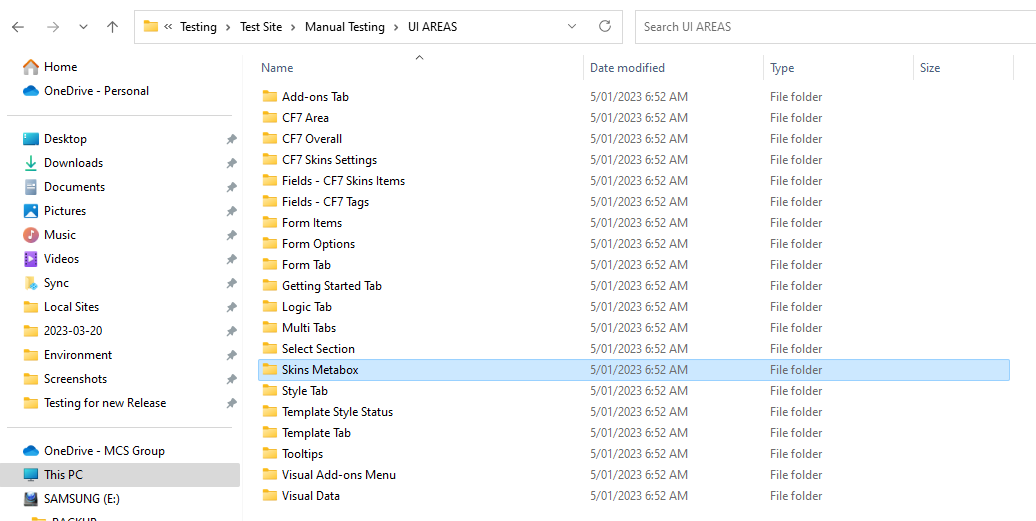
- A Sync folder (e.g. ..\Sync\..\Testing\Test Site\Manual Testing\UI AREAS\Add-ons Tab\ ) where screenshots of previous & current versions are stored.
Testing Tasks List #
When testing a new release, your first job is to setup up an initial Testing Tasks List on the relevant Bitbucket Issue.
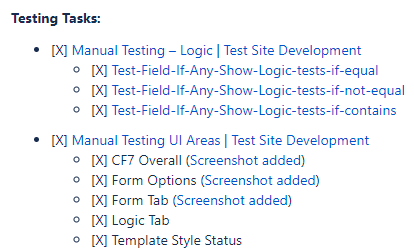
This Testing Tasks List should be constructed based on:
- the changes that are being made in this release
- areas that are likely to affected by this change
- testing areas that are different from areas that have been recently tested.
NOTE: We aim over time to update the images used on each Manual Testing Page by selected different areas to test in subsequent plugin releases.
See Testing Tasks List.
Replicate testing in each area #
Your job as a tester is to replicate some or all of the testing done in each area.
Each testing area uses a similar structure & varies only as required for the requirements of each unique test area.
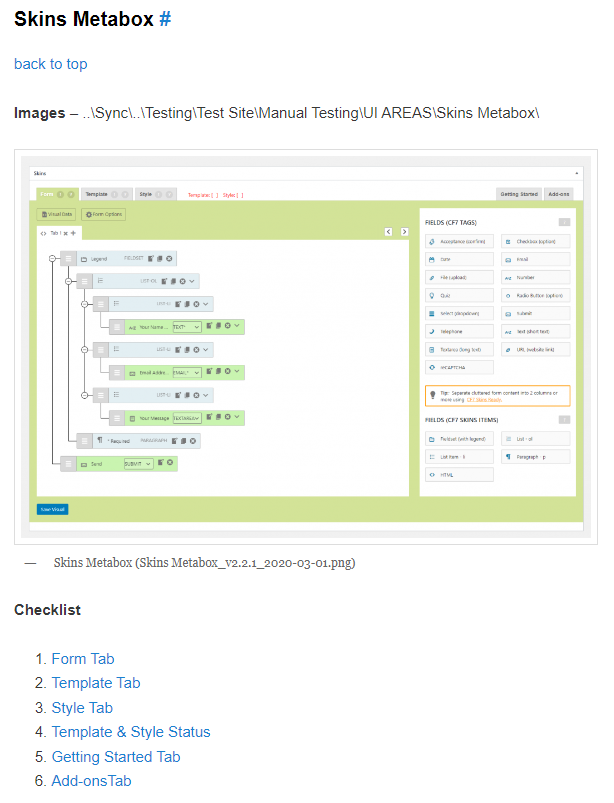
As a tester you should work through the relevant Manual Testing Page from top to bottom following the links on the page. You can then select some or all of the sections available for detailed testing.
Tip: Each Manual Testing Page (e.g. UI Areas ) covers each & every unique area of all of our live plugins.
See Manual Testing Pages.
Manual Testing Sync Folders #
The matching Sync folder follows the structure of the testing area website page where screenshots of previous & current versions are stored.
See Working with Sync for detailed guidance on using Sync.
Taking Screenshots #
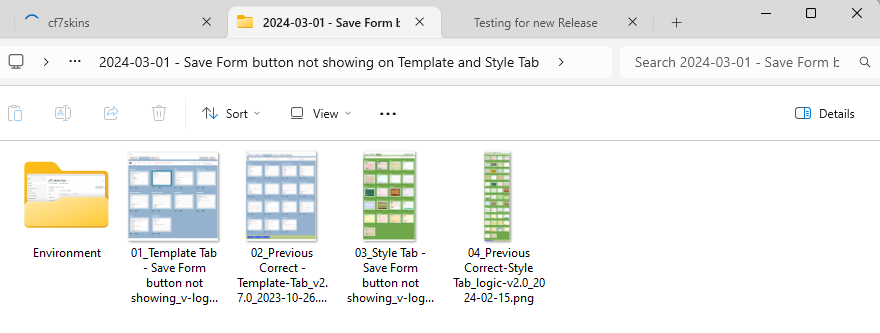
While doing the testing you need to take suitable screenshots.
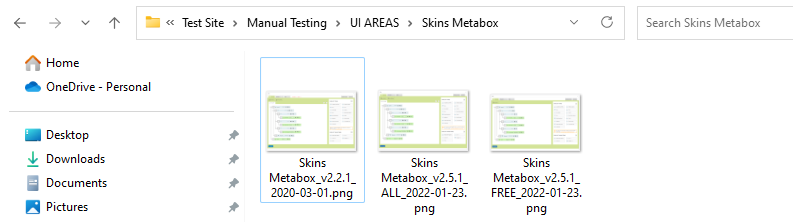
- Screenshots are kept in same folder used for previous versions
- the Date and Version number will be changed
- make sure screenshot naming is identical apart from date & version number
[Add image – Date and Version number changed example]
See Recording testing via screenshots.
Compare Screenshots #
You need to compare your screenshots with previous version shown on the relevant Manual Testing Page and stored in the related Sync folder.
If there is no change you will:
- generally not need to change the image on the relevant Manual Testing Page.
If there is a change you will need to:
- update the image in both the relevant Manual Testing Page & matched Sync folder to provide a new basis for testing of future versions.
Testing Screenshots Folder #
We always create a Testing Screenshots Folder when testing a reported bug or a commit. We also often do this when testing a new release.
This type of folder is a single use, dated folder that is entirely separate & different to our Manual Testing Sync Folders.
Report Differences/Changes/Issues #
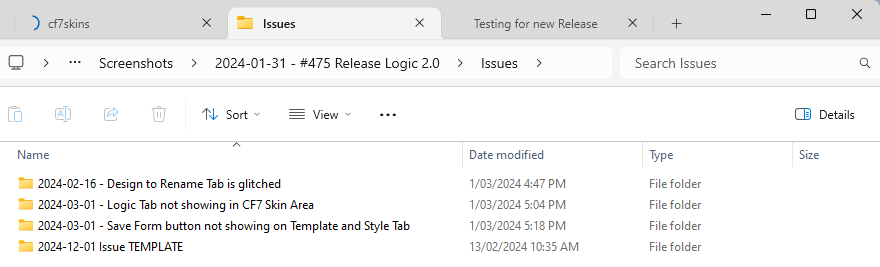
Any issues or problems you find should be added to as both a comment & a linking item on an Issues List on a relevant Bitbucket issue.
- Whenever a new issue is found and reported, make sure to check for updates on the issue
- If the issue is dealt with, you need to test it, make sure it is resolved and update the team
See Issues List.
Testing without taking Screenshots #
While working your way through the relevant Manual Testing Page, you may decide you don’t need to take screenshots for all items.
Instead you can simple report that you have looked at these these areas & found no issues.
You can do this be adding the status of this item on the Testing Tasks List maintained on Bitbucket issue.
See Testing Tasks List.
Further reading:
Notes
Save all Images to Sync – use ..\Sync\..\Testing\Testing Guidelines\Testing for new Release\
TODO – screenshare recording that discusses not hunting for bugs & some other important testing issues
FROM PARTH – Testing Sequence
For each different issue test, you can create the new form based on the requirement for the testing. While creating new form and naming it, you should follow below form naming Guidelines.
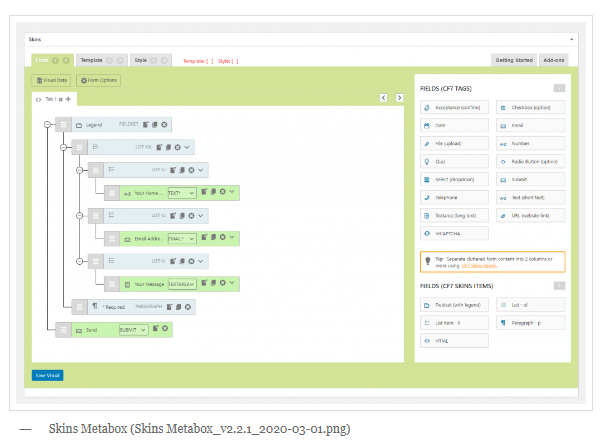
Visual Form Editing form (all different field types).
Adding new field
- Add the new field to the Standard Form
- Add Label to the field
- Save the form
- Check the Form on the front end to make sure new field shows.
- Update the Mail Setting of CF7 to include new filed and make sure all other fields are included.
- Fill up the form to test the email sent.
- Check the Email to make sure all the Form data is sent in the email.
Repeat the above procedure for all the field to make sure all the fields are working properly with CF7 Skin plugin.