
Last Updated on June 10, 2025 by Neil Murray
Table of Contents #
- Using Docker and wp-env
- Using Docker
- Setup wp-env
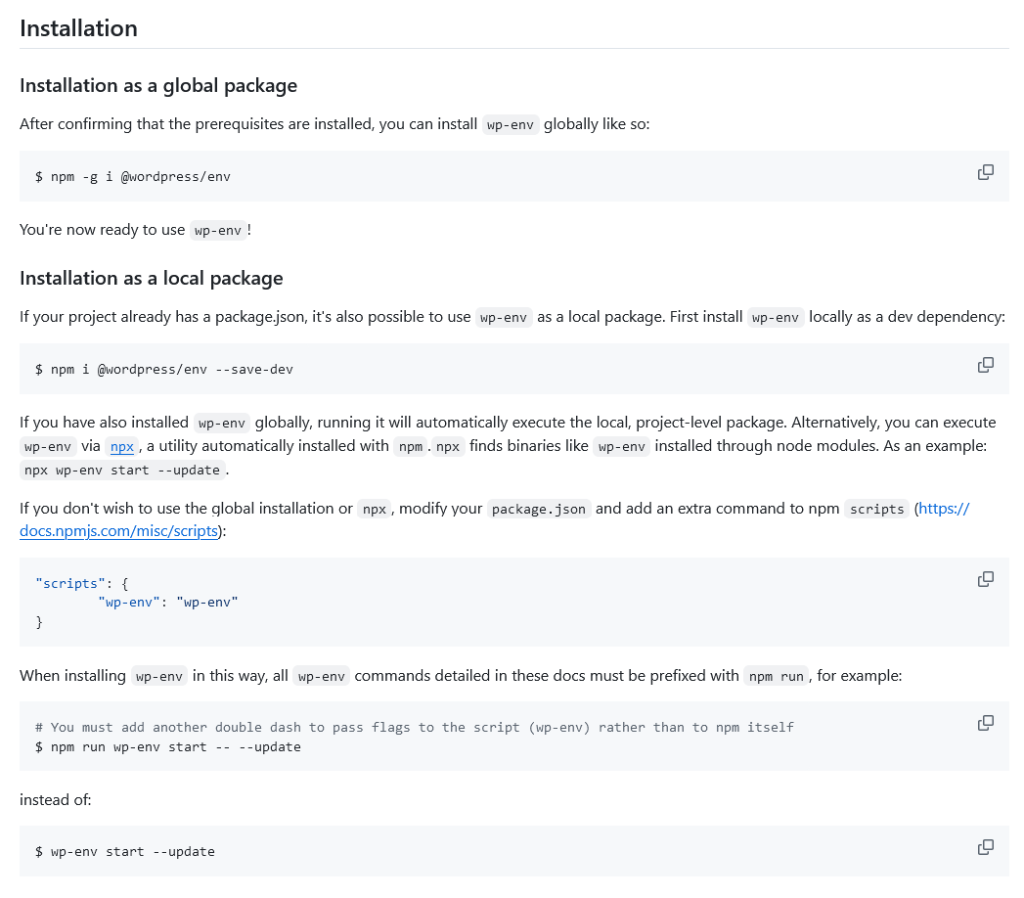
- Install wp-env globally
- Install wp-env locally
- Install Gutenberg Plugin
- npm run wp-env start
- npm install
- npm run dev
- Windows file permissions error
Using Docker and wp-env #
Refer: Getting Started With Code Contribution – Local WordPress Environment
Refer: Getting Started With Code Contribution – Using Docker and wp-env
Further Reading:
Using Docker #
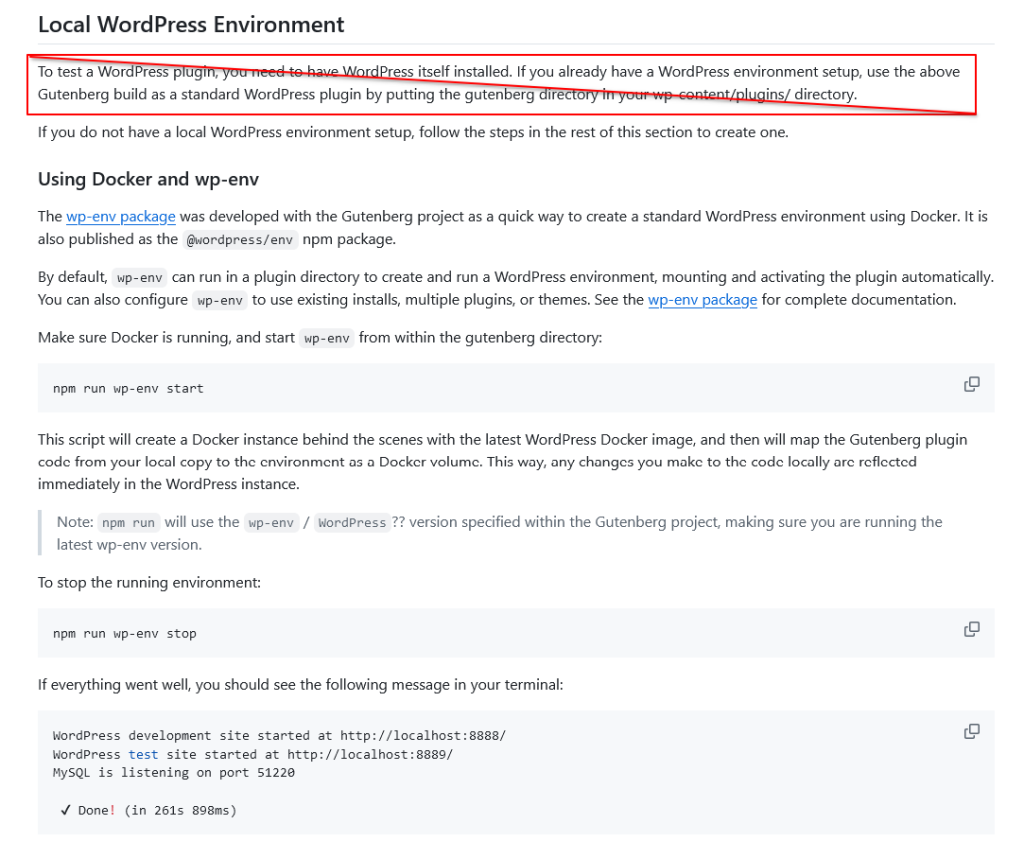
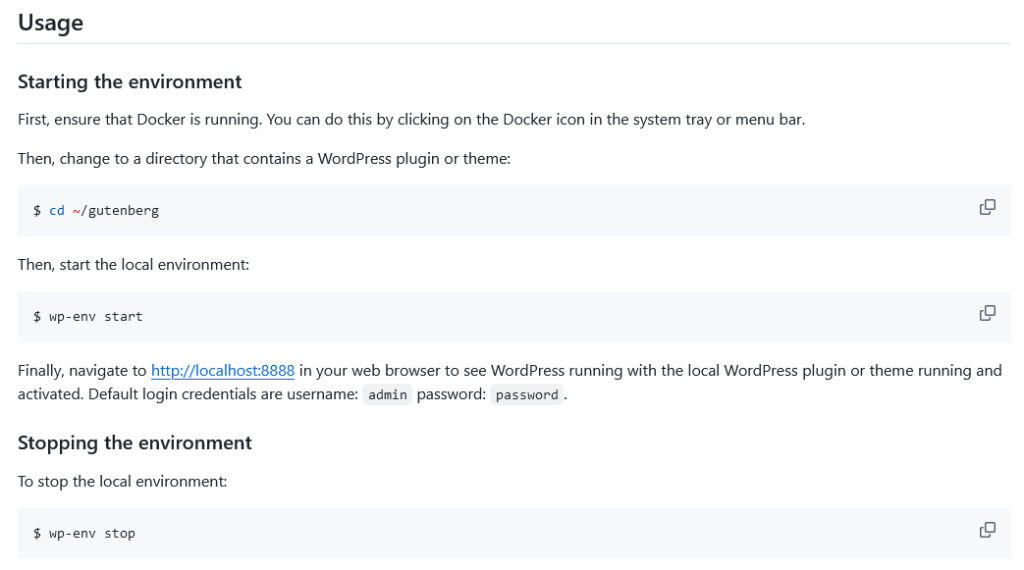
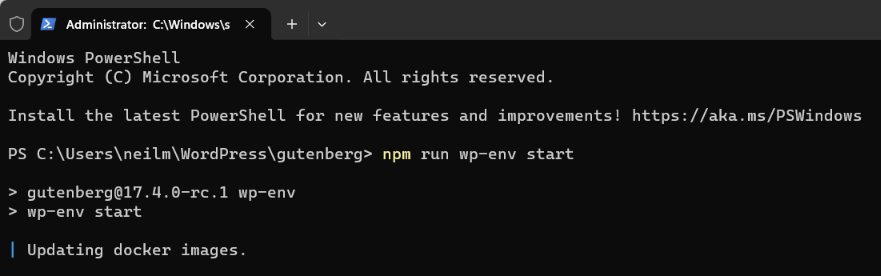
Make sure Docker Desktop is running, and start wp-env from within the directory where you’ve added your fork of the Gutenberg plugin.
NOTE: The directory can be anywhere on your local computer. It does not need to be inside a local WordPress install. Docker will build the WordPress environment from with the directory.
npm run wp-env start
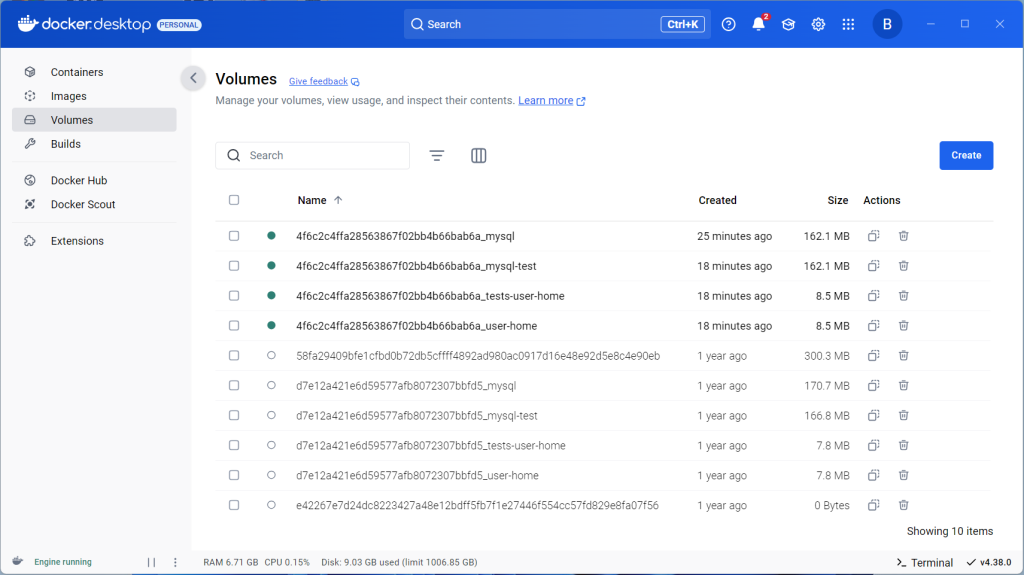
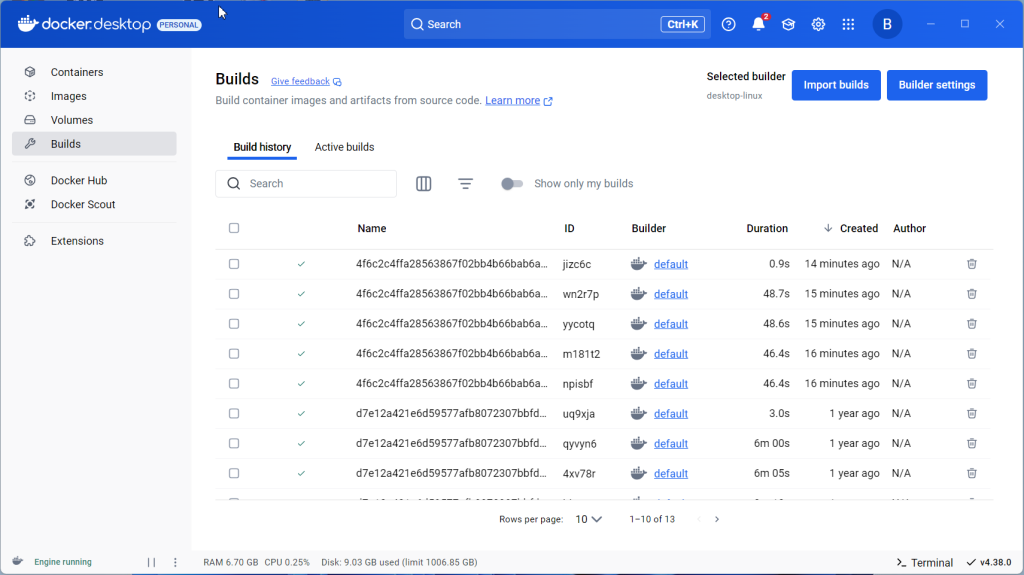
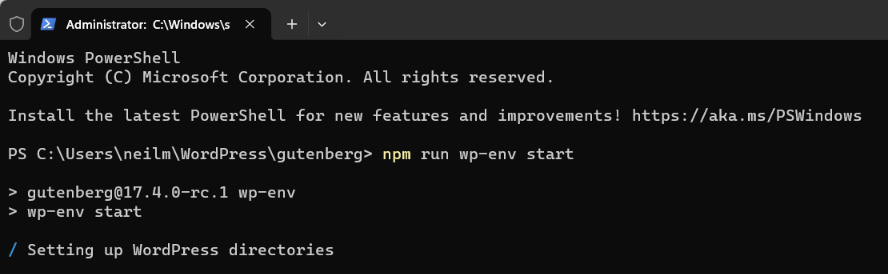
This script will create a Docker instance behind the scenes with the latest WordPress Docker image, and then will map the Gutenberg plugin code from your local copy to the environment as a Docker volume.
This way, any changes you make to the code locally are reflected immediately in the WordPress instance.
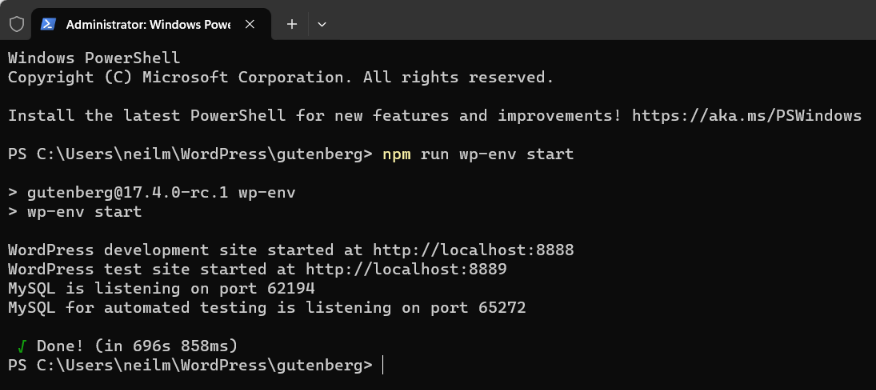
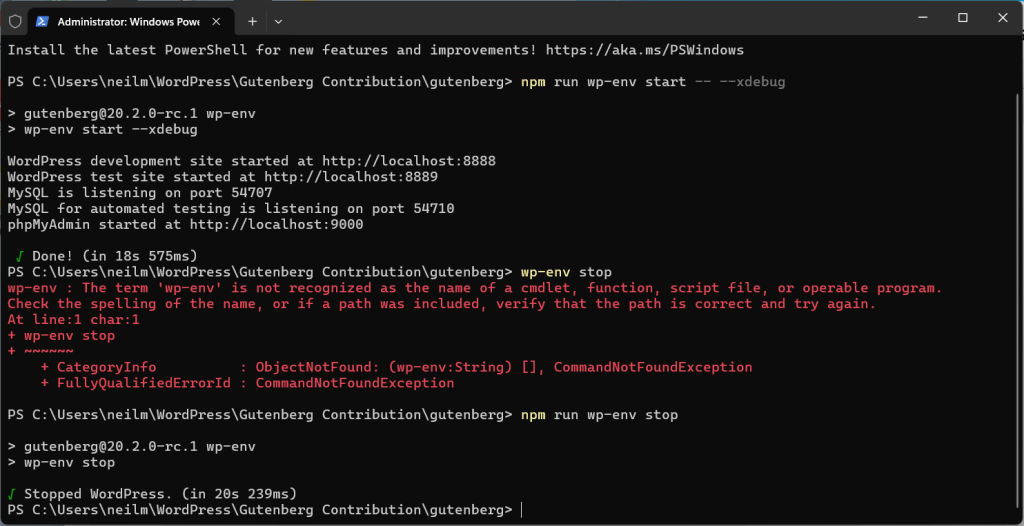
If everything went well, you should see the following message in your terminal:
WordPress development site started at http://localhost:8888/
WordPress test site started at http://localhost:8889/
MySQL is listening on port 51220

 ✔ Done! (in 261s 898ms)
Refer: Troubleshooting common problems
Setup wp-env #
Refer: wp-env
When working in the Gutenberg repo or when wp-env is a local project dependency, you need to use npm run wp-env stop.
Further Reading:
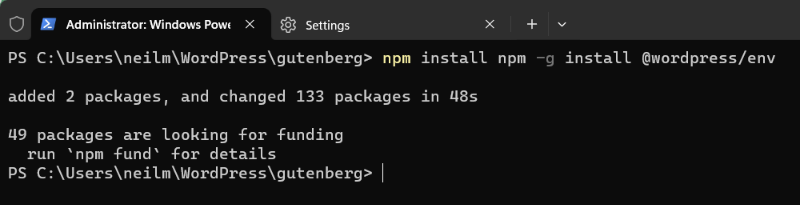
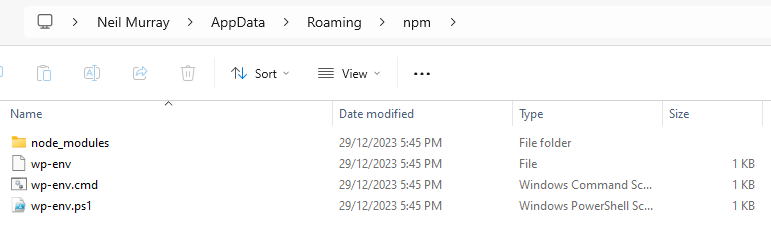
Install wp-env globally #
wp-env global install
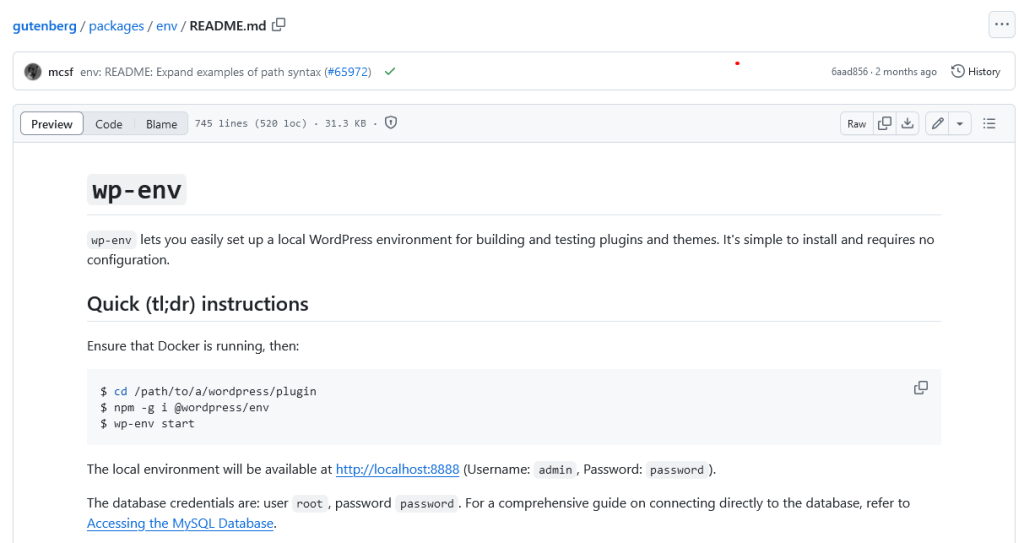
npm -g i @wordpress/env
Refer:
Install wp-env locally #
wp-env local install
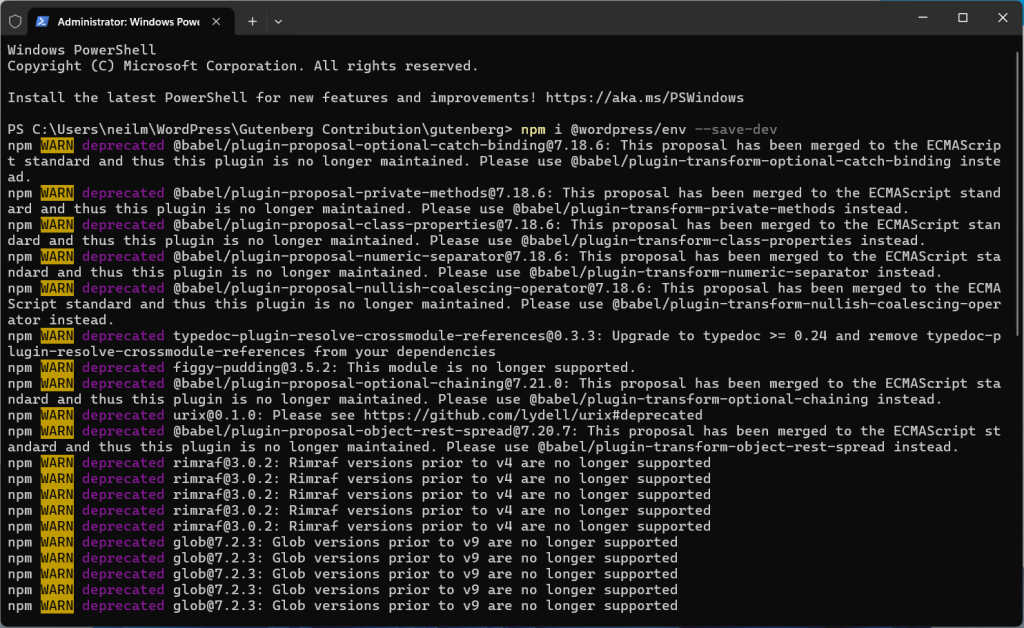
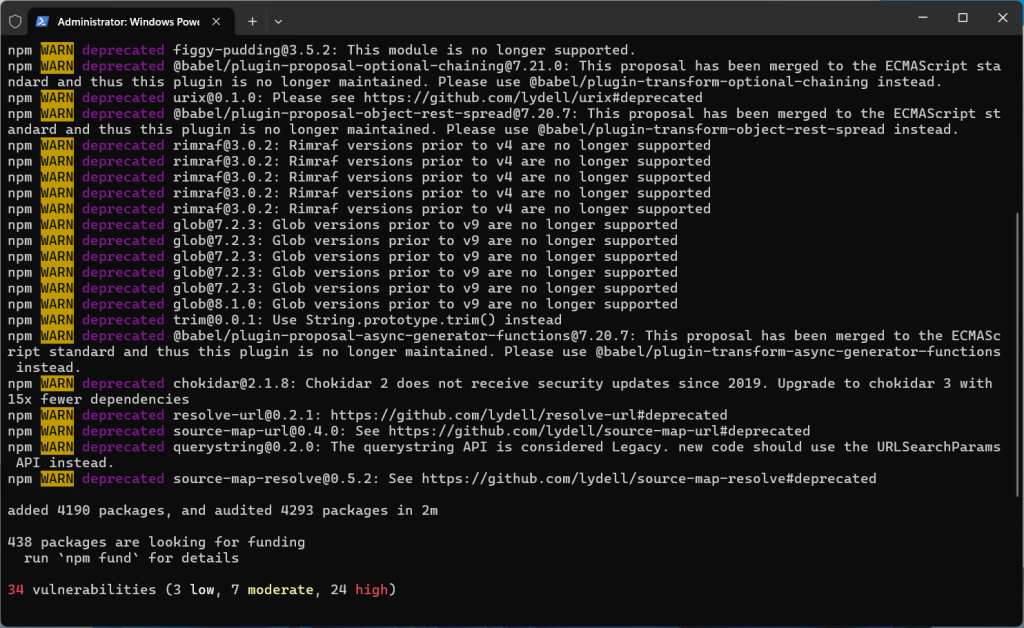
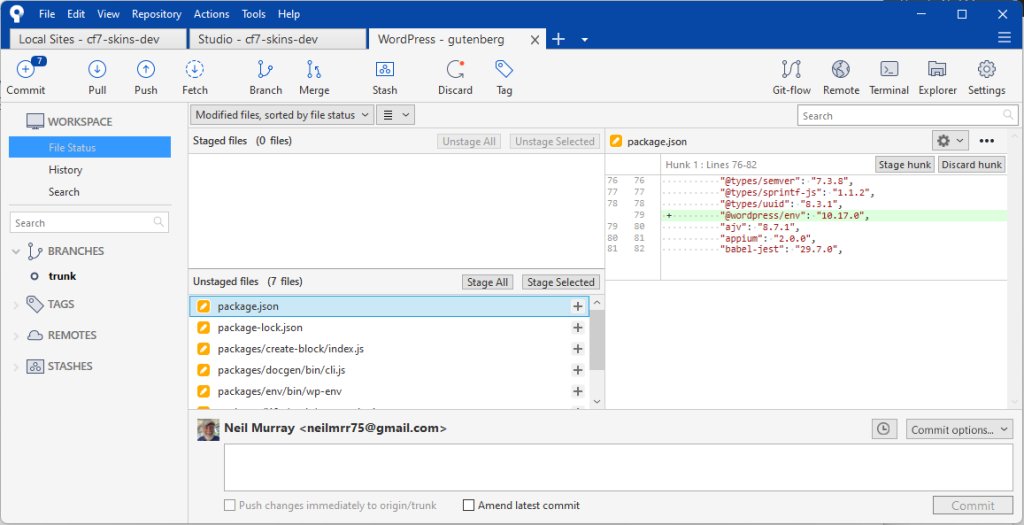
npm i @wordpress/env --save-dev

Refer:
Install Gutenberg plugin #
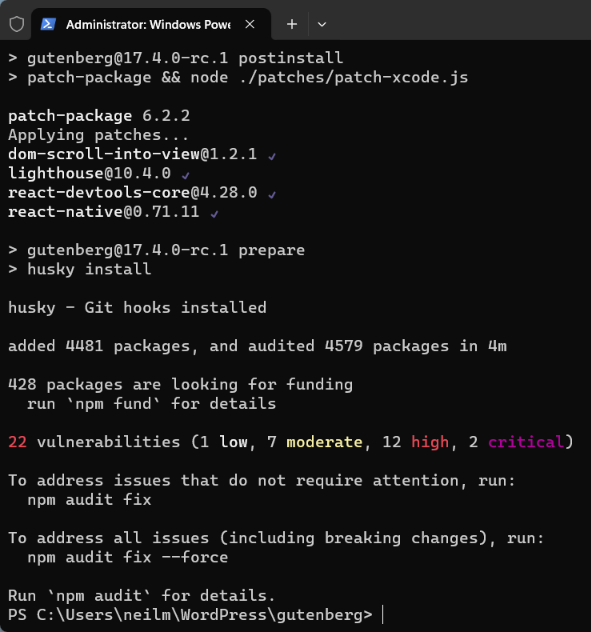
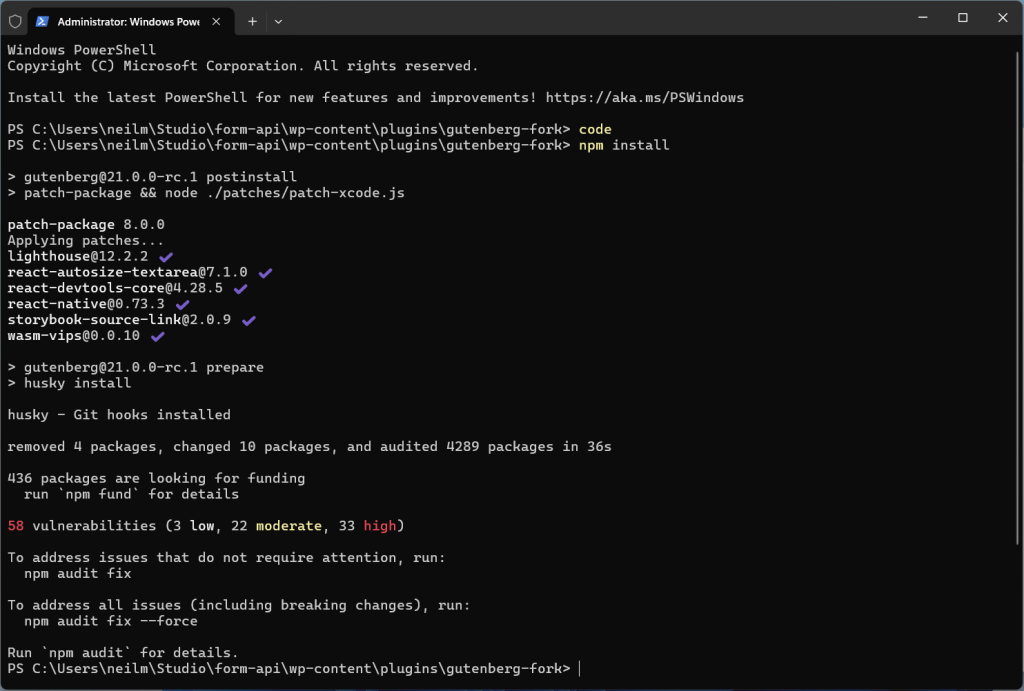
You also need to install the Gutenberg plugin dependencies and build your code in development mode.
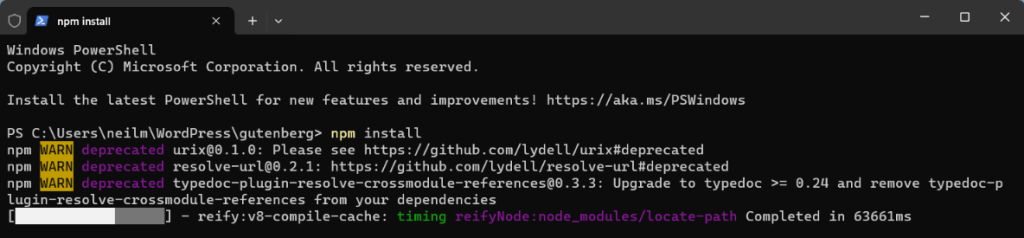
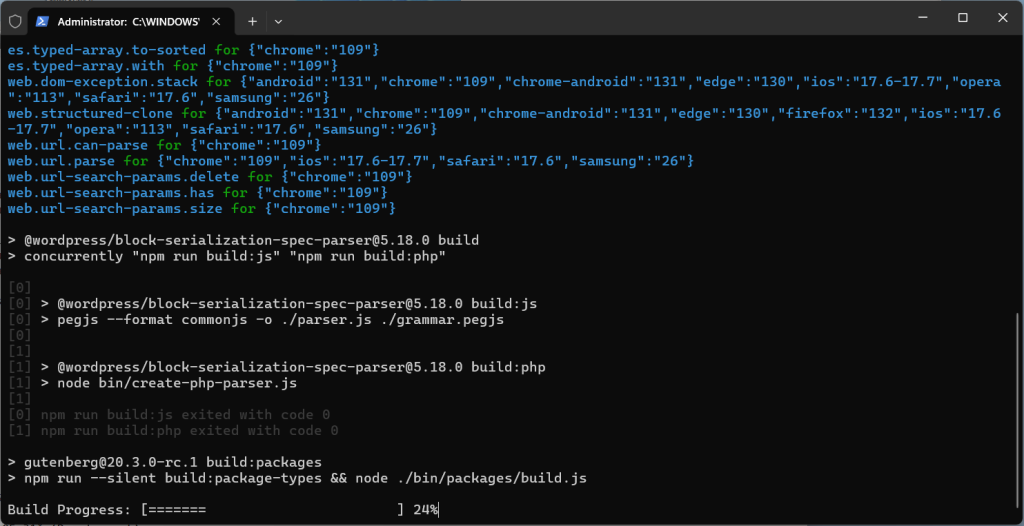
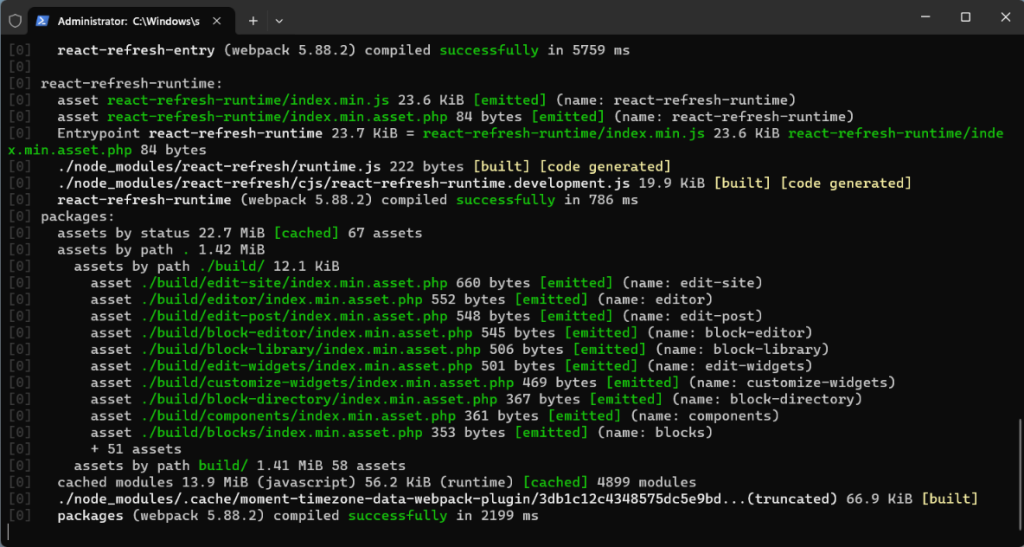
npm install
npm run dev

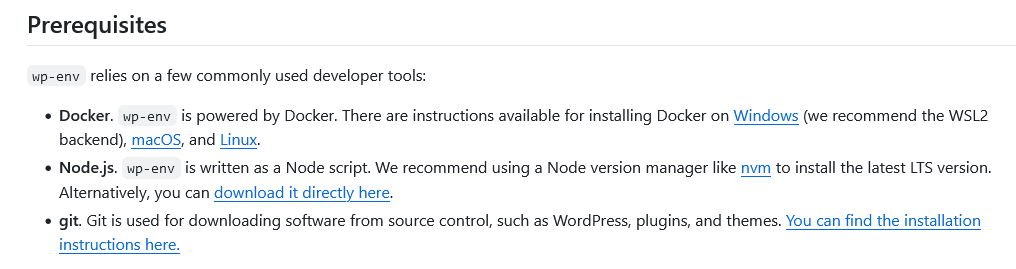
NOTE: The install scripts require Python to be installed and in the path of the local system. This might be installed by default for your operating system, or require downloading and installing.
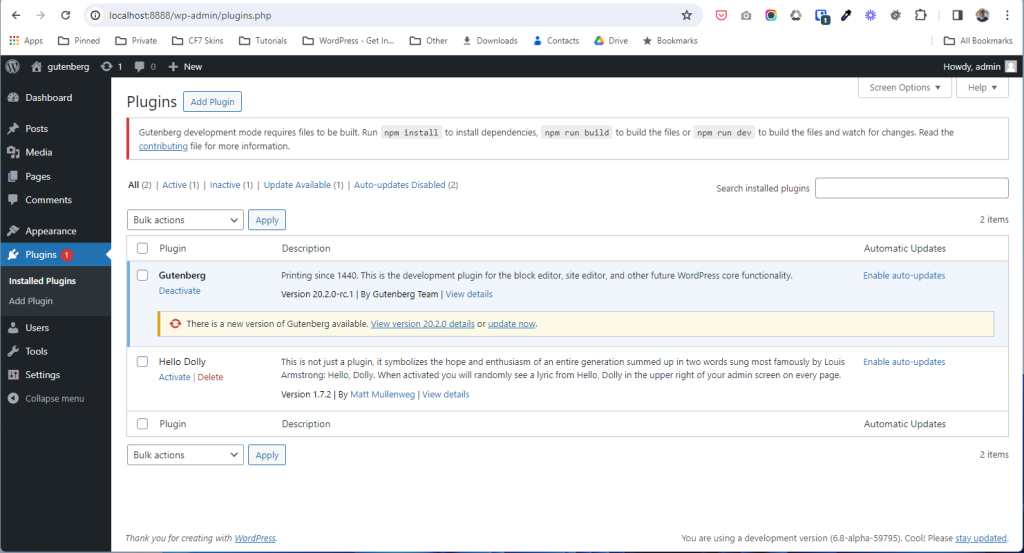
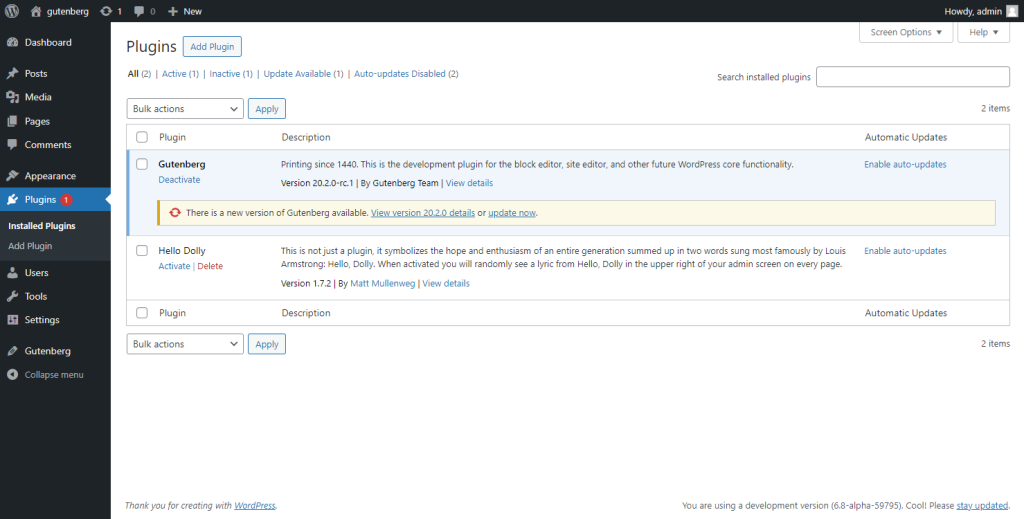
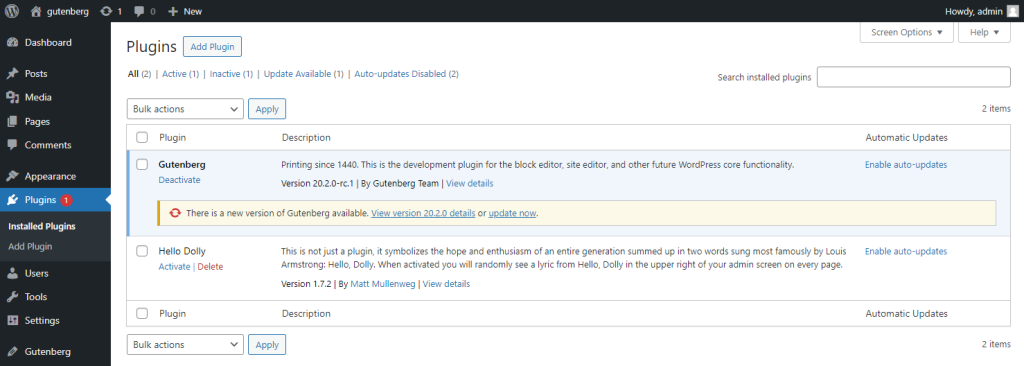
Once this completes correctly you’ll notice the Gutenberg plugin installed and activated, this is your local build.
Refer: Setup wp-env – Install Gutenberg
Further Reading:
npm run wp-env start #
npm run wp-env start

Refer: Starting the environment
Accessing the Local WordPress Install #
If everything went well, you should see the following message in your terminal:
WordPress development site started at http://localhost:8888/
WordPress test site started at http://localhost:8889/
MySQL is listening on port 51220

 ✔ Done! (in 261s 898ms)
The WordPress installation should now be available at http://localhost:8888
You can access the Dashboard at: http://localhost:8888/wp-admin/
Use Username: admin, Password: password.
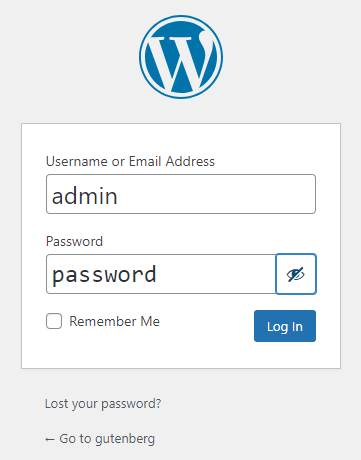
You’ll notice the Gutenberg plugin installed and activated.
Refer:
npm run wp-env stop #
When working in the Gutenberg repo or when wp-env is a local project dependency, you need to use npm run wp-env stop.
npm install #
npm install
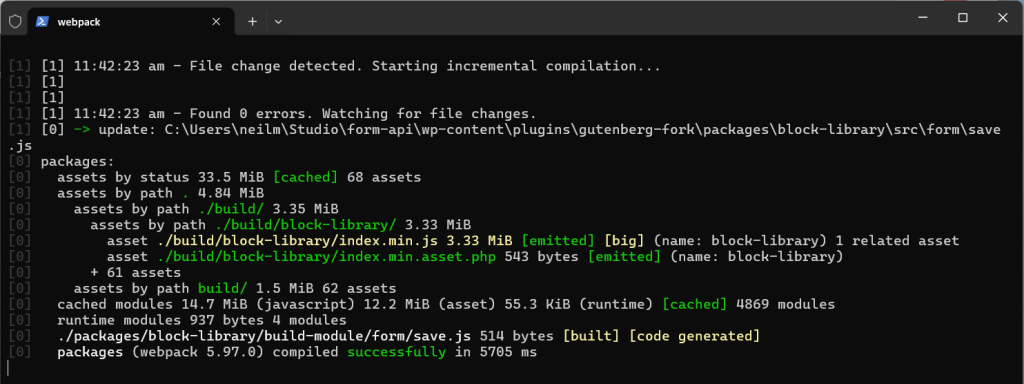
npm run dev #
npm run dev
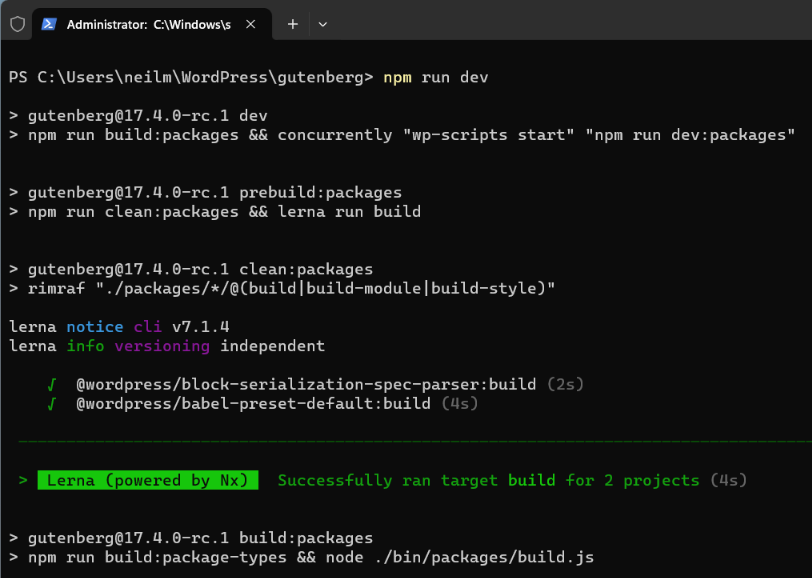
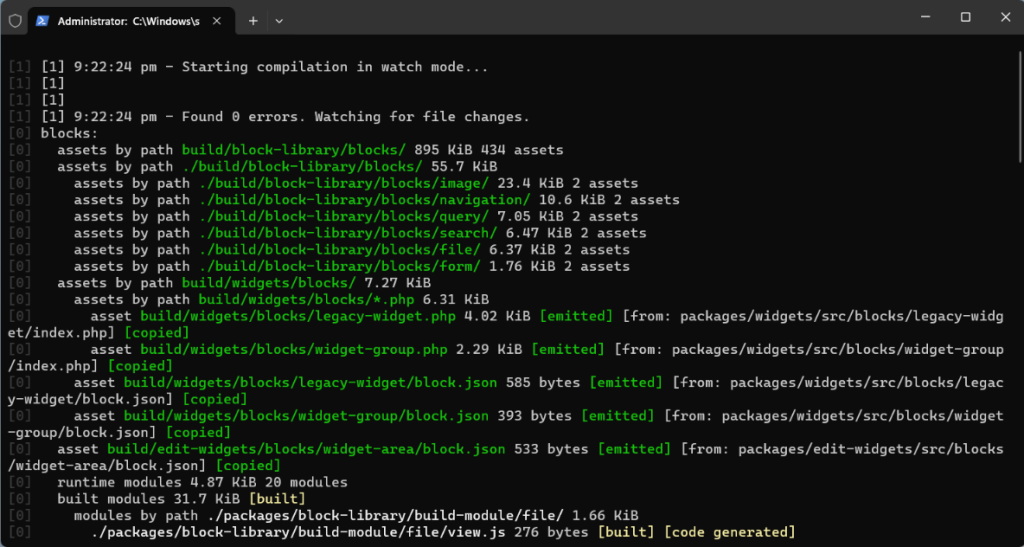
When you save any changes the code is re-built
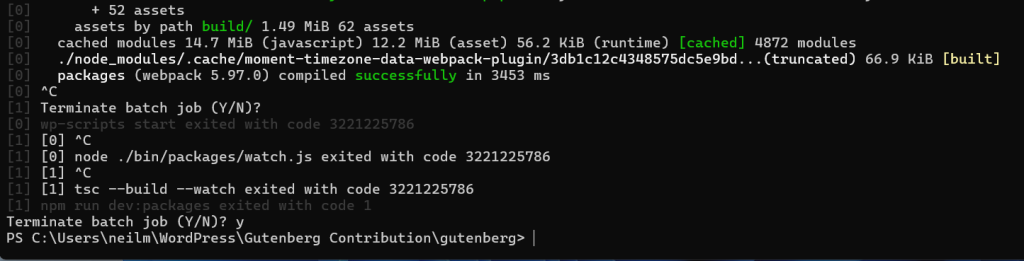
To stop npm run dev use Ctrl+C.
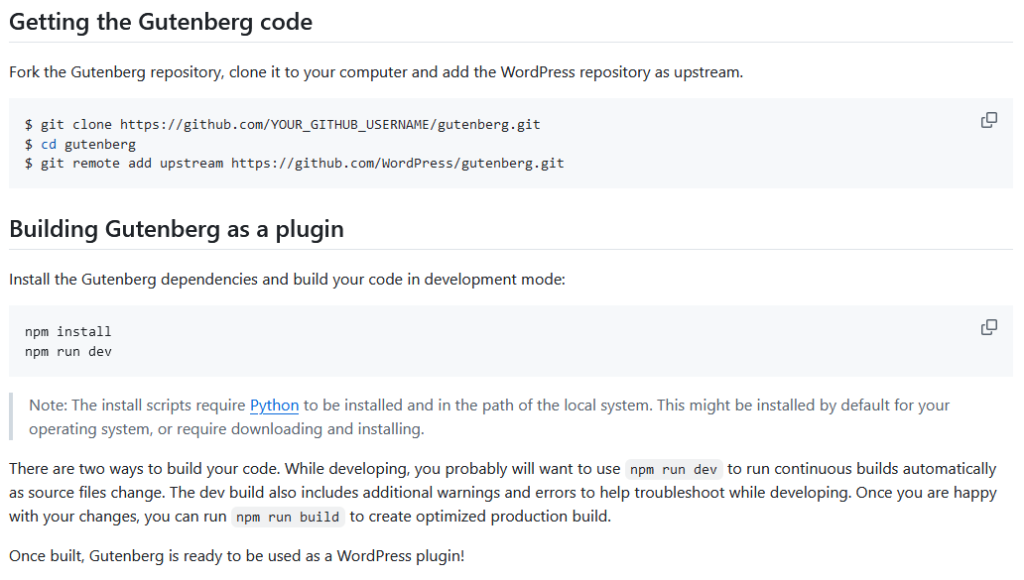
Refer: Getting Started With Code Contribution – Getting the Gutenberg code
While developing, you probably will want to use
npm run devto run continuous builds automatically as source files change.The dev build also includes additional warnings and errors to help troubleshoot while developing.
Once you are happy with your changes, you can run
npm run buildto create optimized production build.
Windows file permissions error #
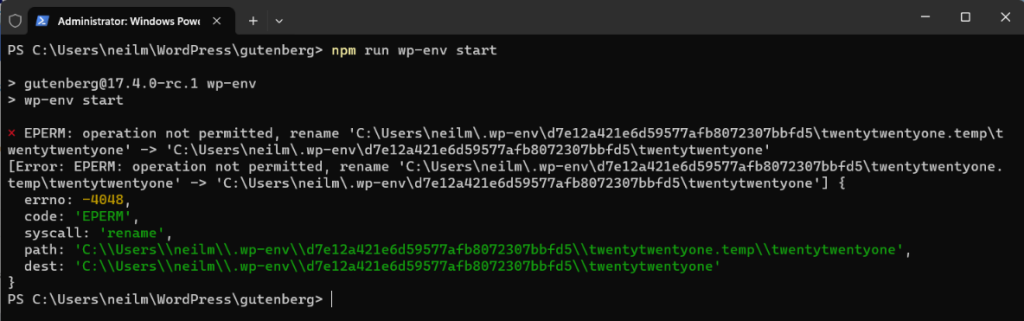
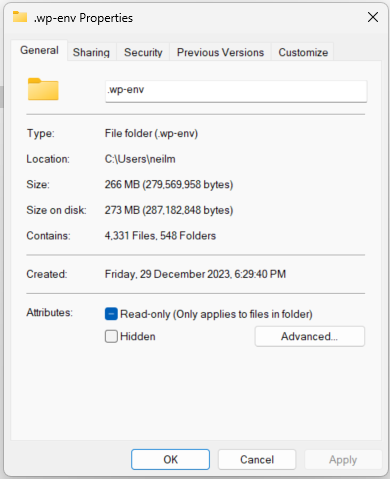

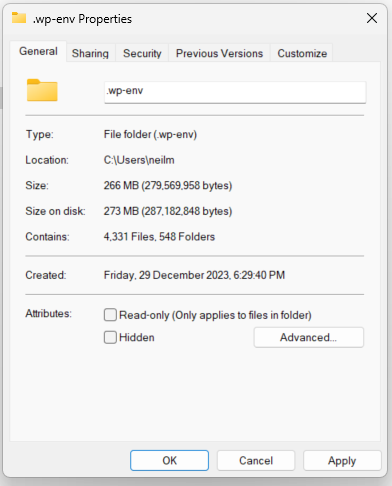
Refer:
Heading #
Refer:
Notes:
ADD notes here.
Save all Images to Sync – use ..\Sync\..\Development\Form API\Guidelines\Setup wp-env\