
Last Updated on September 29, 2020 by Neil Murray
When you’ve finished all this, call us on Skype to go through everything via screenshare and check all is working as expected on your local development install.
Install Node.js with npm
If you already have Node.js installed, make sure it’s version 6.11.1 or higher. You can check your Node.js version by typing node -v in the Command Line Interface at the Terminal prompt.
For modern Node.js-based JavaScript development you need to use a Command Line Interface (also called terminal or Terminal prompt). On Windows you can use GitBash which allows Unix-like commands within Windows.
You should ensure you have the latest release of npm installed (npm is a separate project from Node.js and is updated frequently).
If you’ve just installed Node.js, it includes a version of npm within the installation; you most likely will need to also update your npm install.
To update npm, type
npm install npm@latest -ginto your terminal.
Update Node.js and npm on Windows
Setup webpack
Using webpack installed globally
If webpack is installed globally, you can use the webpack command on the terminal.
Make sure you are using the version on webpack used in our package.json file – e.g. "webpack": "3.8.1",.
If you have webpack installed globally ( usually at C:\Users\..\AppData\Roaming\npm\ ), you can check your version by typing webpack -v in the command line.
You can delete that version by running 'npm install webpack -g' in the command line and then run 'npm install webpack@3.8.1 -g' to install that version.
We prefer using webpack locally
You can use the following commands in your wp-content/plugins/cf7skins-visual folder on your local WordPress install:
- npm run webpack – rebuilds CF7 Skins Visual plugins in wp-admin
- npm run webpack-watch – NOT DONE rebuilds CF7 Skins Visual plugins – changes are reloaded automatically
- NOT DONE – use for production builds of plugins (command includes minification for wordpress.org etc.)
This ensures you are using the version on webpack used in our package.json file.
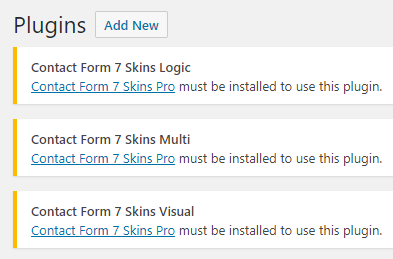
Install CF7 Skins plugins
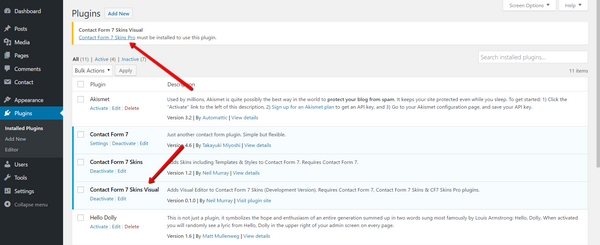
You will need to download, install, activate & add License Keys for other CF7 Skins plugins to operate the CF7 Skins Visual plugin – see Install CF7 Skins plugins.
To operate the CF7 Skins Visual plugins you also need to operate each CF7 Skins Add-on on the visual branch.
1. Add CF7 Skins Visual plugin on local WordPress development install
Create a new folder in your wp-content/plugins/ directory on your local WordPress install.
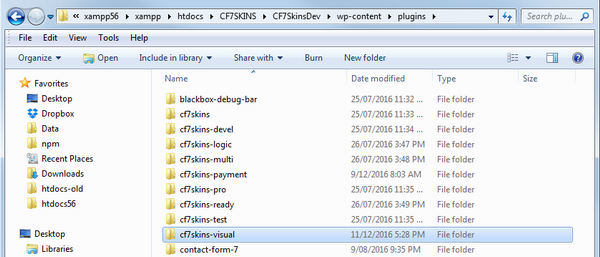
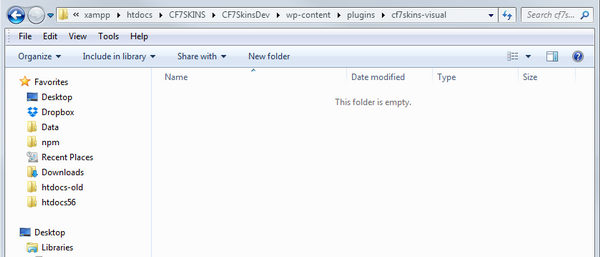
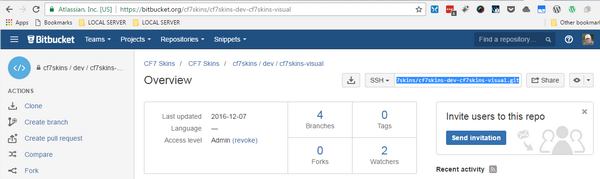
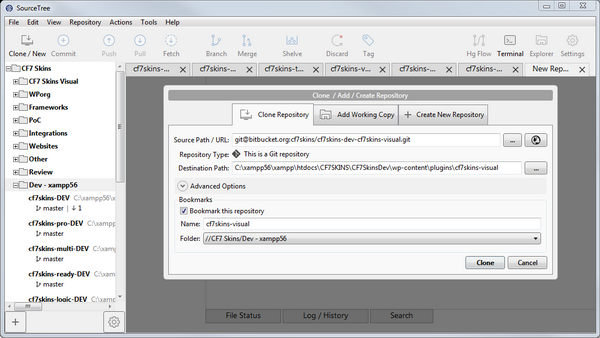
2. Clone CF7 Skins Visual plugin into this folder
You may wish to use SourceTree – a Git GUI application for your Git interactions.
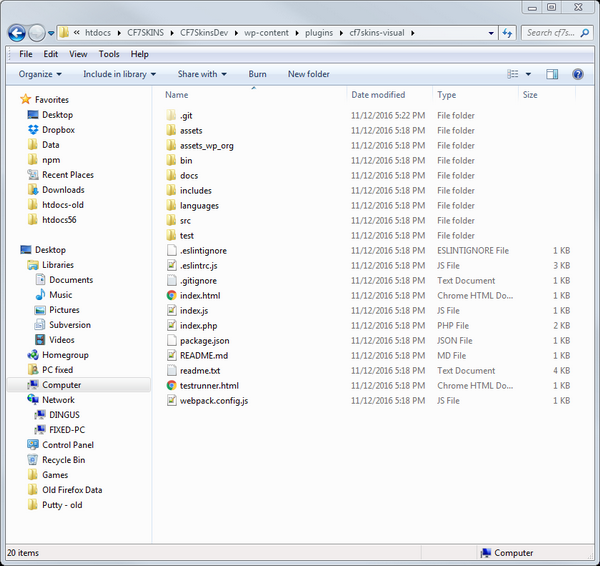
3. Contents of master branch is loaded into folder
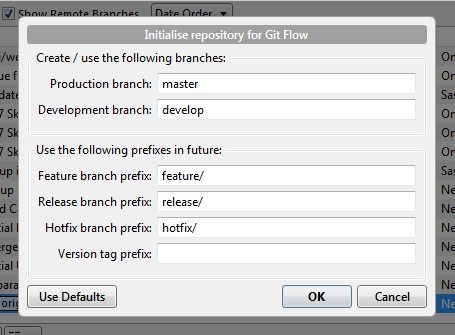
4. Setup Git Flow – optional
Git Flow setup is available as a menu option in SourceTree.
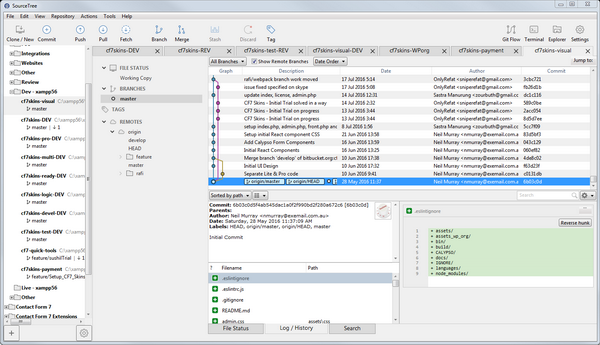
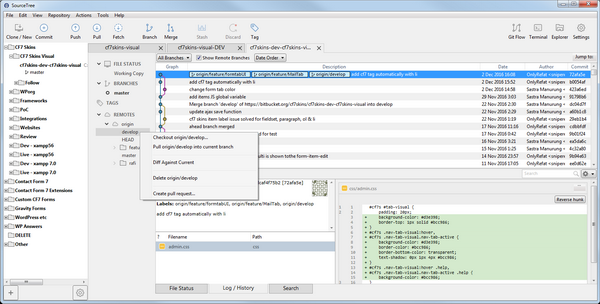
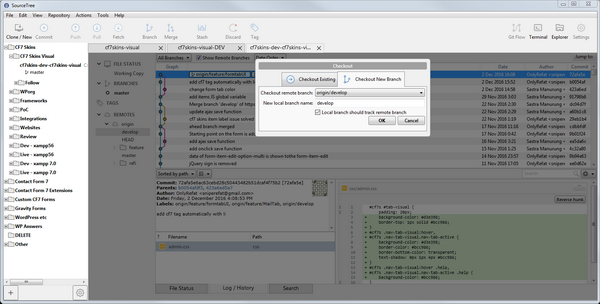
5a. Switch to develop branch
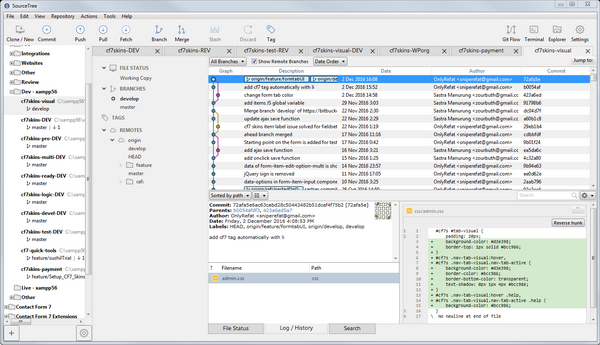
5b. Pull develop branch from Bitbucket
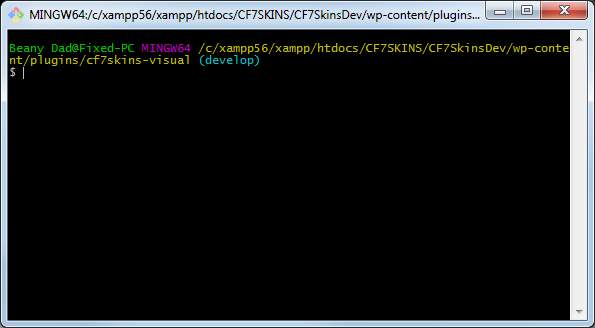
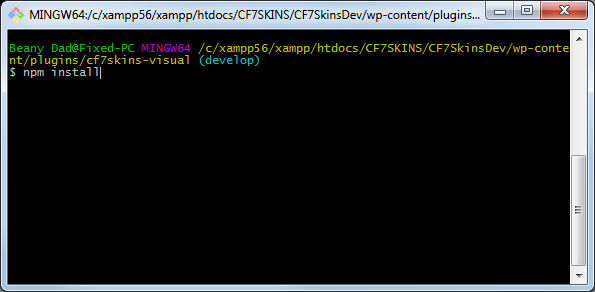
6a. Start the Command Line Interface
On Windows you can use GitBash which allows Unix-like commands within Windows) at the plugin folder.
6b. Run npm install from the command line
This can take many minutes depending on your internet connection.
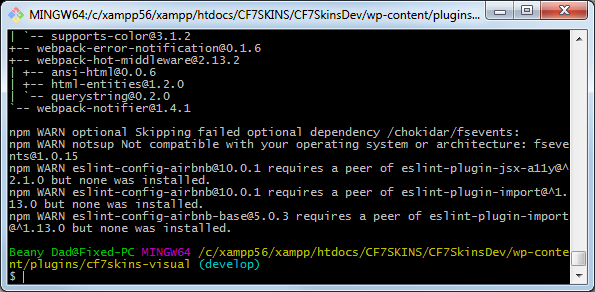
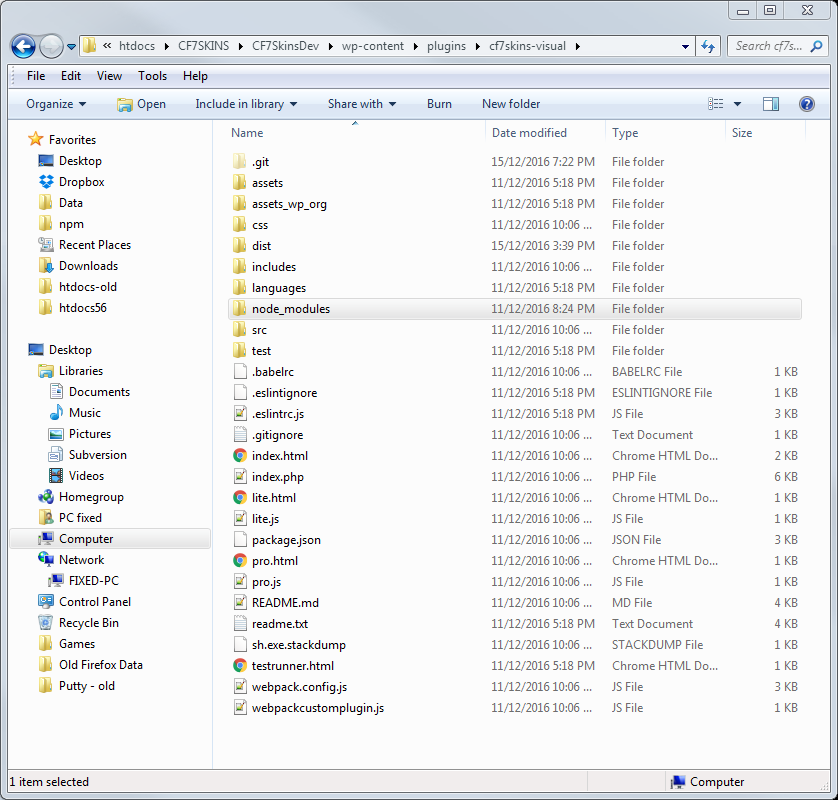
6c. node_modules folder is added in the plugin folder
6d. Run npm run webpack from the command line
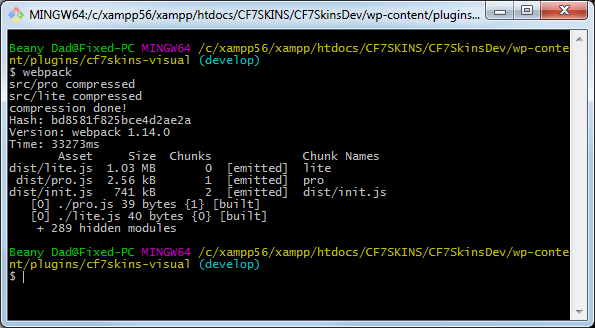
webpack – builds the CF7 Skins Visual plugins
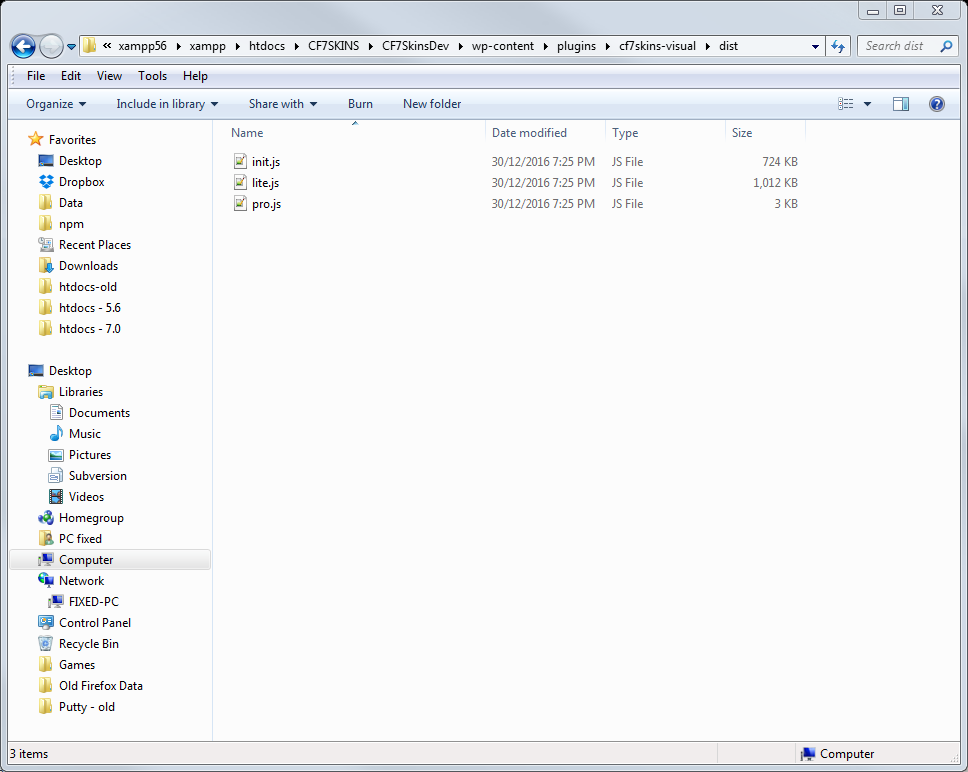
6e. dist folder added in the plugin folder
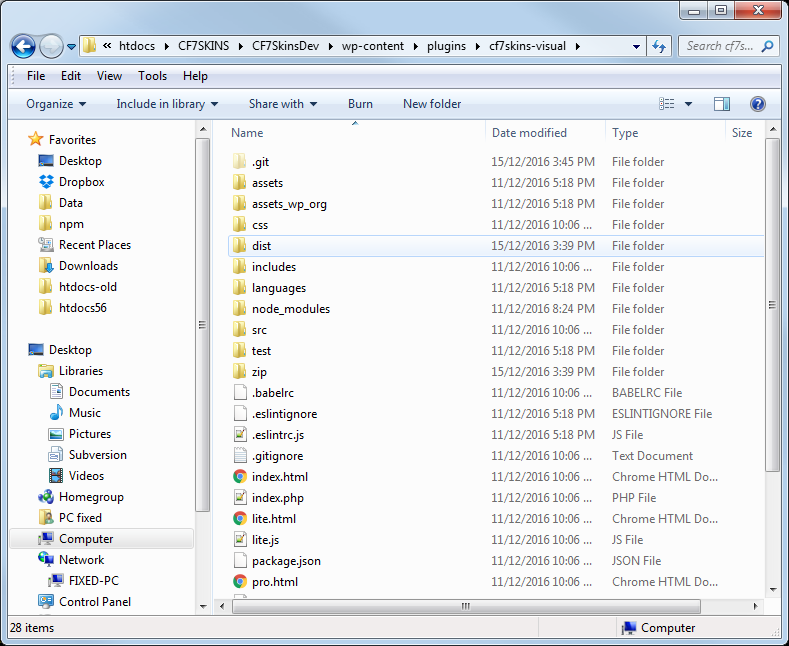
This contains all the working JavaScript.
7. Activate the Contact Form 7 Skins Visual Dev plugin

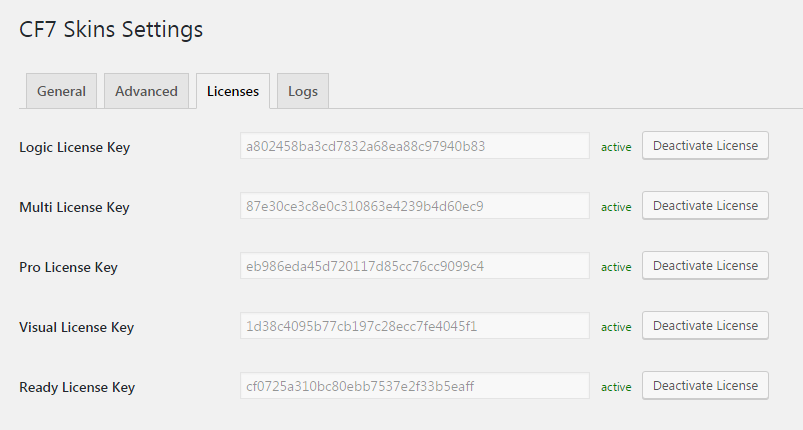
8a. You will be directed to the CF7 Skins Settings – Licenses tab
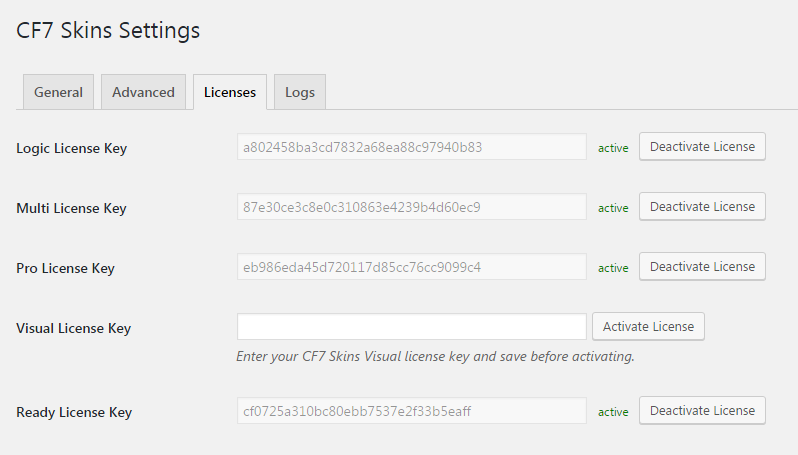
8b. Add the CF7 Skins Visual license key
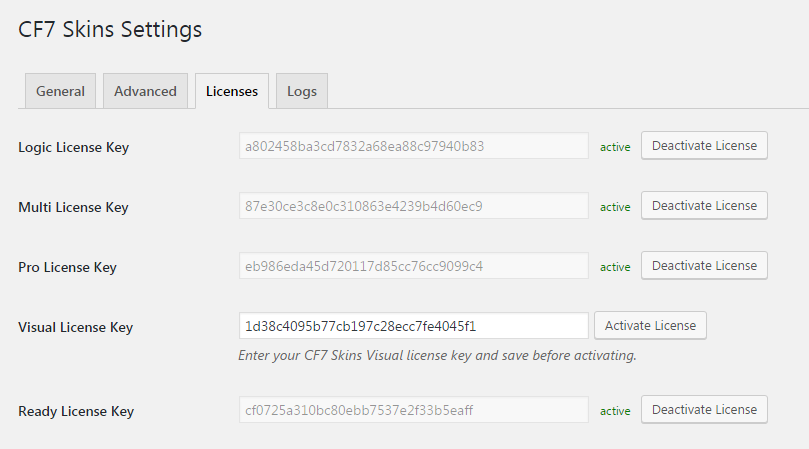
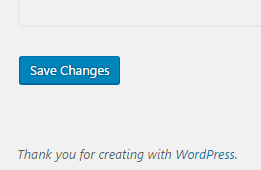
8c. Save Changes
8d. Activate License
9. The CF7 Skins Visual plugins should now be active
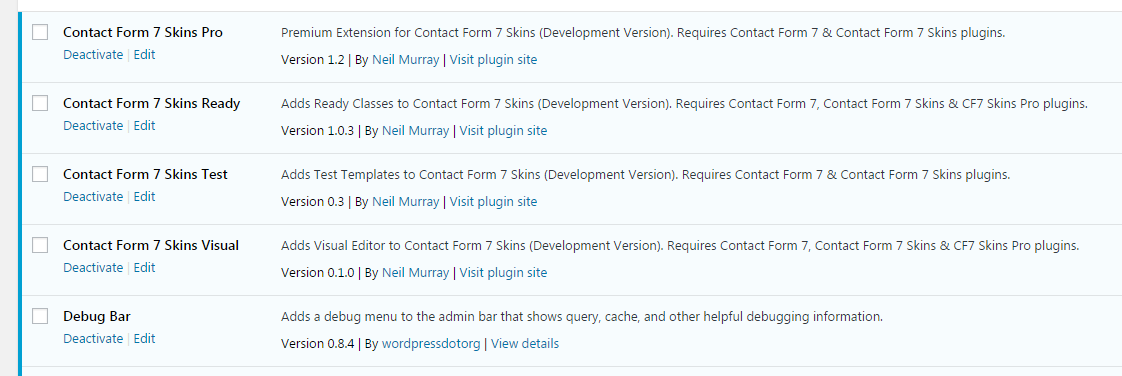
NOTE: You will also need to download, install & activate CF7 Skins Pro to operate the CF7 Skins Visual plugin and any other CF7 Skins Add-ons – see Install CF7 Skins plugins.
10. Form tab is added to CF7 Skins metabox
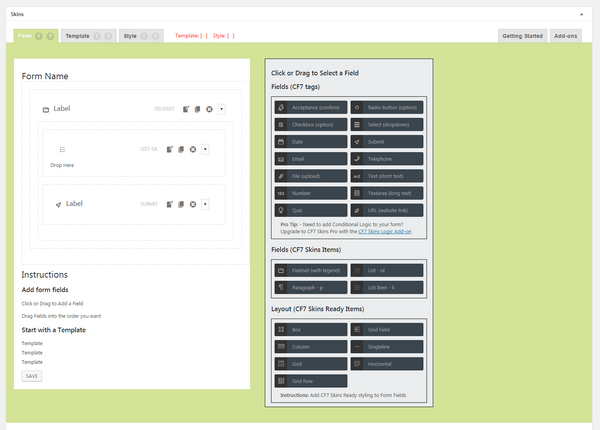
The following development plugins can be operated in the WP Admin:
- Contact Form 7 Skins Visual Dev – Contact Form 7 Skins + CF7 Skins Pro + CF7 Skins Add-ons
- Contact Form 7 Skins Visual Lite – Contact Form 7 Skins only
- Contact Form 7 Skins Visual Pro – CF7 Skins Pro + CF7 Skins Add-ons

Notes:
- To operate the CF7 Skins Visual plugins you also need to operate each CF7 Skins Add-on on the visual branch.
- Contact Form 7 Skins Visual Pro needs Contact Form 7 Skins Visual Lite activated to operate.
For development within the CF7 Skins Visual JavaScript interface
Run the following from the command line:
- npm run start – gives access to current development at http://localhost:3030. Any changes are reloaded automatically
For development within the WordPress wp-admin plugin interface
Run the following from the command line:
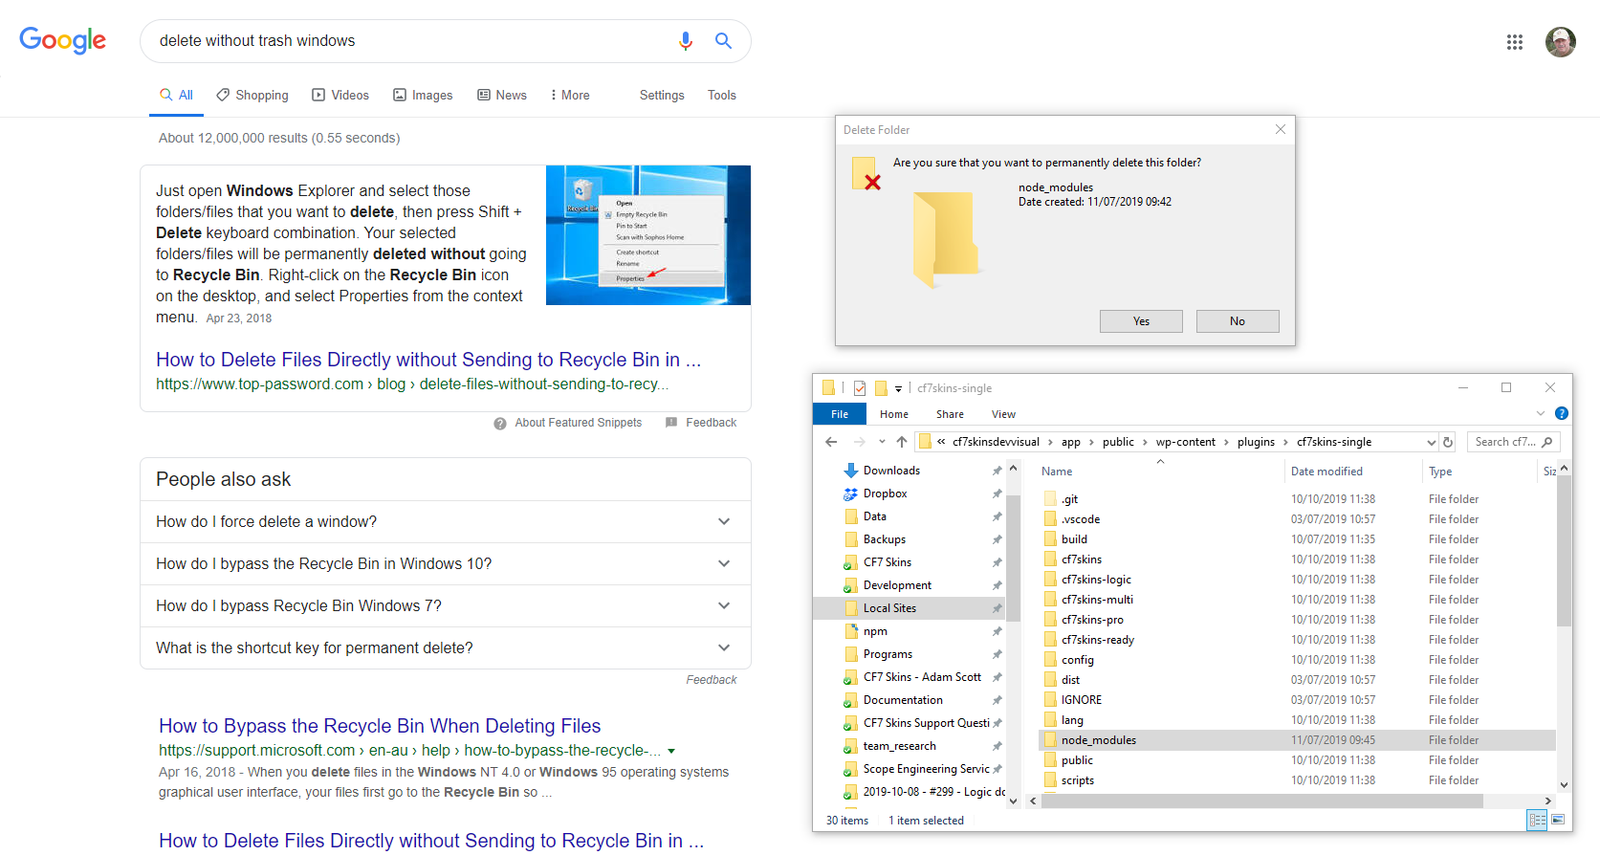
- Delete node_modules folder (1) – removes package.json setup for previous branch
- npm install (2) – installs current package.json setup
- npm run webpack – re-builds CF7 Skins Visual plugins
This is needed to test interactions between our React based JavaScript code and PHP & JS code in WordPress and the Contact Form 7 plugin (which CF7 Skins extends).
Note:
1. You need to do this after each major change e.g. switching to a different branch.
2. If you use Yarn you can use yarn install instead of npm install etc.
3. You can run npm update whenever package.json is updated to bring node_modules up to date & then run webpack to re-build the CF7 Skins Visual plugins.
Tip: To avoid adding the node_modules folder to Trash (which can become very large with repeated deletions) select the node_modules folder then press Shift + Delete keyboard combination. Your selected folders/files will be permanently deleted without going to Recycle Bin.
For production builds of CF7 Skins Visual plugins run .. from the command line:
NOTE: In the future this will include I18n and other features.
When you’ve finished all this, call us on Skype to go through everything via screenshare and check all is working as expected on your local development install.