
Last Updated on October 18, 2024 by Neil Murray
Table of Contents
- Sync
- Use Sync Desktop
- Sync Task Folders
- Record Your Work
- Reference your Sync Folder URL/Path
- Sync Storage Space
- Points to Remember
Sync #
We’ve found Sync is an easy way to share the images & files we use on our various websites. You should always add any screenshots, files & images you use into the relevant Sync folder. Do it as soon as you start working on any item.
Use Sync Desktop #
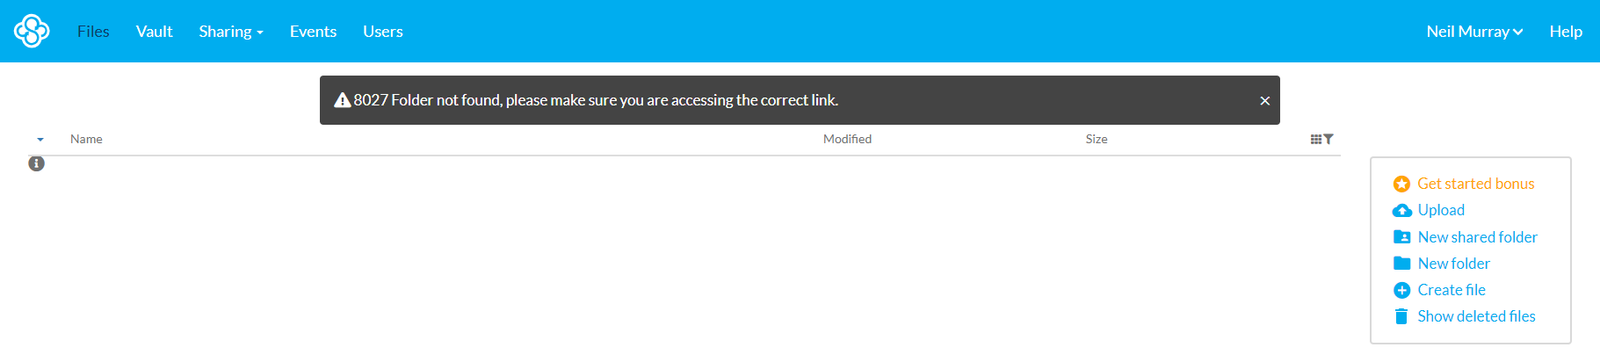
Make sure you install & use the Sync Desktop. Team members should not use Sync online as this often creates issues with files not being synced for others to see when reviewing work done.
I work with Sync Desktop & simply use it as my work folder so everything I work on is immediately uploaded to Sync as I work. That way, I never have to remember to upload changed files via the sync.com web interface.
Neil Murray
Storing your work on your local computer & not making it immediately available to others on the team via Sync is a big no-no with us.
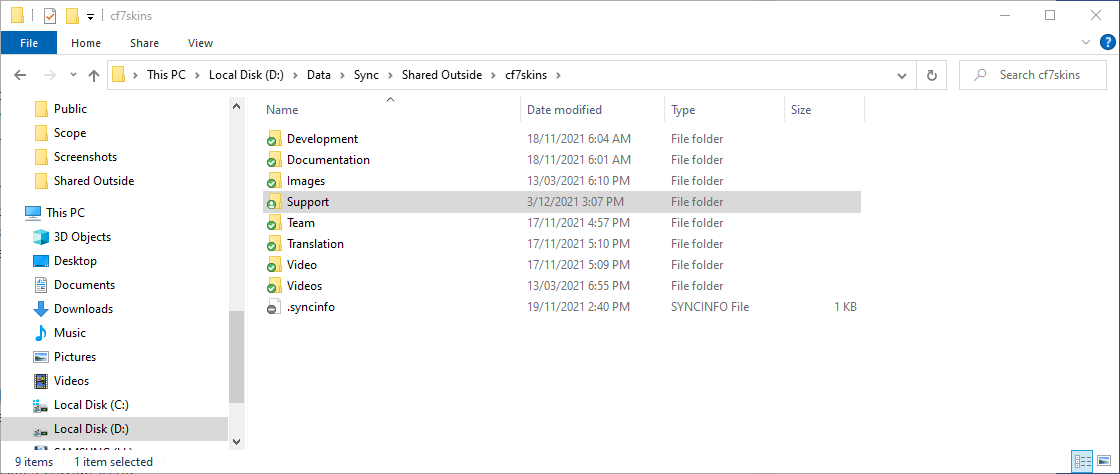
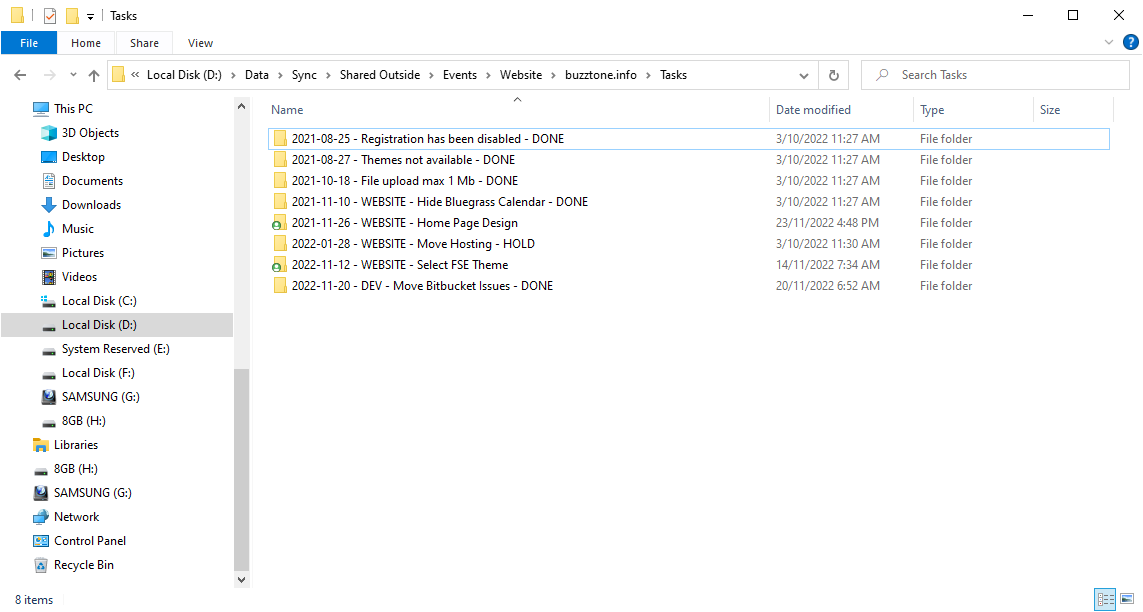
Sync Task Folders #
Each task has a Sync folder where all files are stored so they can be quickly & easily accessed by both you & others on the team.
Add any screenshots, files and images you use into the relevant Sync folder while you are working on a task. Don’t wait unitl you finish the task.
Don’t use Microsoft Office applications #
NOTE: We never use Microsoft Office applications, including Word or Excel spreadsheets, in any of our team communication. Not everyone in our team has access to Microsoft Office & we’ve found using them generally results in poorer communication.
Instead we use raw test files (Notepad on Windows) & images (with suitable labelling) stored in the relevant Sync folder.
Trial Task Folders #
While your doing your trial, you’ll experience for the first time how we use Sync folders to:
- explain the task required via written instructions & screenshots
- monitor & review your work & progress both during & after your trial
- make everything available to everyone on the team all the time
We use raw text files (Notepad on Windows) & lots of screenshots (with suitable labelling) stored in the relevant Sync folder.
It probably seems an add way to do things but we’ve learnt over time this works well with remote contractors working asynchronously.
Frankly this is our way & were not changing any time soon.


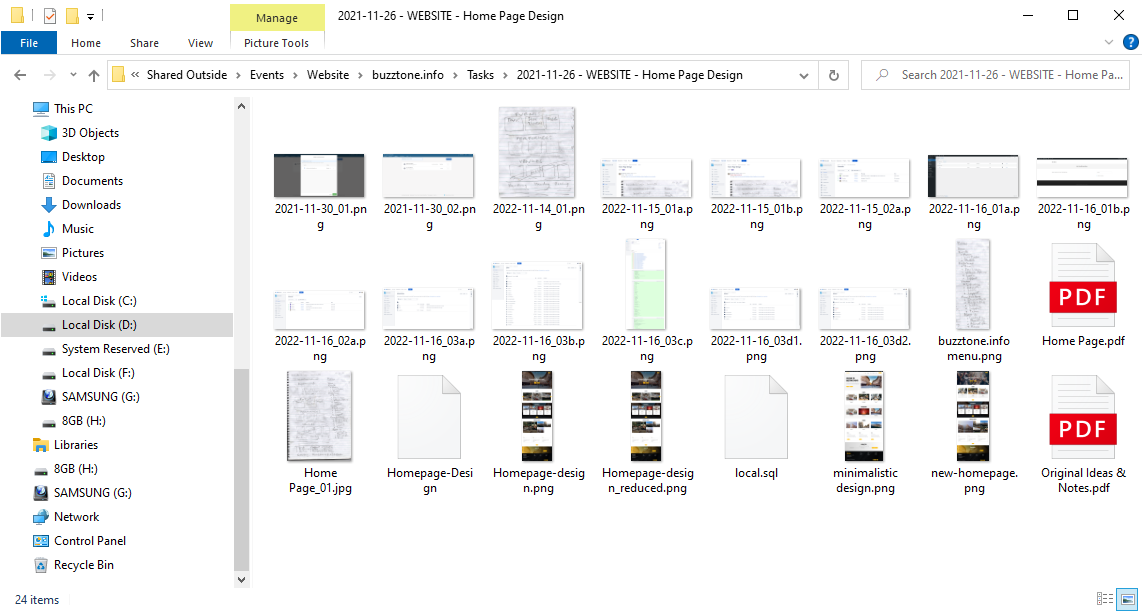
Record Your Work – as you work #
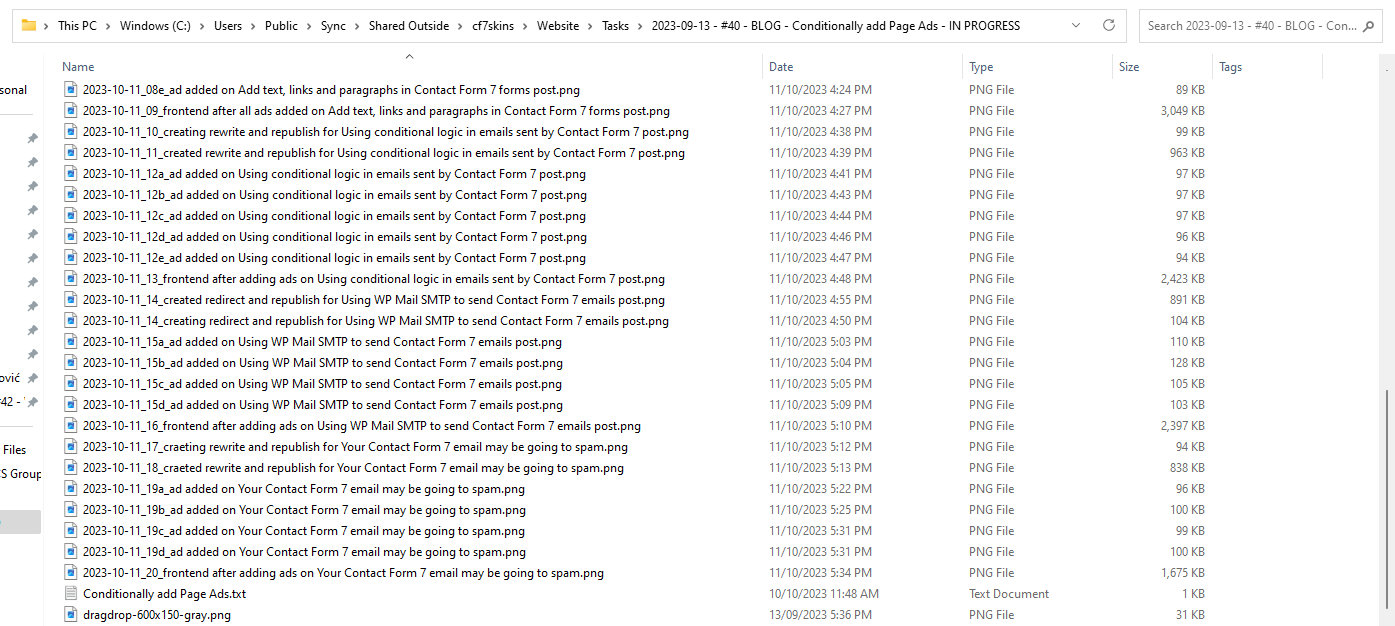
Team members are required to document each & every task with screenshots stored in the relevant folder. This allows other team members to understand the work you have done.
For suggestions, notes and ideas, use text files.
Screenshots
The screenshots or images should explain your work on each task quickly & easily to others.
Where it is helpful, highlight or point out important elements with the help of text, arrows and boxes added to the screenshot.

See Screenshots.
Screenshot Naming
Name your images following our standard format so that other team members can make sense of them.
See Screenshot Naming.
Screenshot Tools
It is also recommended to highlight or point out important elements with the help of arrows and boxes. You can use simple programs like MS Paint or Paintbrush to edit images.

I use TechSmith Capture for taking screenshots on Windows & Awesome Screenshot (Chrome Extension) to add markup to screenshots.
Neil Murray
See Screenshotting Tools.
Unnecessarily repetitive & excessive Screenshots #
If you are repeating the same process, you only needed to show what you did for your first time as an example. After that you just need to show the finished result for each change.
Unnecessarily repetitive & excessive screenshots make the screenshots harder to review.
See Testing Guidelines – Screenshots.
Further Reading:
Text Files
The text files should be clear and concise so any team member can understand its content.

We use simple .txt files, rather than Word or other file formats, as this makes copying & pasting to the other tools we use more reliable.
All text files need a unique name which describes the current task.
Don’t use common names like Readme.txt as these may be easily confused with other similar file names in other tasks.
Save all Images to Sync #
- Add all Images used in an article into ..\Sync\ .. \..Team..\Tasks\.. as you work. This allows others to review your work as you progress.
- If there is not a Sync folder for the item, create a new one.
- Add screenshots you take in Screenshots folder.

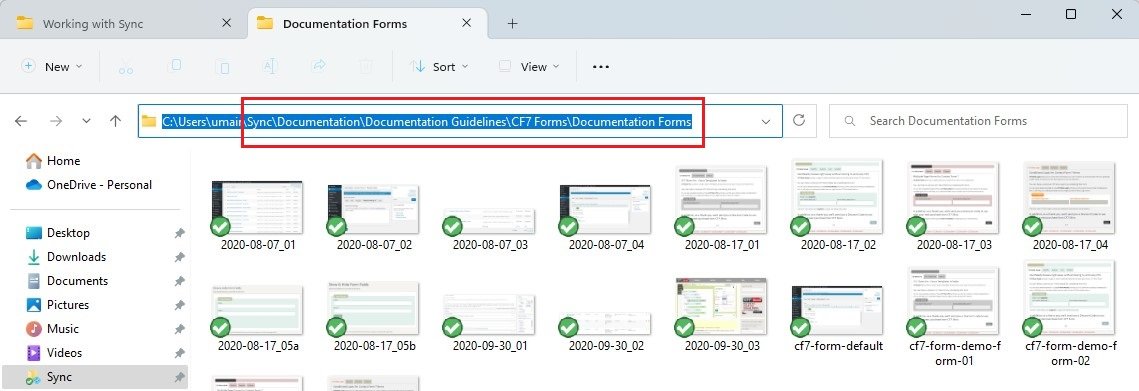
Reference your Sync Folder URL/Path #
Use the relevant Sync folder path in your work notes, documentation and chat so the concerned people can find relevant data. Follow these steps to get your link;
- In your Windows File Explorer, navigate to the relevant work folder.
- Move your cursor to the Address Bar at the top. This will highlight the folder’s URL/path.
- Copy this UR L/pathand paste it wherever you want to make the reference.
If you use macOS, follow the instructions at this link.
Don’t include the full path in link #
A. Copy only the section of the link from \Sync\… onwards. The address before this point may be different for different users.
B. Don’t include any progress labels as the label is going to change at some stage.
For example use Sync\Website\Tasks\2023-09-13 – #40 – BLOG – Conditionally add Page Ads\ for the path rather than Sync\Website\Tasks\2023-09-13 – #40 – BLOG – Conditionally add Page Ads – IN PROGRESS\.
Don’t use Sync shared links #
We don’t use Sync shared links.
Sync shared links like https://ln5.sync.com/dl/d6d5bde20/ef3grfz9-zx3dnv5j-reiwy29m-ummp8y7b generally don’t work for other team members.
Instead just use text like Sync\UI Design\Tasks\2023-09-26 – FIGMA – #10 – CF7 Skins Mail Tab\.
Sync Storage Space #
We currently control the size of individual shared Sync folders to be less than that available for the free version of Sync. If necessary, we archive older files to achieve this.
If you run out of space in your Sync account, you have a few options in the free tier:
- Use your referral link to invite friends to Sync. It gives you extra space on your account, even if they opt to use the free version.
- Remove/Shift your personal data from your Sync.
- Use separate Sync accounts for CF7 Skins data and your personal data.
Points to Remember #
- Use the Sync Desktop App to navigate easily through and record files, rather than Sync Web Portal.
- Find & manage your tasks in their respective Sync folders.
- Screenshots should show the important parts/elements of the respective task.
- Name all the synced files in our standard format.
- Add reference to the relevant Sync folder in documentation, chat and wherever else necessary.
Further Reading:
Notes
Save all Images to Sync – use ..\Sync\..\Development\Development Guidelines\Working with CF7 Skins\Working with Sync\
EXISTING PAGES
Existing pages to be copied