
Last Updated on June 10, 2025 by Neil Murray
Table of Contents #
- Prerequisites
- Using existing WordPress environment
- Using Docker and wp-env
- Gutenberg – fork, clone, commit
- Using Studio
- SourceTree
- nvm – Node version manager
- Using Xdebug
Prerequisites #
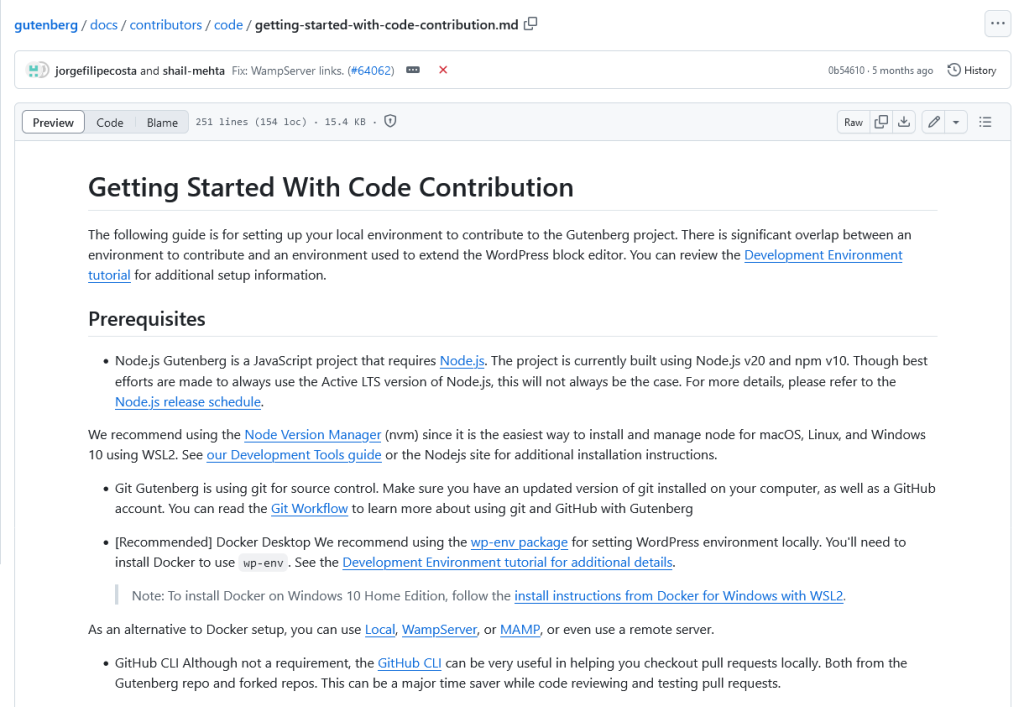
Refer: Getting Started With Code Contribution – Prerequisites
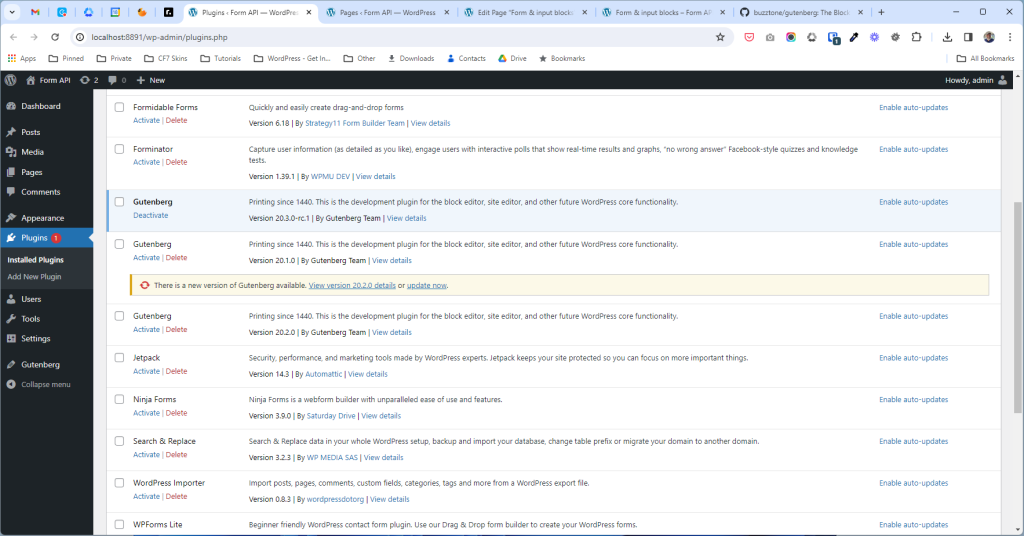
Using existing WordPress environment #

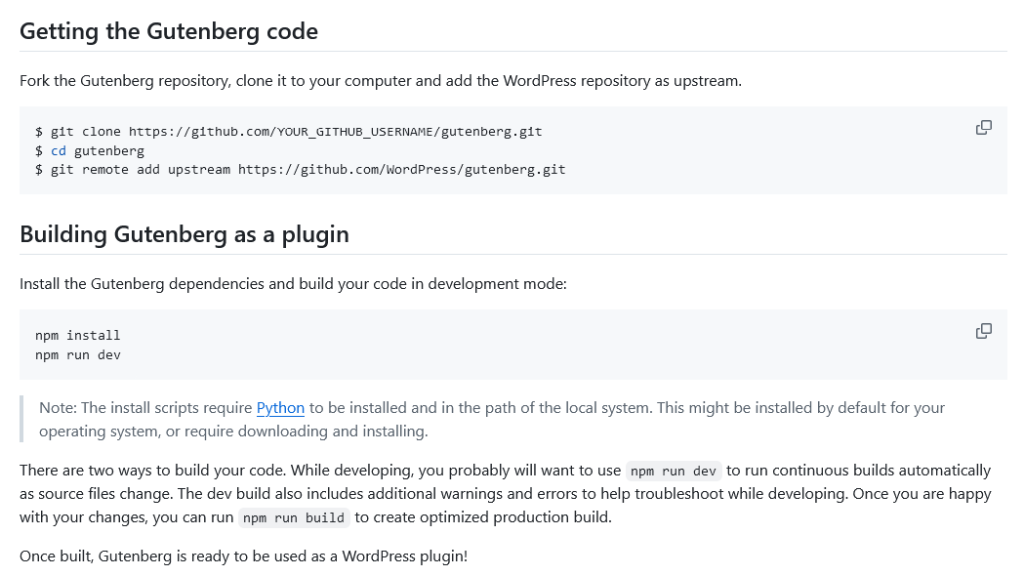
Refer: Getting Started With Code Contribution – Getting the Gutenberg code
Note: The install scripts require Python to be installed and in the path of the local system. This might be installed by default for your operating system, or require downloading and installing
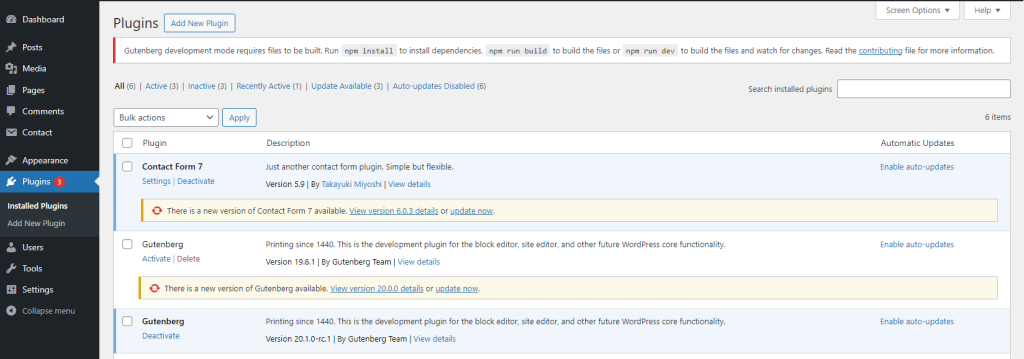
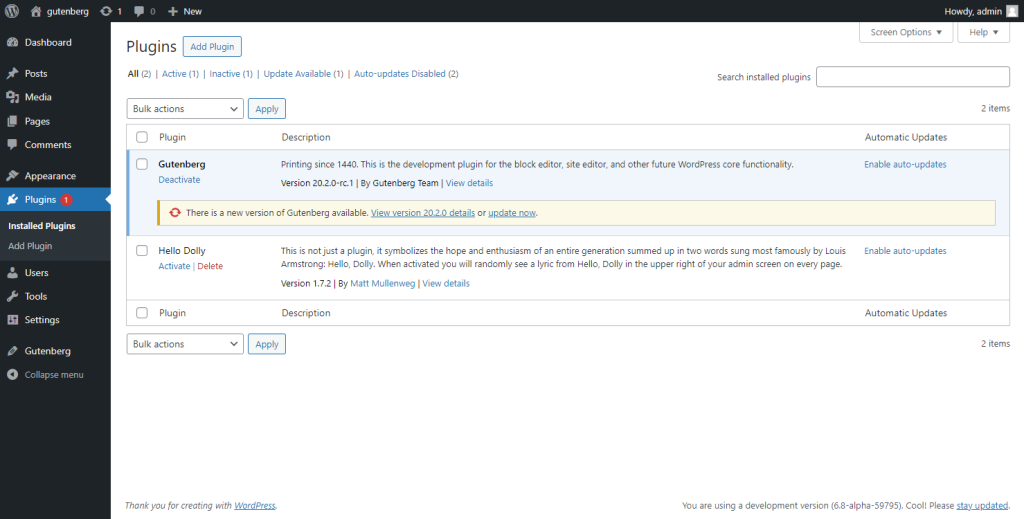
Once this completes correctly you’ll notice the Gutenberg plugin installed and activated, this is your local build.
Refer: Getting Started With Code Contribution – Local WordPress Environment
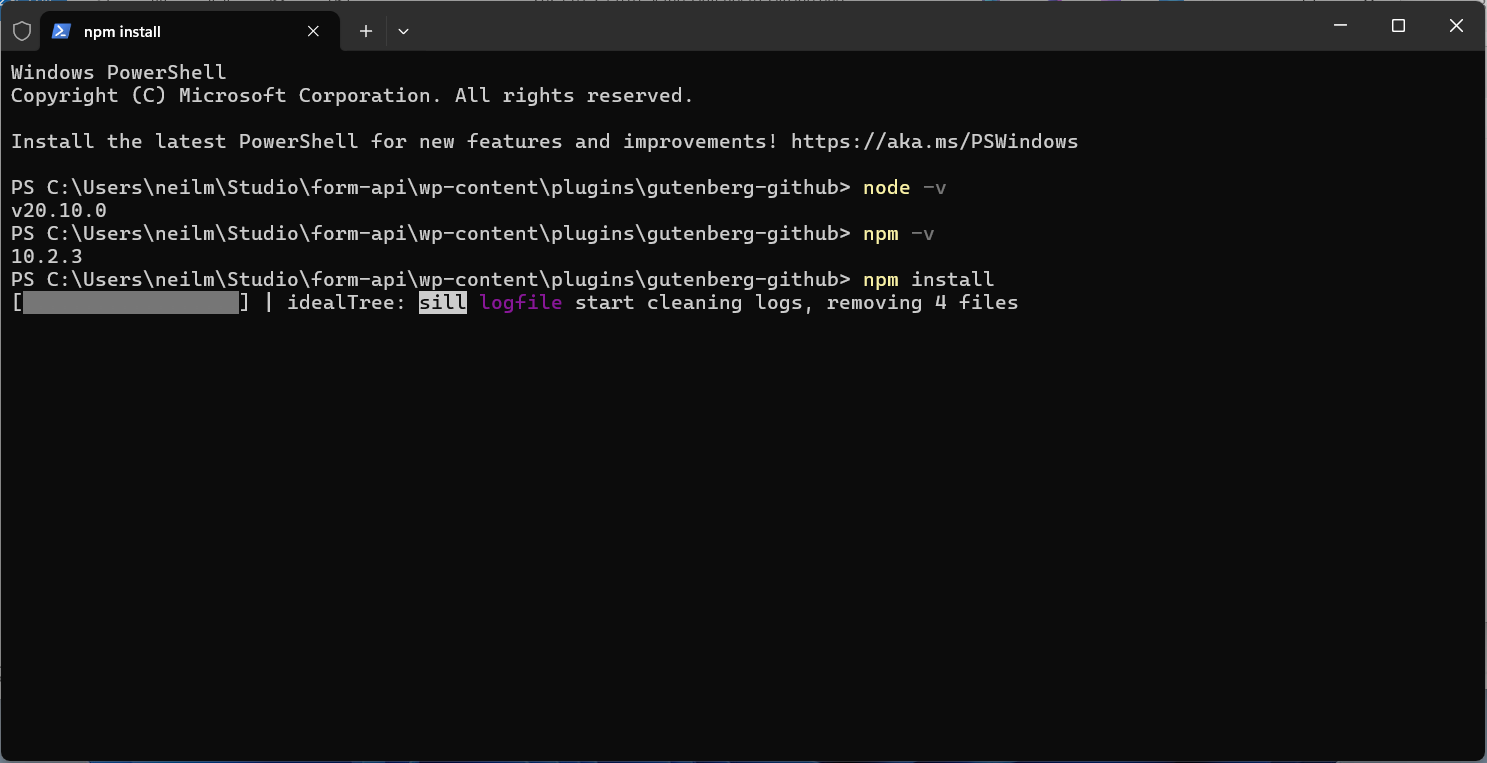
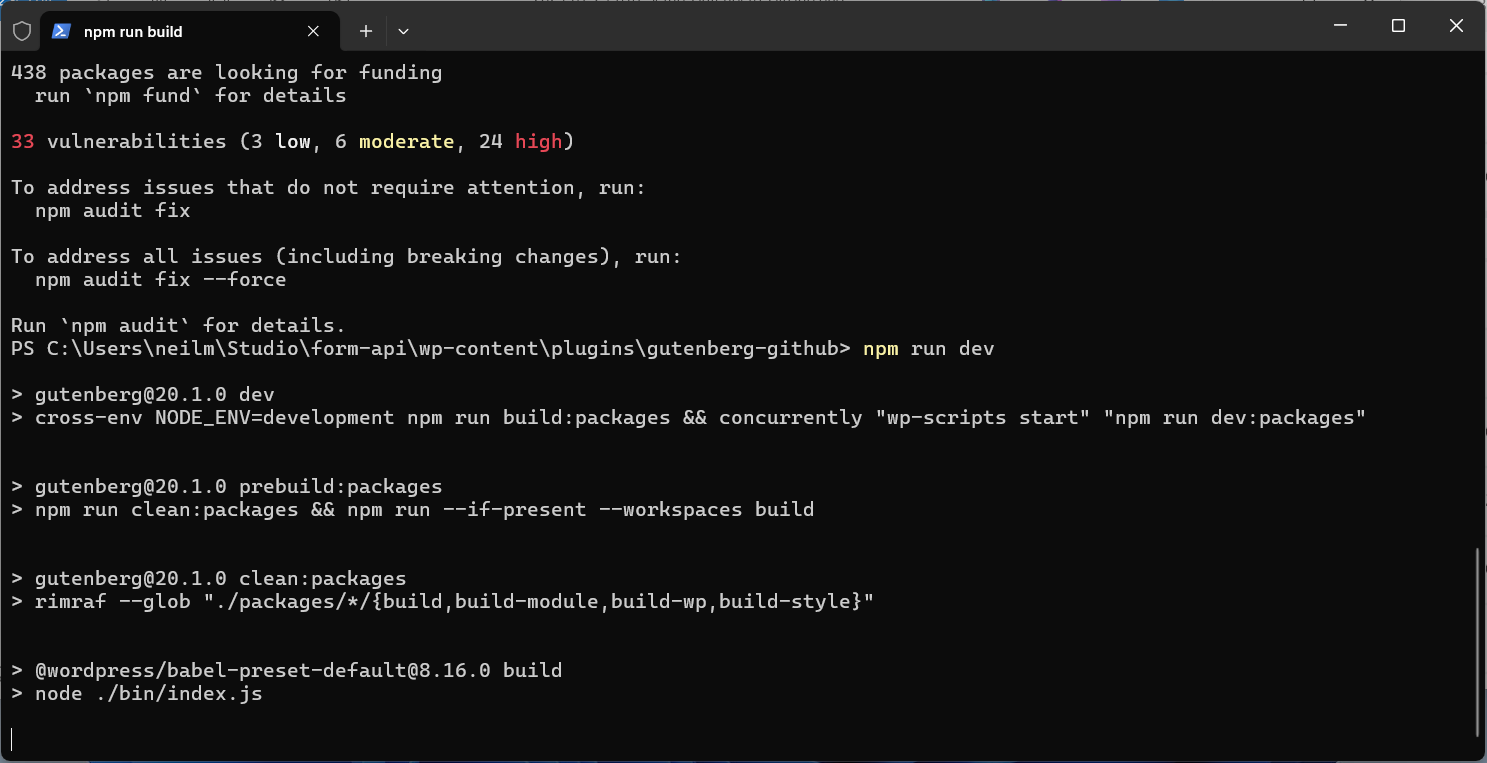
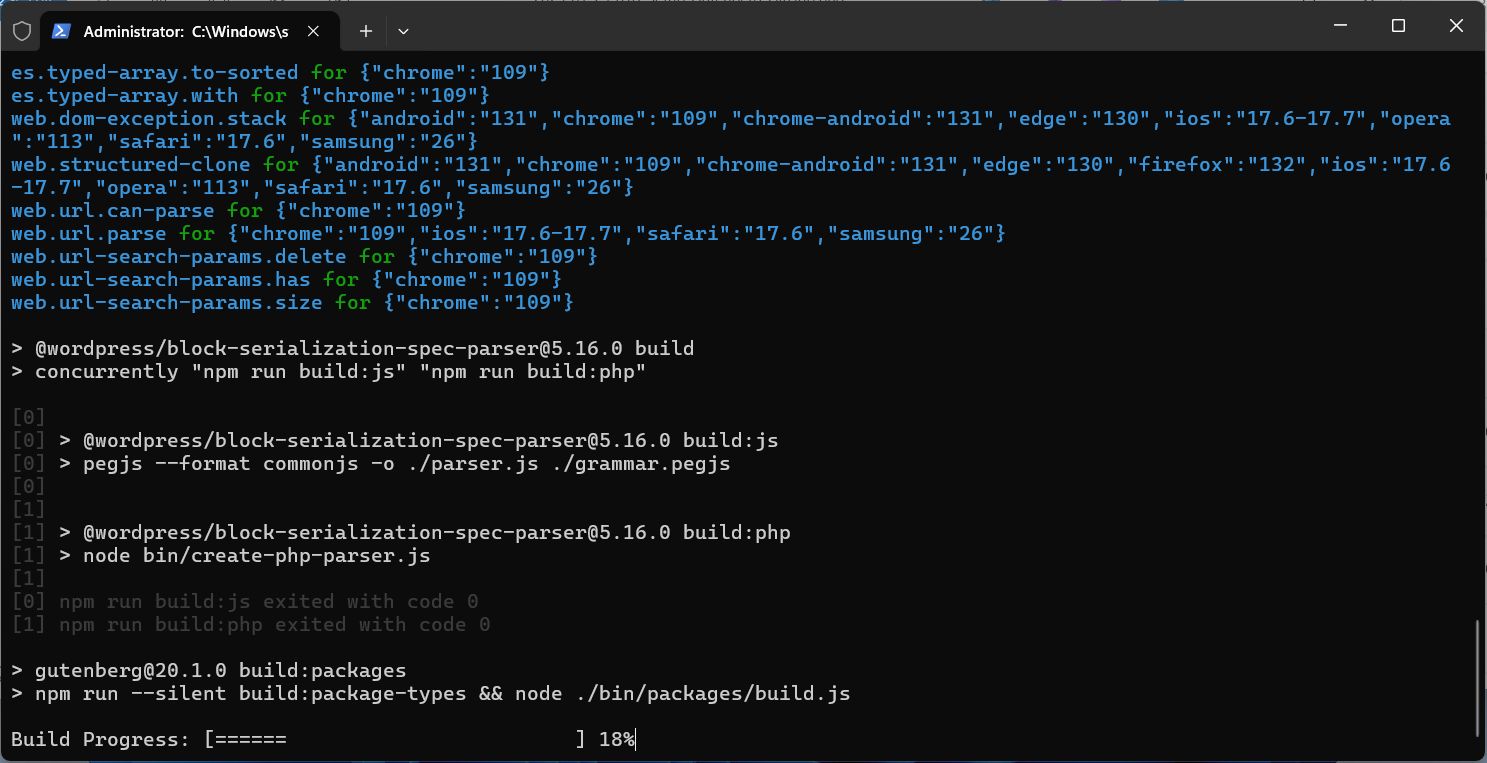
While developing, you probably will want to use
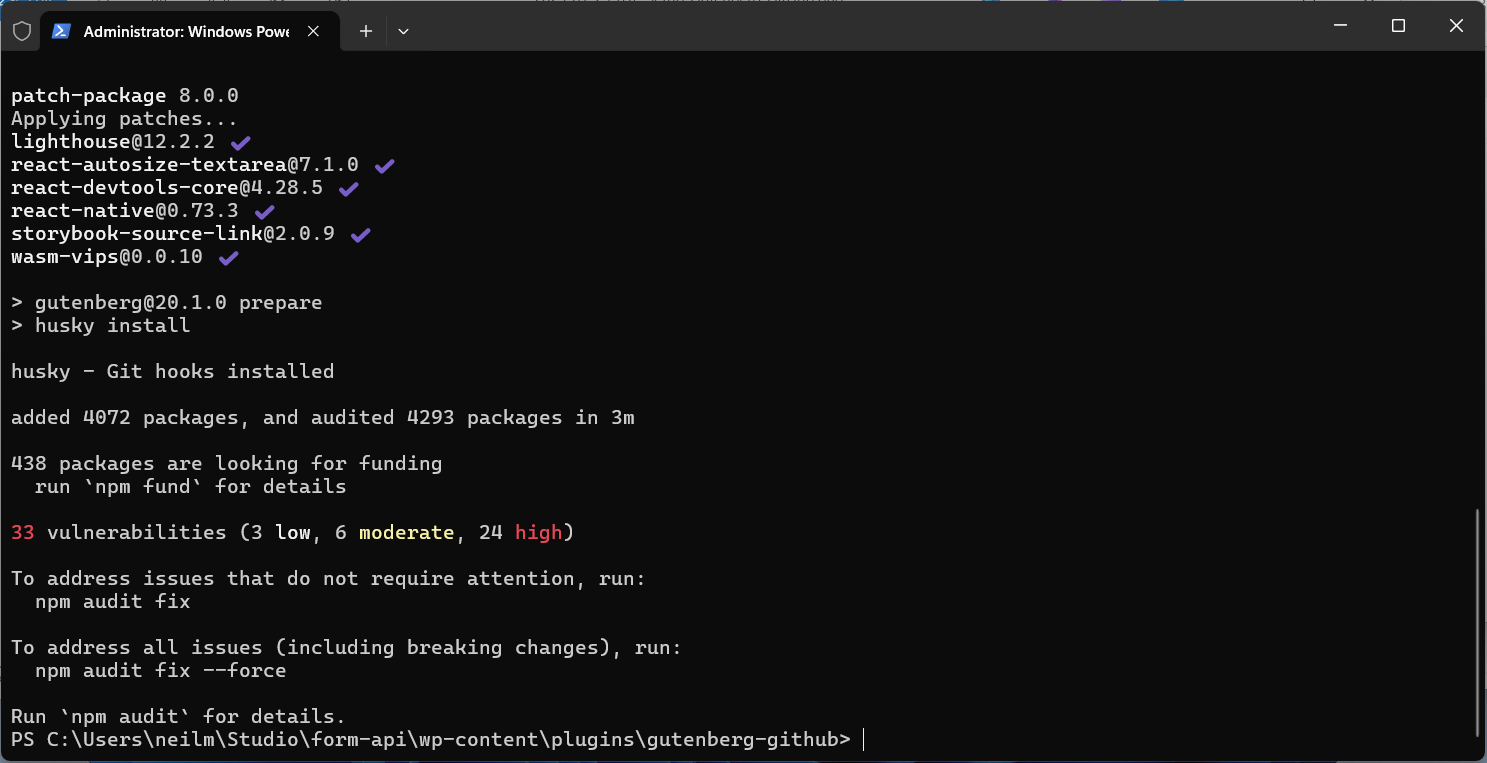
npm run devto run continuous builds automatically as source files change.The dev build also includes additional warnings and errors to help troubleshoot while developing.
Once you are happy with your changes, you can run
npm run buildto create optimized production build.
Further Reading:
Using Docker and wp-env #
Refer: Setup wp-env – Using Docker and wp-env
Using Docker #
Refer: Using Docker
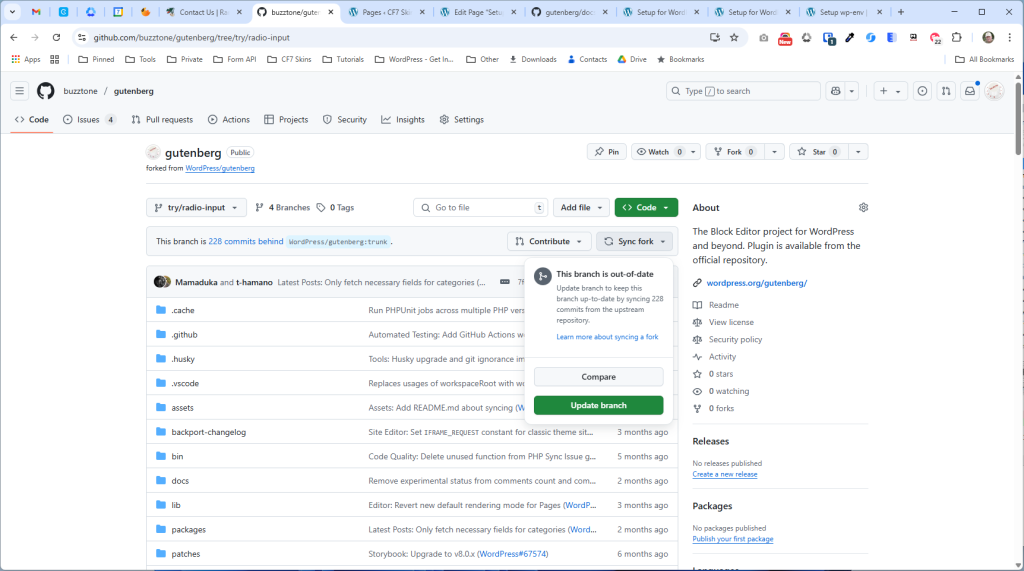
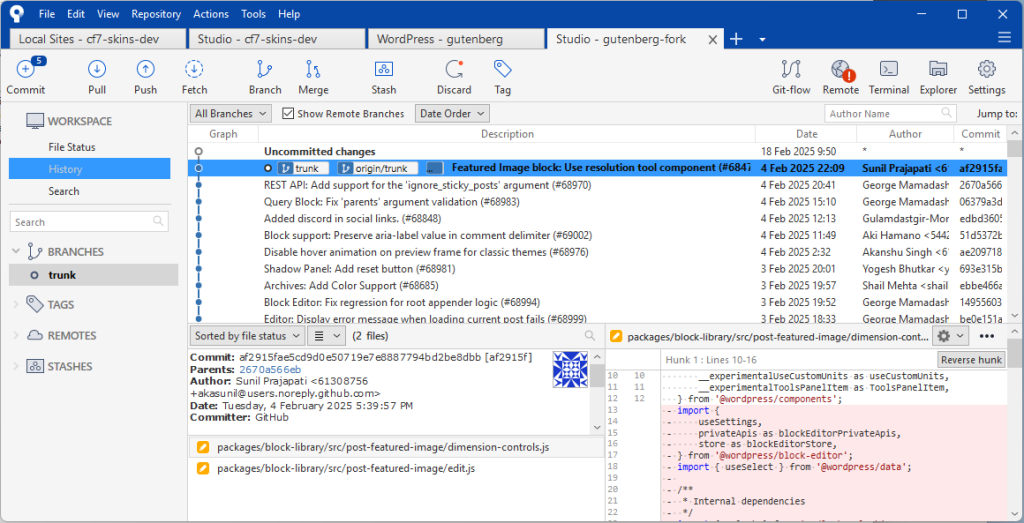
Gutenberg – fork, clone, commit #

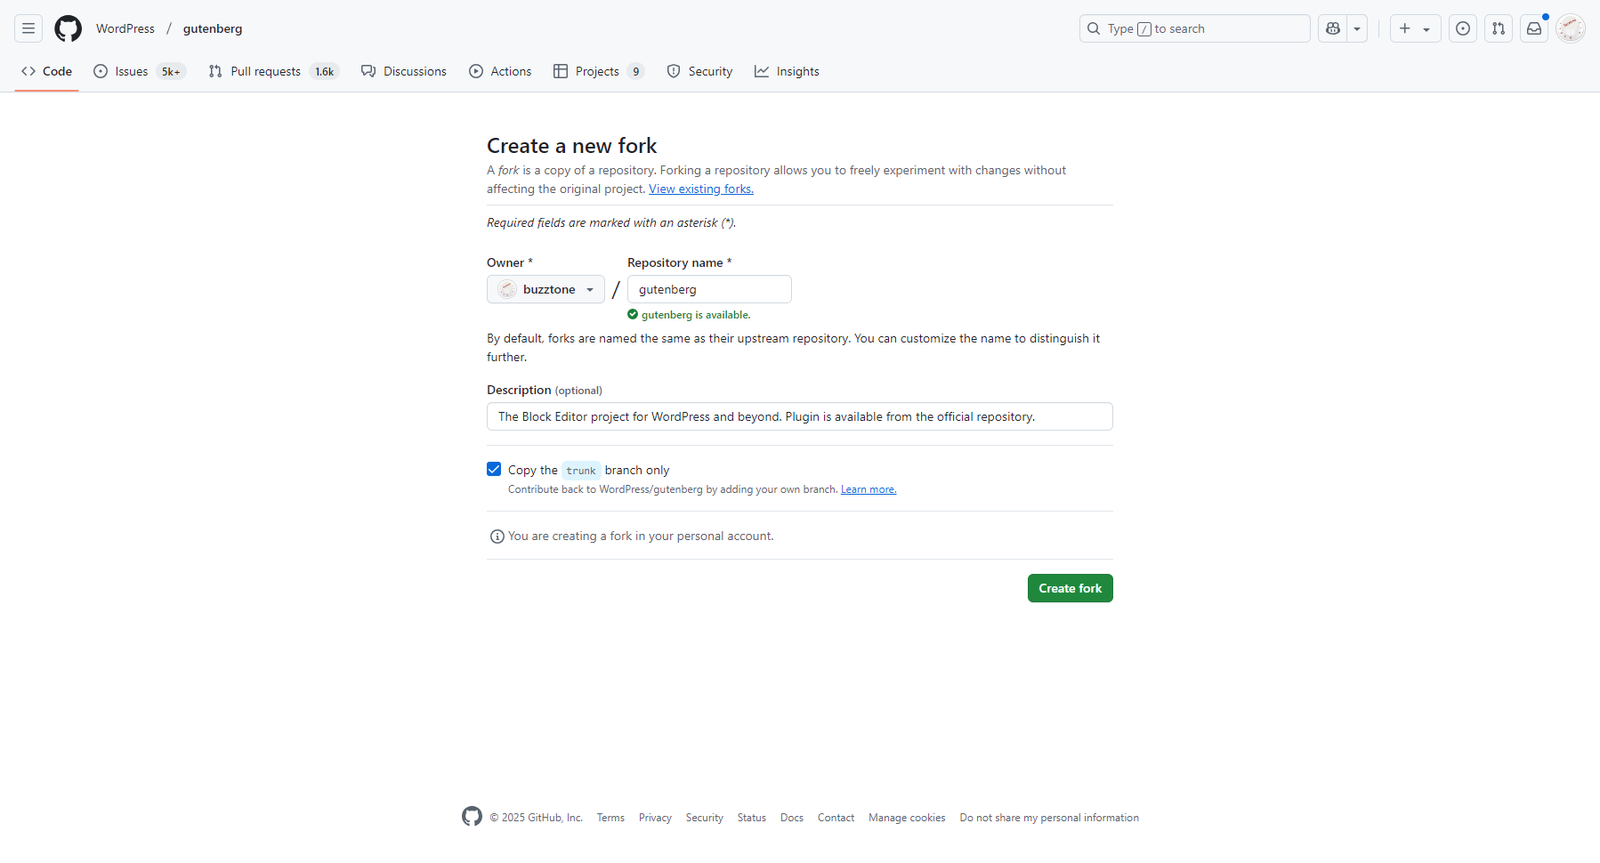
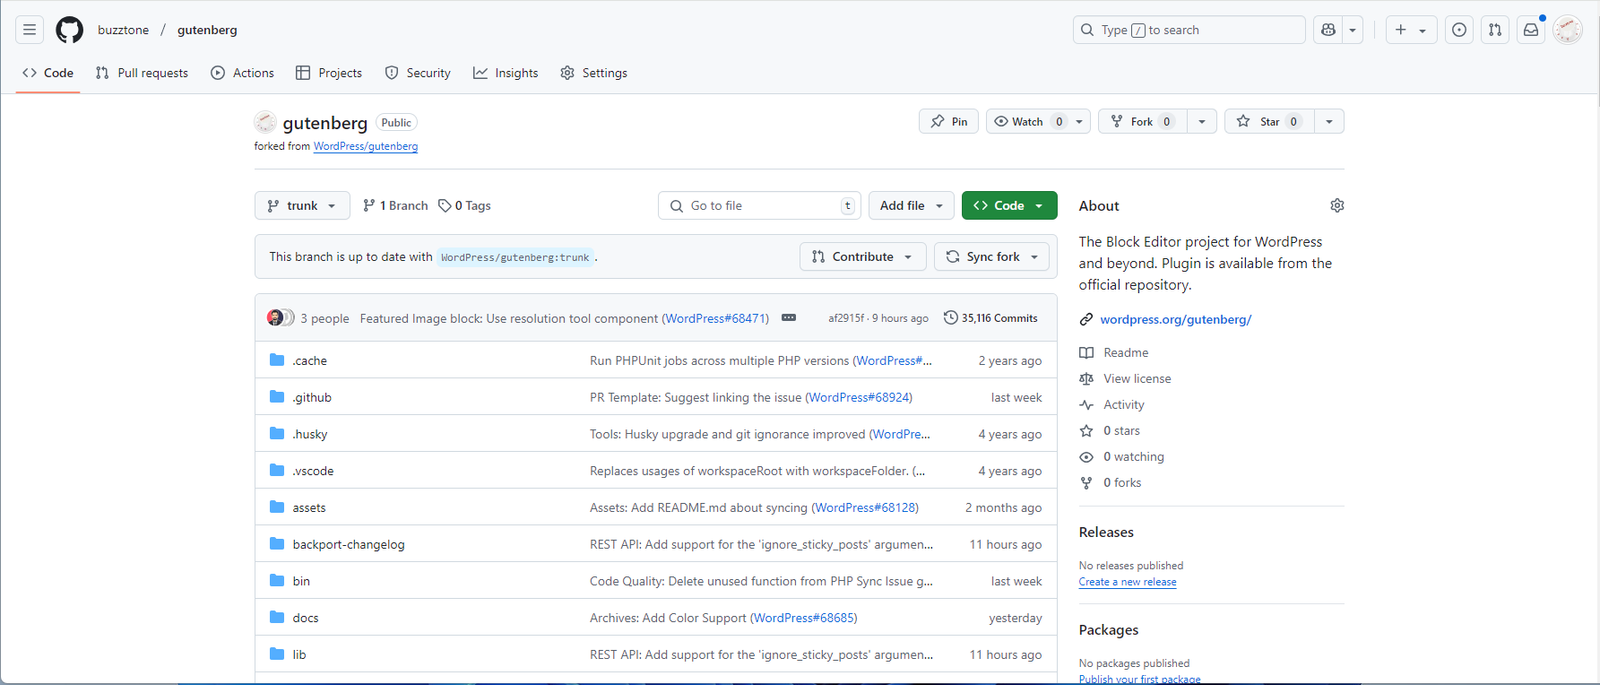

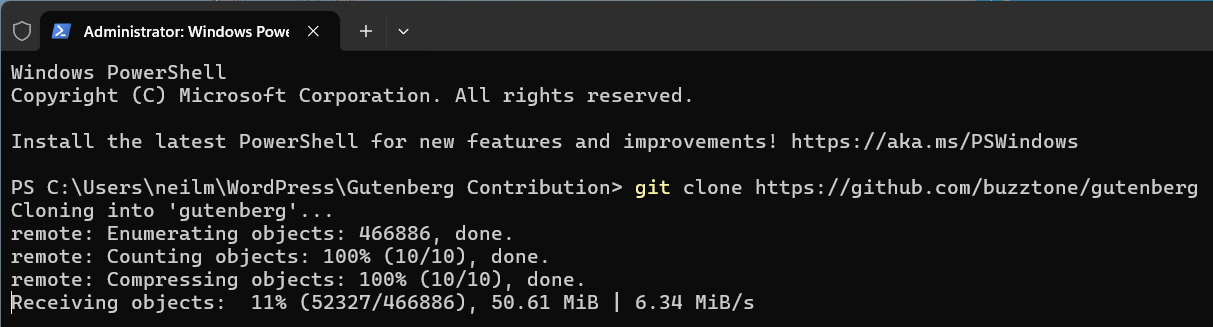
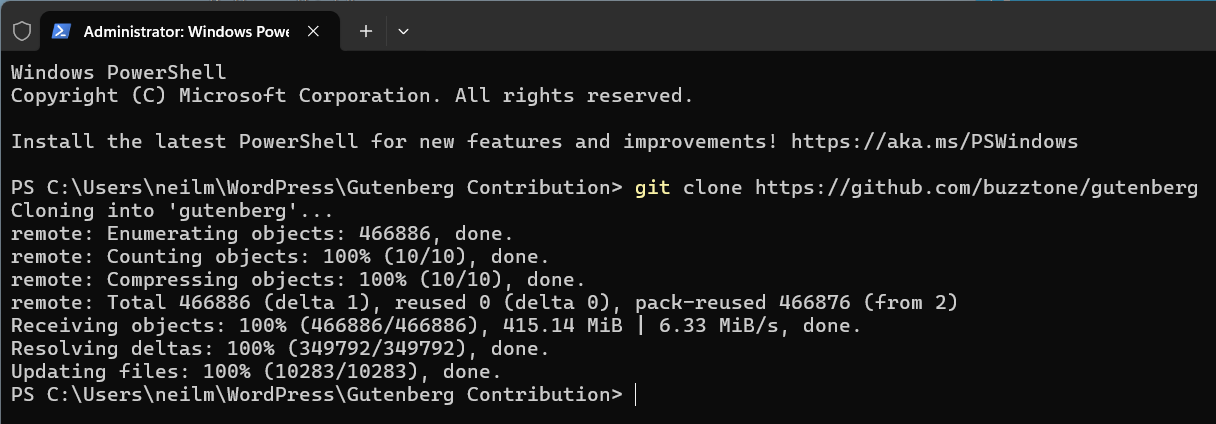
Refer: Git Workflow Walkthrough
Further Reading:
Update GitHub Fork #
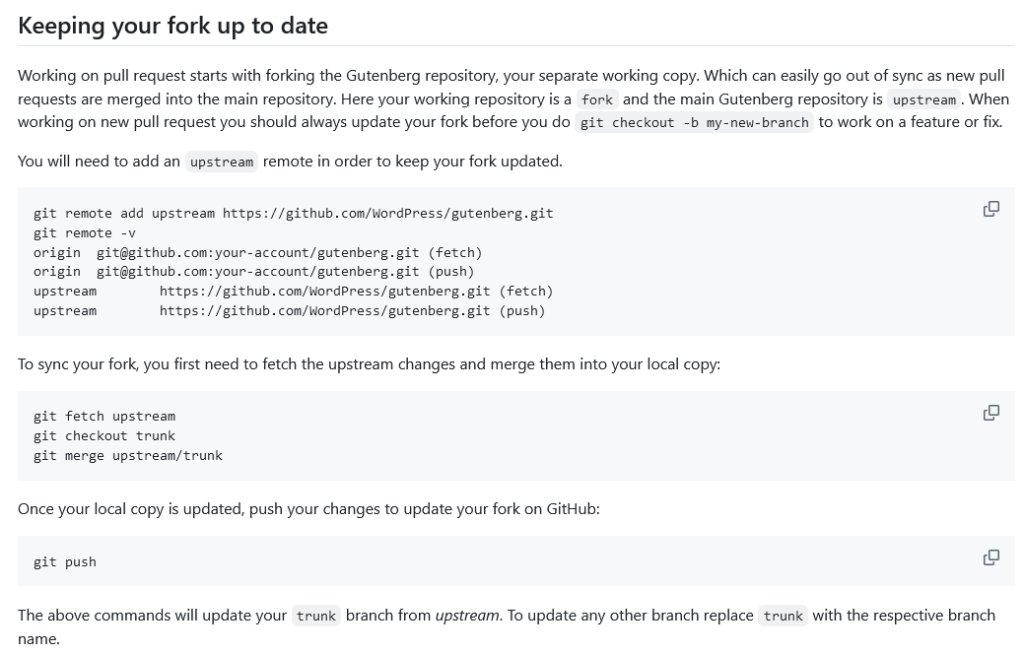
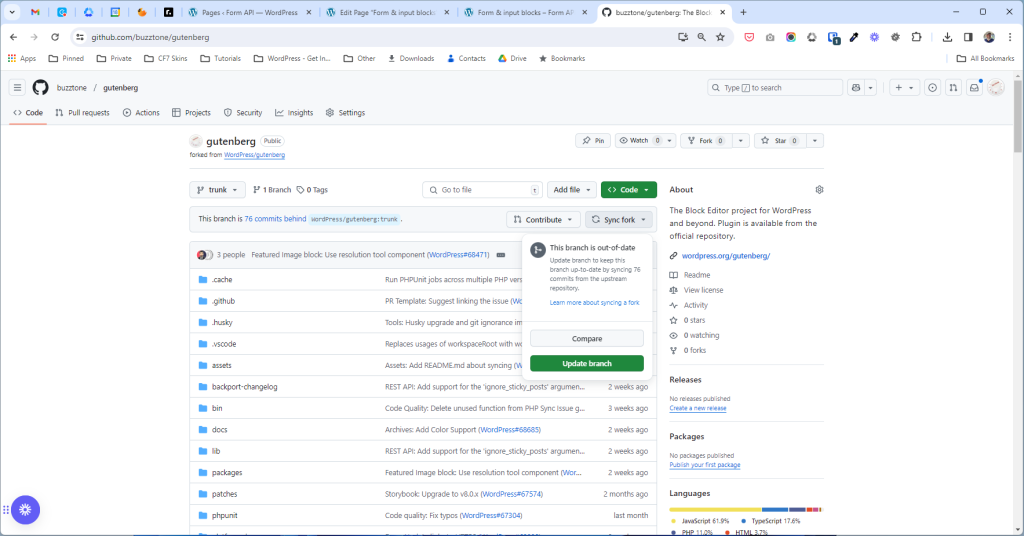
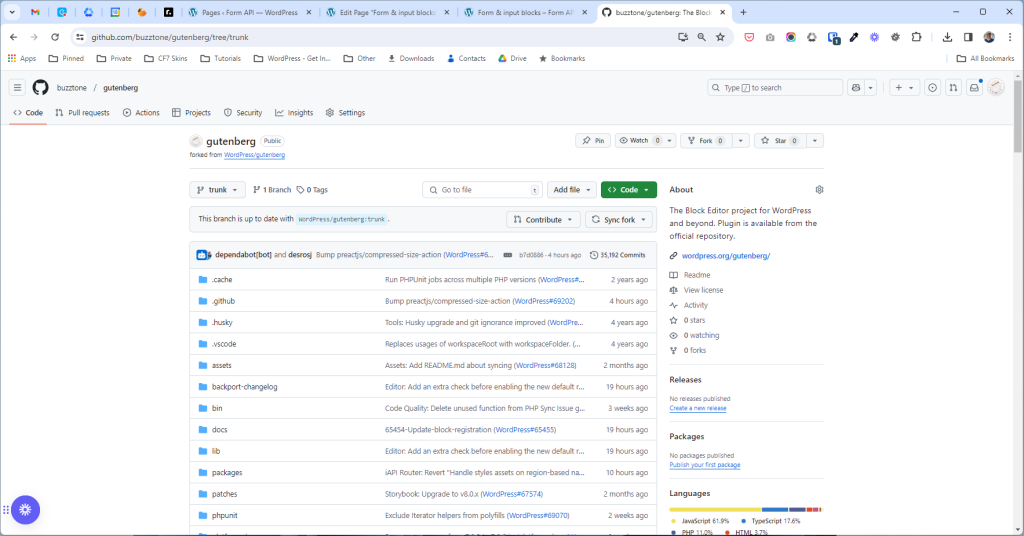

Refer: Keeping your fork up to date
Keeping your branch up to date #
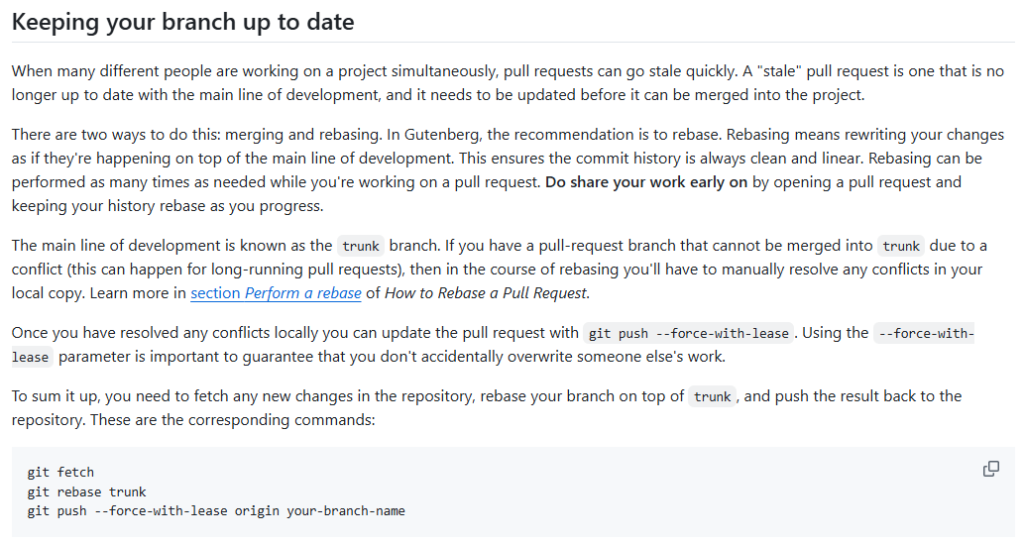

Refer: Keeping your branch up to date
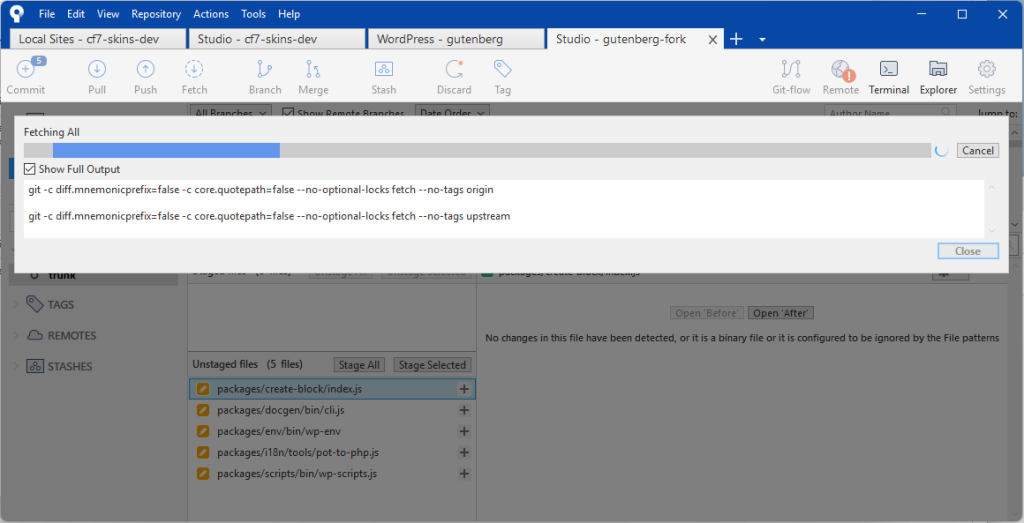
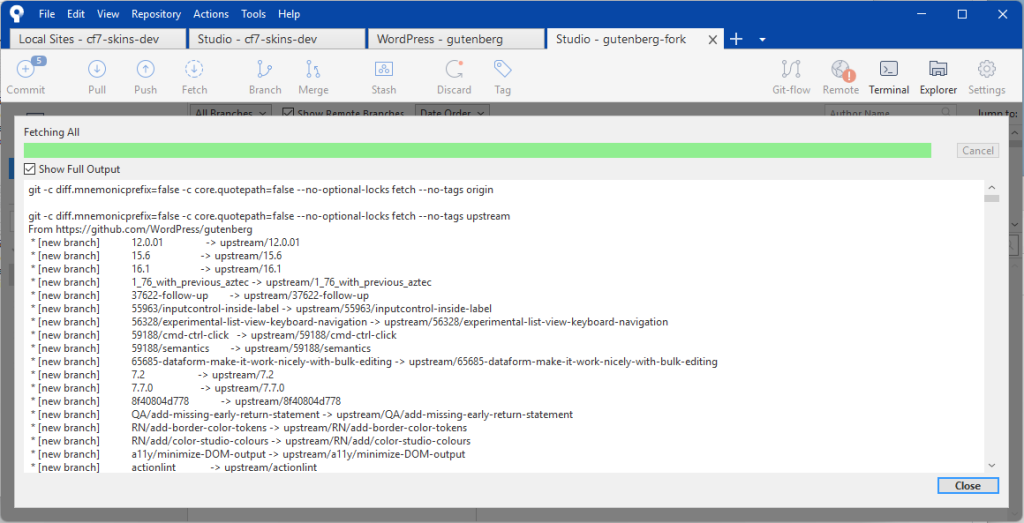
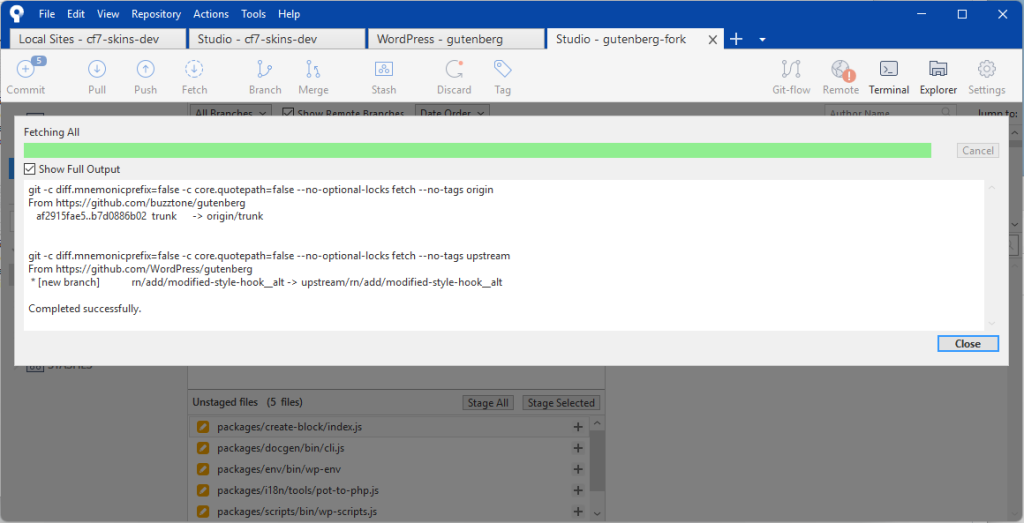
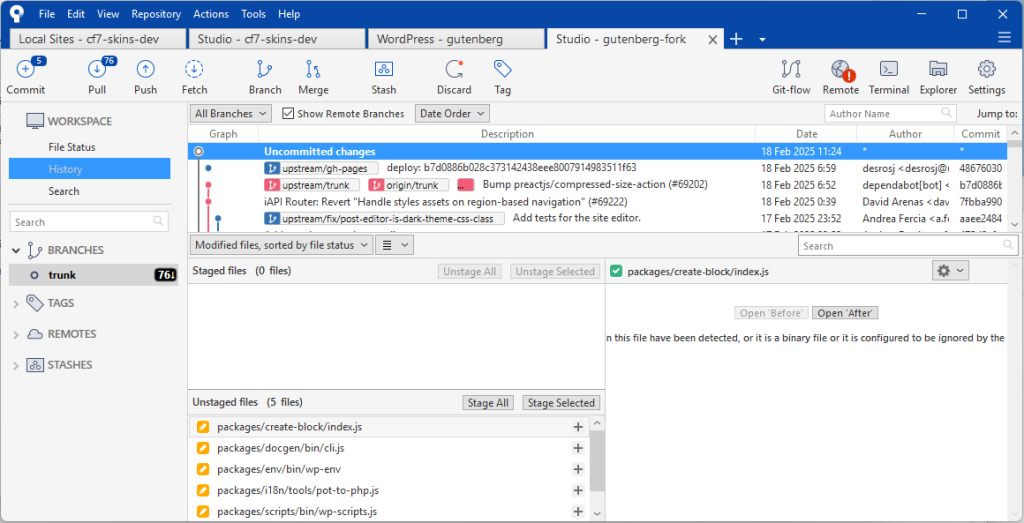
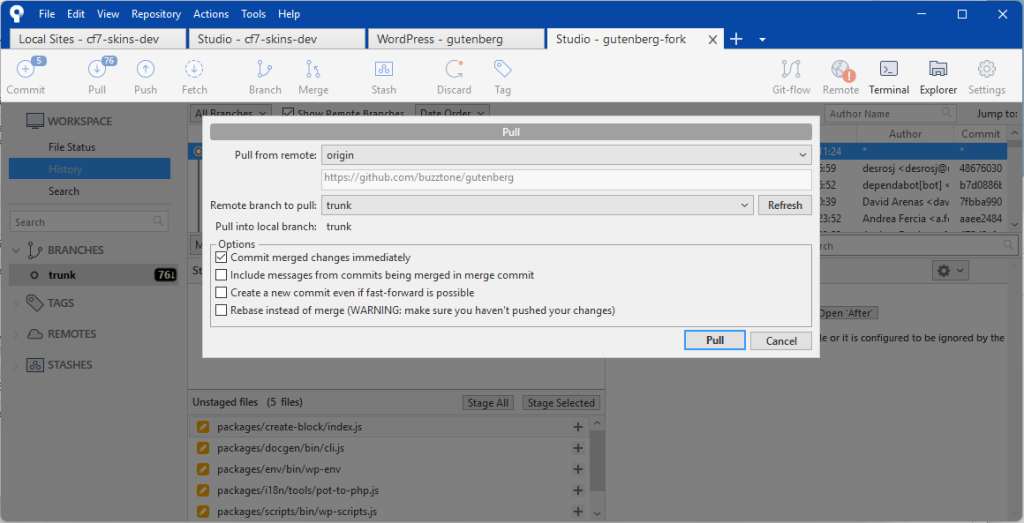
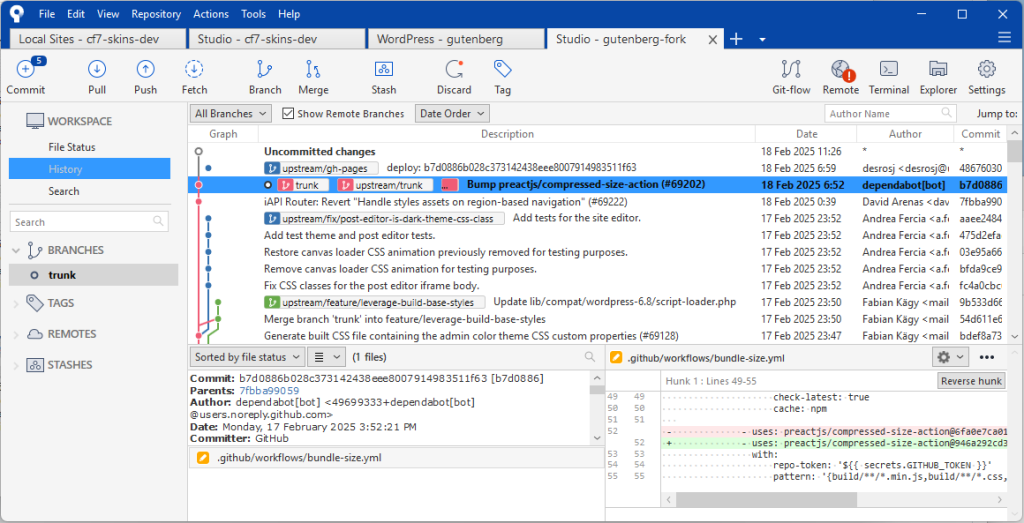
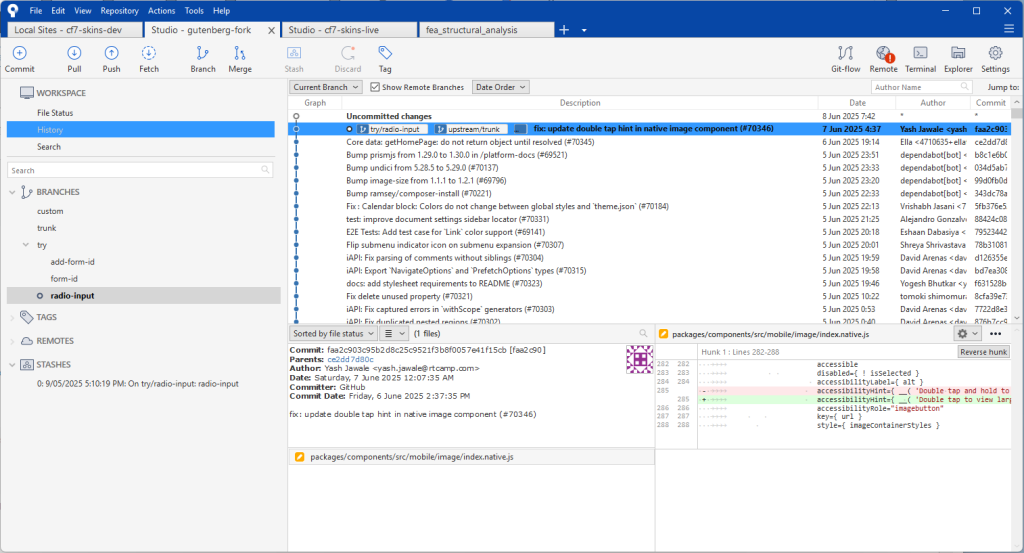
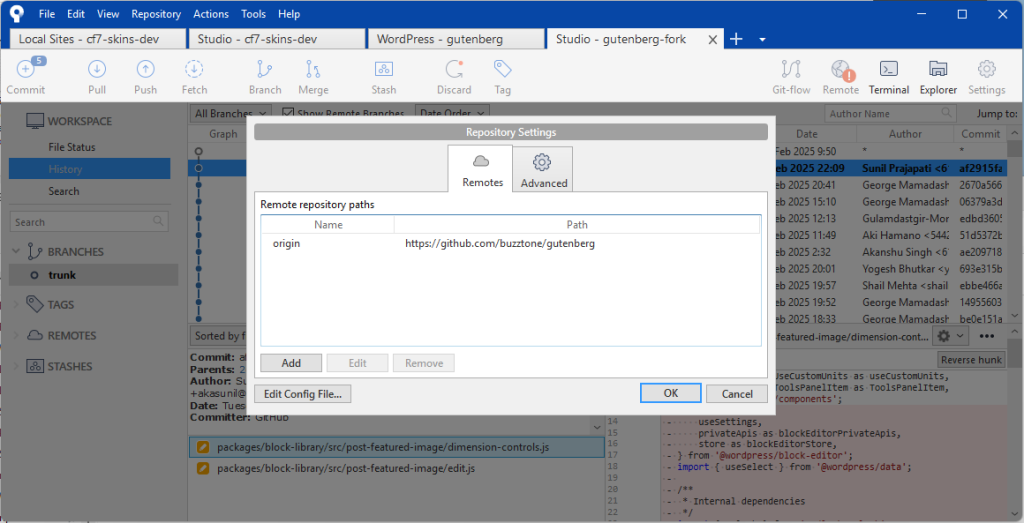
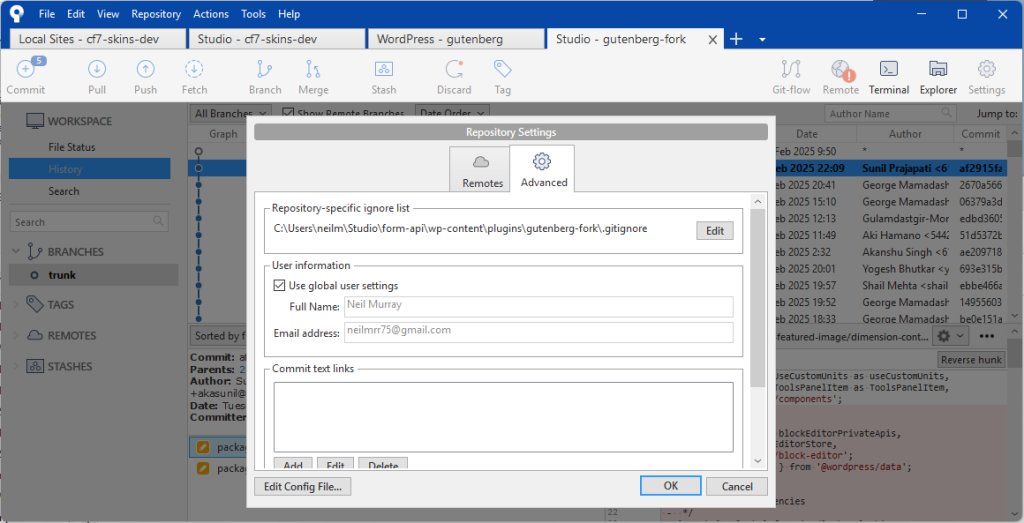
Using Studio #
I prefer to use Studio wherever possible for Gutenberg contributions. I’ve found using wp-env via Docker is very slow on my local machine.
I use wp-env via Docker when I need check if issues are being caused by my local environment.
Refer: Using WP Studio
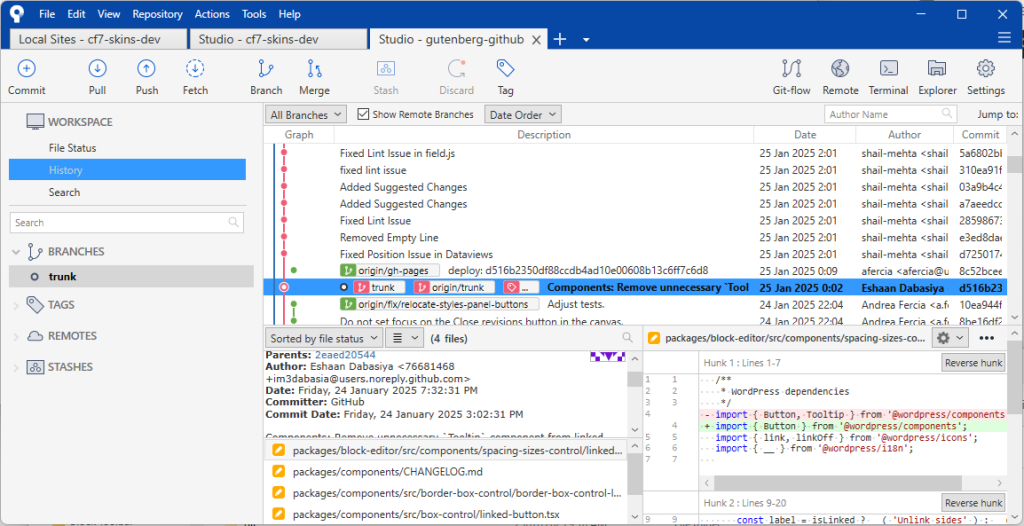
SourceTree #


Further Reading:
nvm – Node version manager #
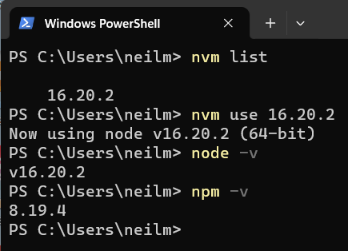
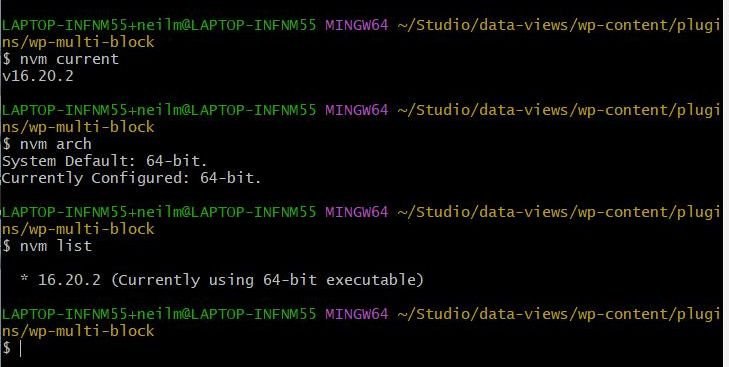
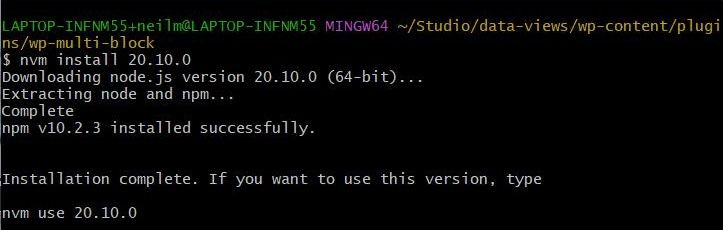
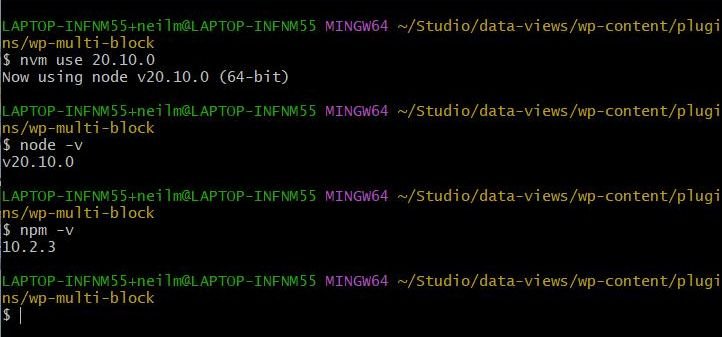
While you can go to the Node.js website and download the installer, we recommend using a tool called nvm, which stands for Node Version Manager.
NVM allows you to install different versions of Node, and switch between these versions depending on the project that you’re working on via the command line.
To avoid bugs and conflicts, it is strongly recommended to align major Node.js and npm versions across all local, testing and live environments.
Install
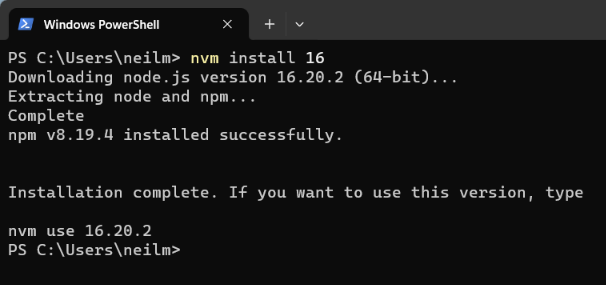
Example
Current:
node v16.20.2
npm 8.19.4
Need:
node 20.10.0
npm 10.2.3
Further Reading:
- Installing Node.js and npm for local WordPress development
- Node Version Manager – NVM Install Guide
- NVM for Windows – How to Download and Install Node Version Manager in Windows 10
- Install Node.js on Windows
- Install Node.js on Windows Subsystem for Linux (more specifically, WSL 2)
Using Xdebug #
Refer: wp-env – Using Xdebug
Using Xdebug with wp-env #
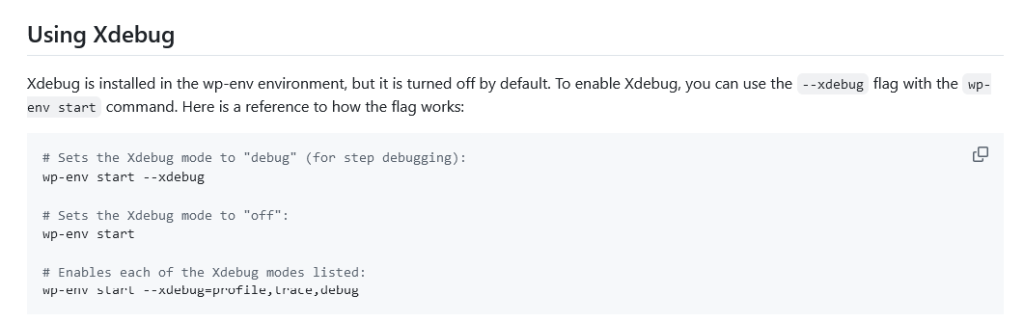
Xdebug is installed in the wp-env environment, but it is turned off by default. To enable Xdebug, you can use the --xdebug flag with the wp-env start
wp-env start --xdebug
# Sets the Xdebug mode to “off”:
wp-env start
# Enables each of the Xdebug modes listed:
wp-env start –xdebug=profile,trace,debug
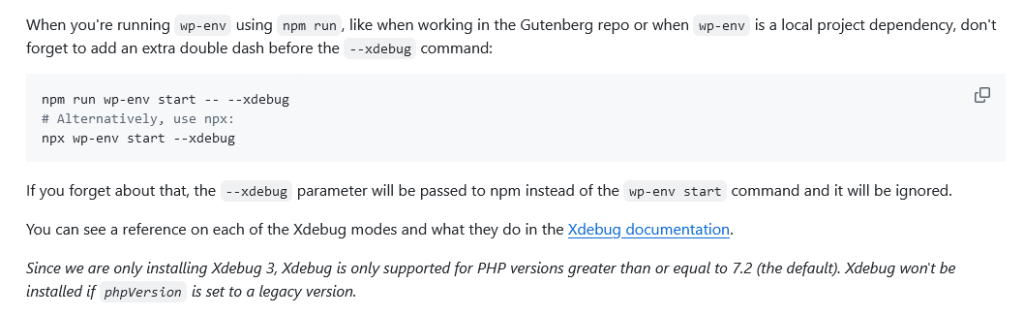
Using Xdebug with Gutenberg repo #
When working in the Gutenberg repo or when wp-env is a local project dependency, and you’re running wp-env using npm run, don’t forget to add an extra double dash before the --xdebug command:
npm run wp-env start -- --xdebug
# Alternatively, use npx:
npx wp-env start --xdebug
If you forget about that, the --xdebug parameter will be passed to npm instead of the wp-env start command and it will be ignored.
You can see a reference on each of the Xdebug modes and what they do in the Xdebug documentation.

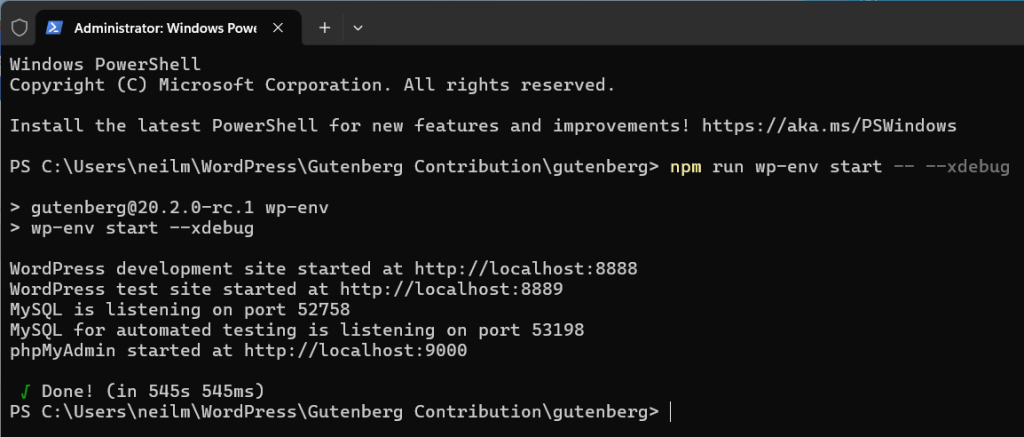
[ADD screenshots – using Xdebug]
Refer: wp-env – Using Xdebug
Xdebug IDE support #
To connect to Xdebug from your IDE:
- Start wp-env with xdebug enabled:
wp-env start --xdebug - Install a suitable Xdebug extension for your IDE if it does not include one already.
- Configure the IDE debugger to use port
9003and the correct source files in wp-env. - Launch the debugger and put a breakpoint on any line of PHP code.
- Refresh the URL wp-env is running at and the breakpoint should trigger.
You can use these IDE settings:
{
	"name": "Listen for XDebug",
	"type": "php",
	"request": "launch",
	"port": 9003,
	"pathMappings": {
		"/var/www/html/wp-content/plugins/gutenberg": "${workspaceFolder}/"
	}
}
This bit of JSON was tested for VS Code’s launch.json format (which you can learn more about here) along with this PHP Debug extension.
Its path mapping also points to a specific plugin — you should update this to point to the source you are working with inside of the wp-env instance. You should only have to translate port and pathMappings to the format used by your own IDE.
[ADD screenshots]
After you create a .vscode/launch.json file in your repository, you probably want to add it to your global gitignore file so that it stays private for you and is not committed to the repository.
Once your IDEs Xdebug settings have been enabled, you should just have to launch the debugger, put a breakpoint on any line of PHP code, and then refresh your browser.
Further Reading:
Further reading:
Notes
ADD notes here.
Save all Images to Sync – use ..\Sync\..\Form API\Guidelines\Setup for WordPress Contribution\