
Last Updated on January 19, 2023 by Neil Murray
Table of Contents
- Regularly review content
- Download Images to Sync
- Add heading links in Images – Content
- Add images quick link in Content
- Add images in Images – Content
- Long Screenshot Problem
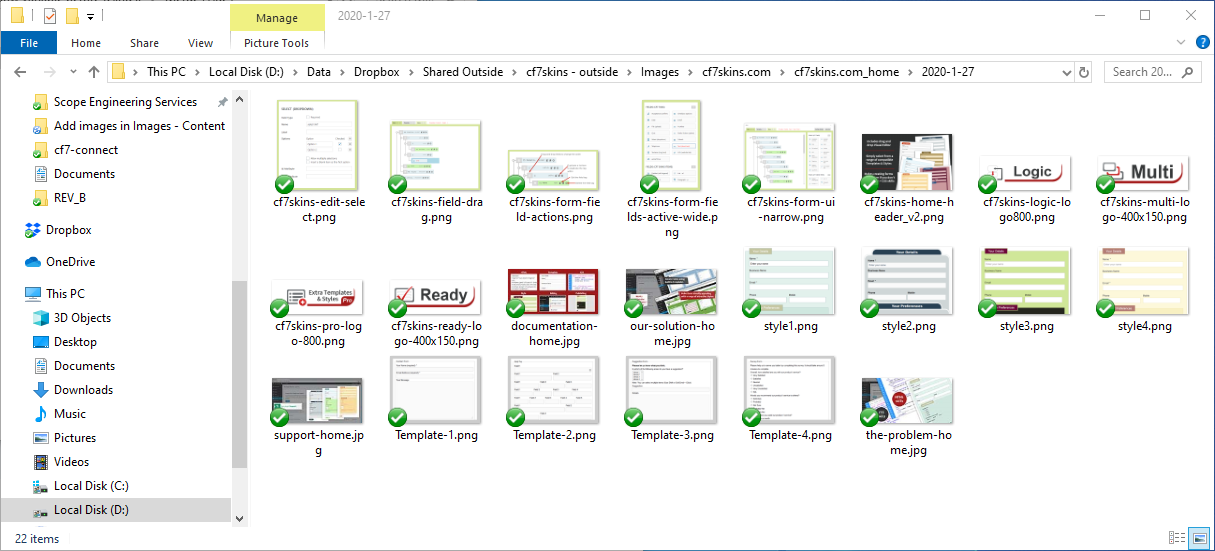
We maintain a record of all the many different images used on our various websites at Images – Content.
This allows us to:
- monitor the images used everywhere
- find common images that are used in multiple locations
Regularly review content #
Regularly review (generally once each month) all images used at the following websites:
- cf7skins.com – our main website
- blog.cf7skins.com – blog
- kb.cf7skins.com – knowledge base
Tip: Reviewing images used will usually be done in conjunction with reviewing Pages & Posts.
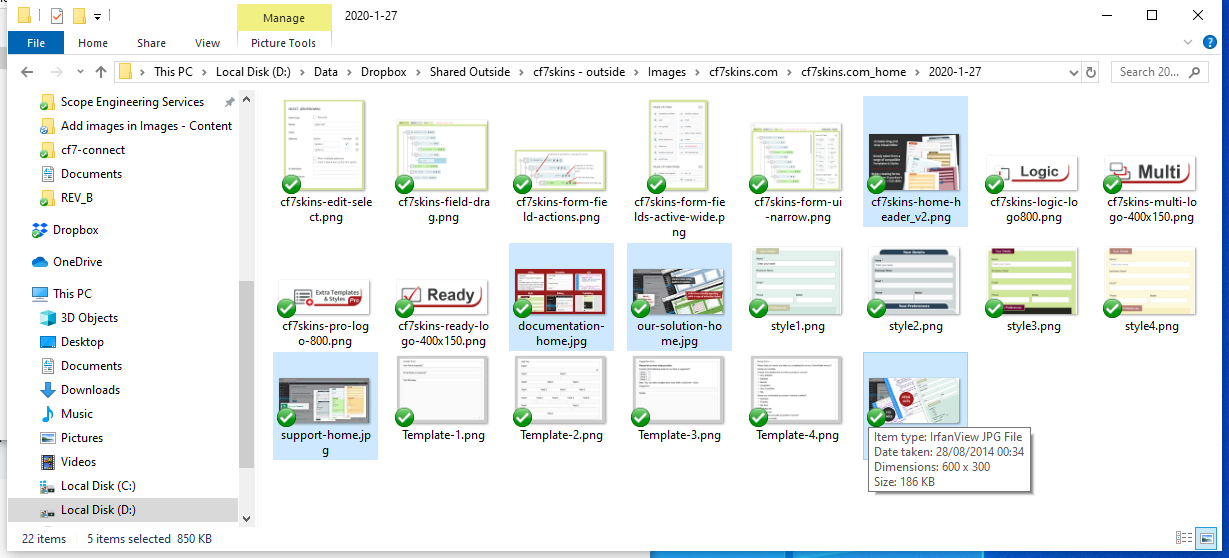
Download Images to Sync Dropbox #
We’ve switched from using Dropbox to using Sync as Dropbox has become unreasonably expensive.
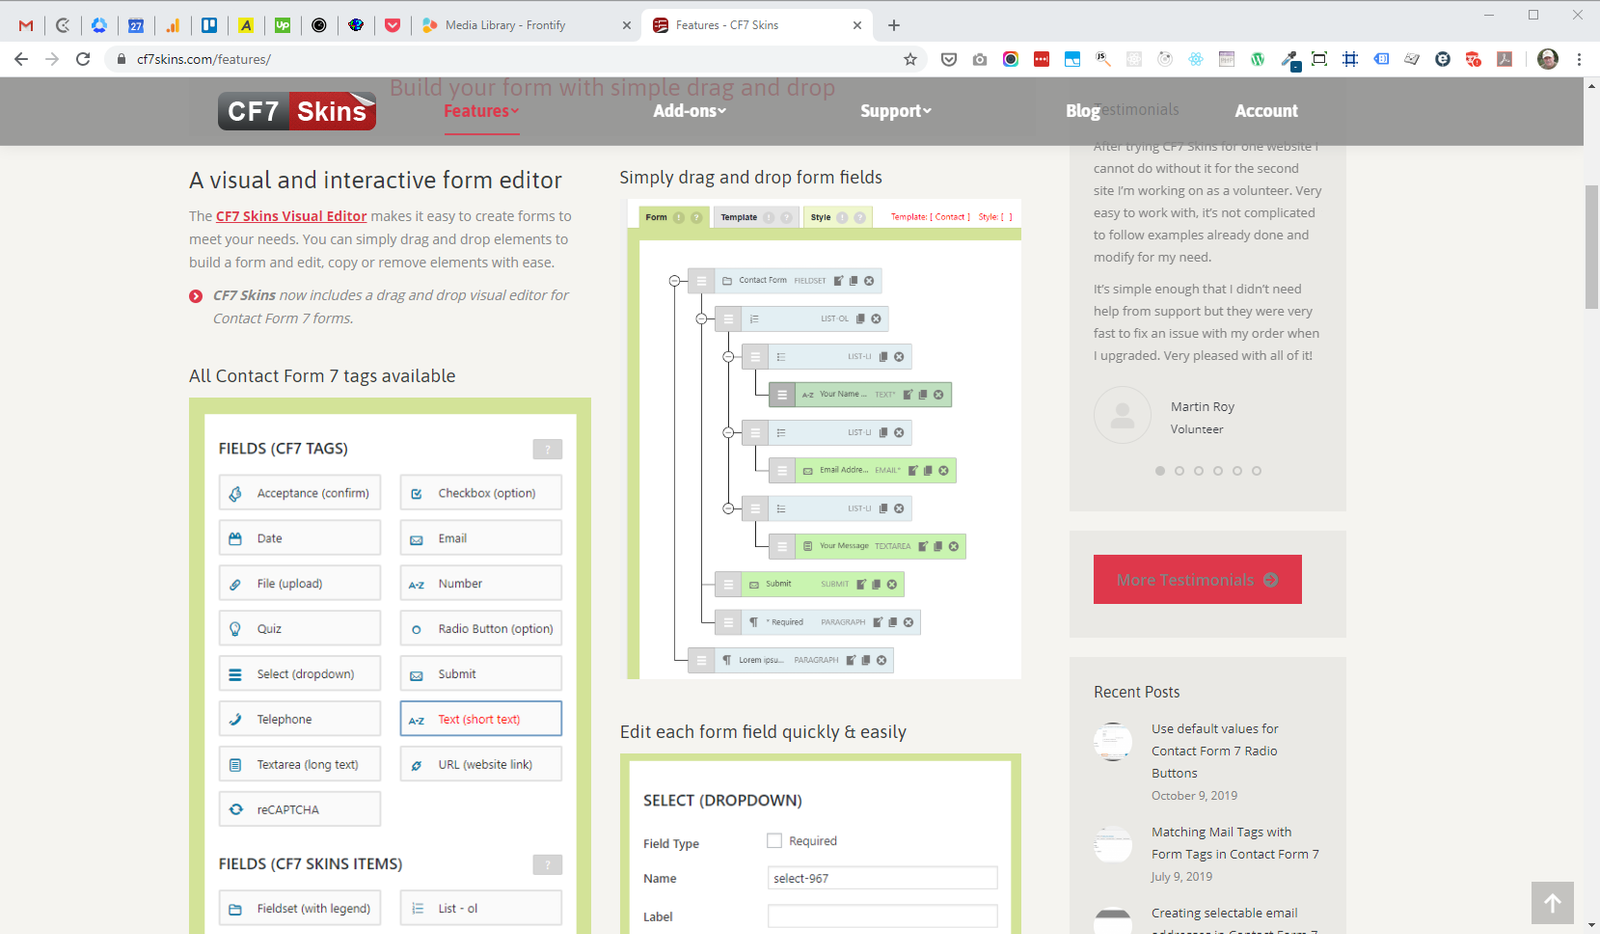
A. Visit a website page & search for all the images currently used on that page.
B. Right click on the image & select Save image as.. .
C. Navigate to ../Dropbox/Images & then select the relevant website & page folder where you need to add the images.
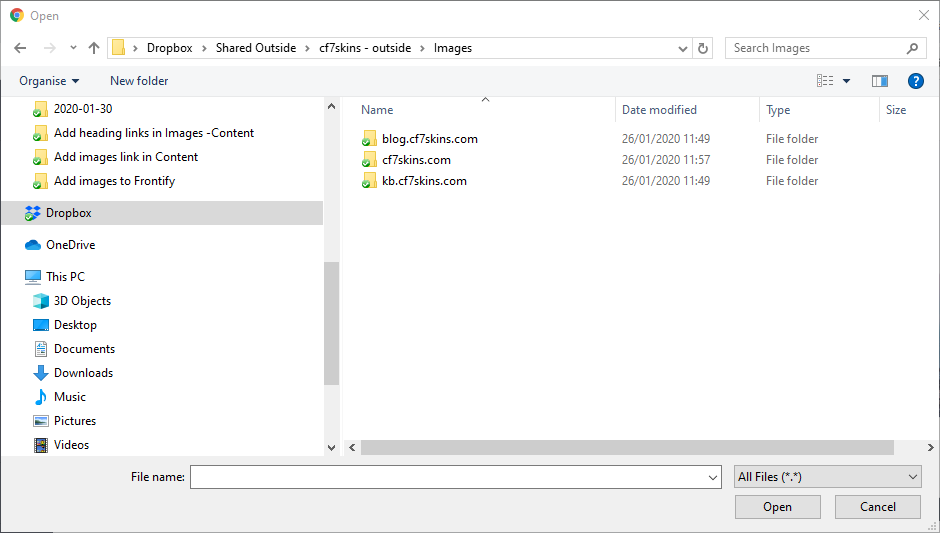
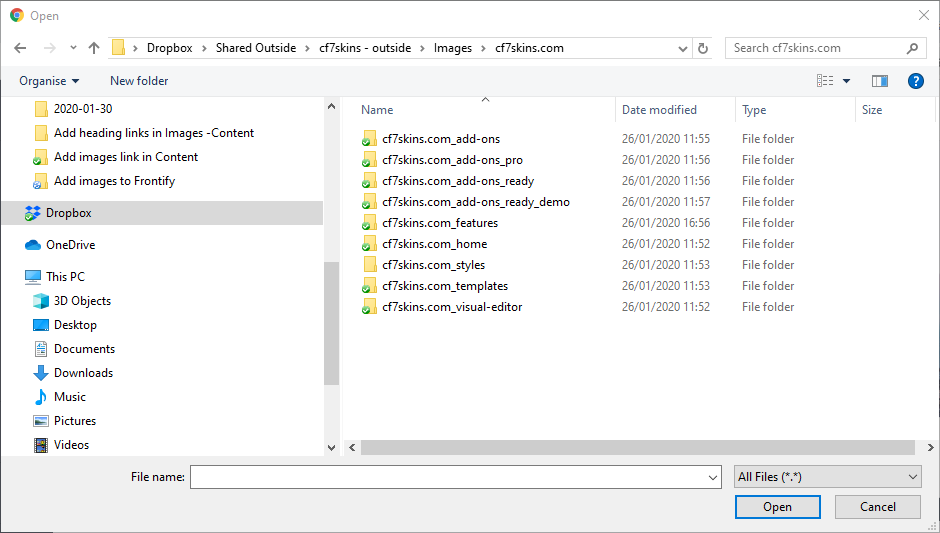
D. Add a new folder for the website page if it does not exist using the following format:
website_page e.g. cf7skins.com_features
E. Create an extra folder which gives the date when you are downloading these images in the following format:
year-month-date e.g 2020-01-26
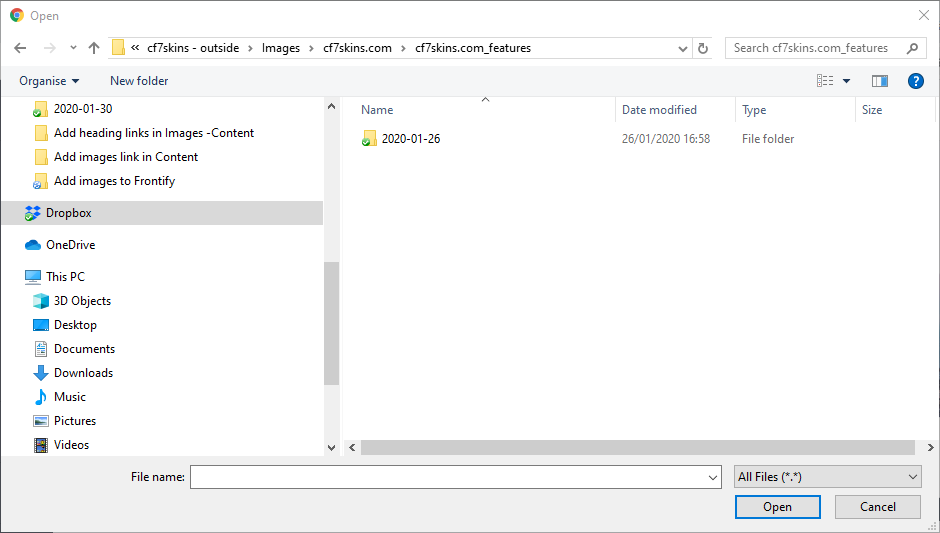
F: Save the image in this folder.
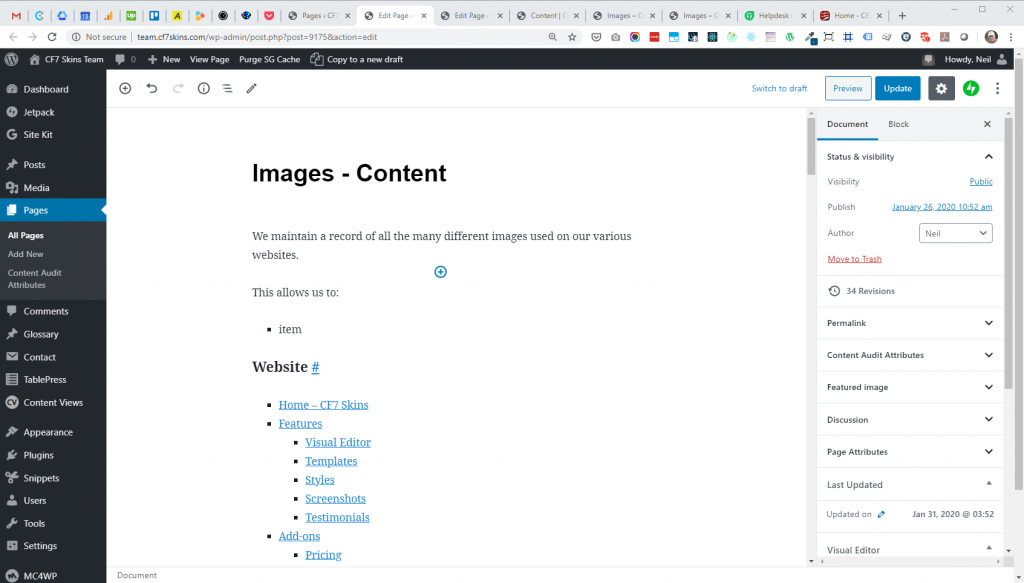
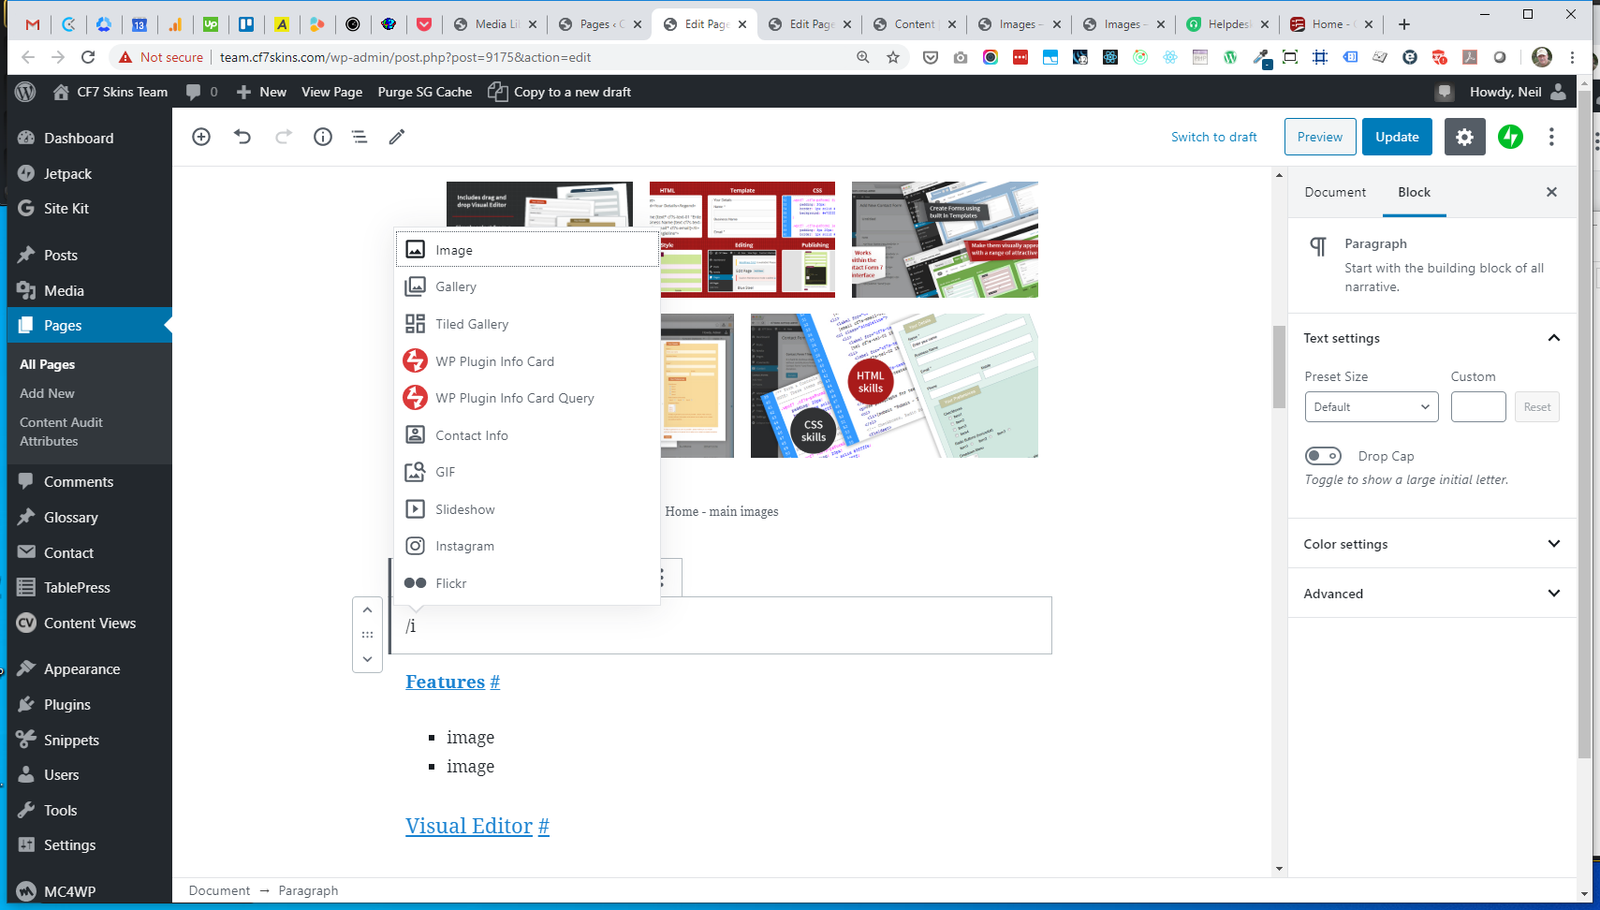
Adding heading links #
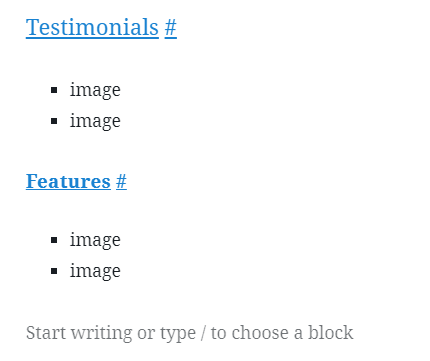
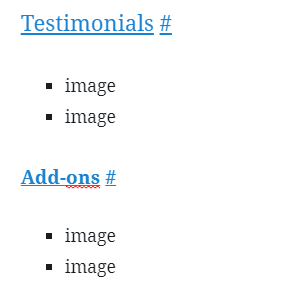
The first step to adding new images is to add a new heading on Images – Content for the page where you found the images.
Each heading must contain:
- link to the page where you found the images
- hash # symbol giving a link to this heading
This allows us to:
- go to the page where you found the images
- link to this heading by clicking on the hash # symbol & selecting Copy link address.
Tip: We use this to Add images link in Content.
A. Open the Images – Content page ready for editing.
B. Start by duplicating an existing heading to make it easier to recreate exactly what we need.
C. Select the duplicated heading block & click on the 3 vertical dots at end of the block menu – then choose Edit as HTML.
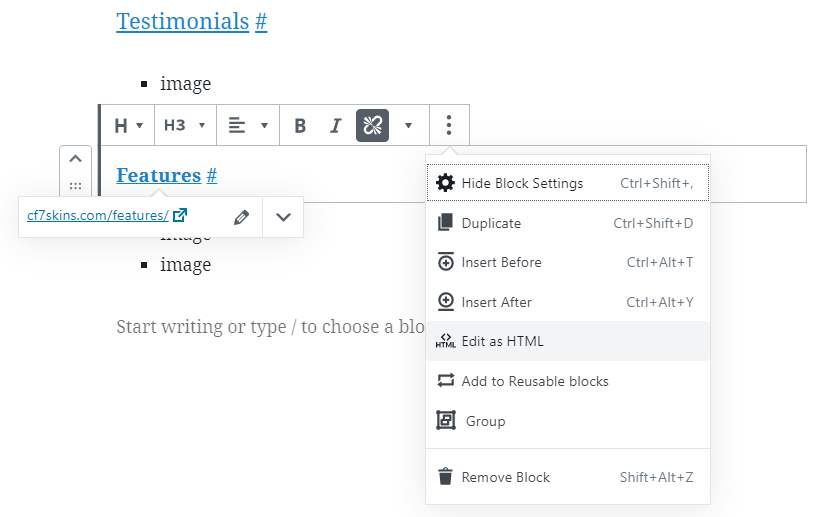
The heading will now look something like this.

D. We need to edit the HTML in this block.
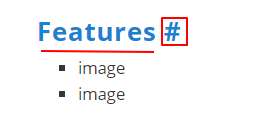
<h3 id="cf7skins-features">
  <a href="https://cf7skins.com/features/">Features</a>
    <a href="#cf7skins-features">#</a></h3>
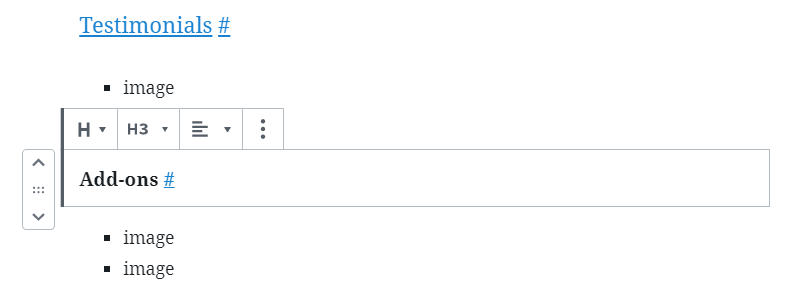
Remove < a href="https://cf7skins.com/features/">Features > & replace with the page title Add-ons.
<h3 id="cf7skins-features">
  Add-ons
    <a href="#cf7skins-features">#</a></h3>
Replace < id="cf7skins-features > with id="cf7skins-add-ons" & < href="#cf7skins-features" > with href="#cf7skins-add-ons".
<h3 id="cf7skins-add-ons">
   Add-ons
     <a href="#cf7skins-add-ons">#</a></h3>
E. Now click on the 3 vertical dots on the block menu & choose Edit visually.
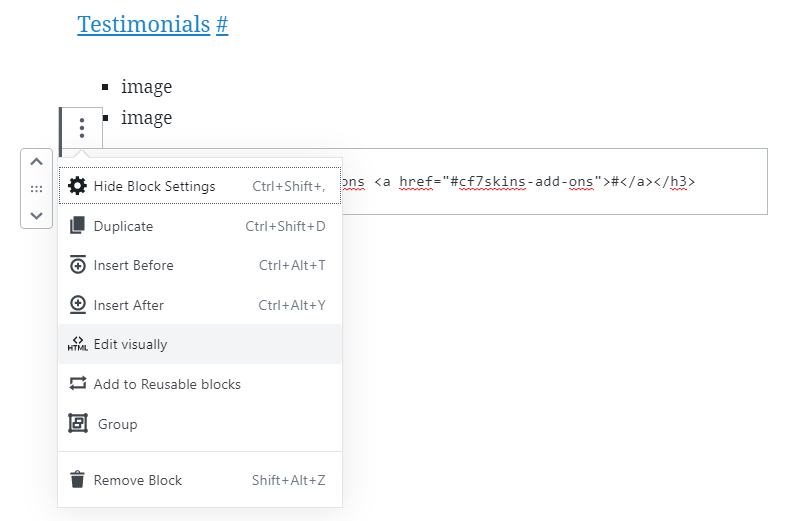
The heading will now look something like this.
F. You also need to add a link to the page where you found the images.
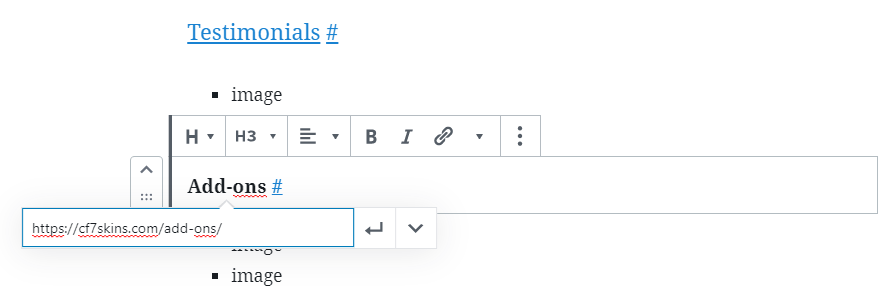
G. Now also open the finished Images – Content page in another browser tab or window & check the heading link is added correctly.
Add images quick link in Content #
We make it easy to see all the images used on each website page by adding a quick link to the images from Content.
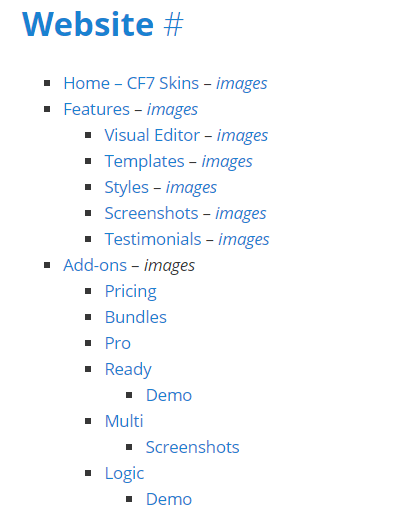
Tip: We made it easy to add these links in Add heading links in Images – Content.
A. Open the Content page ready for editing.
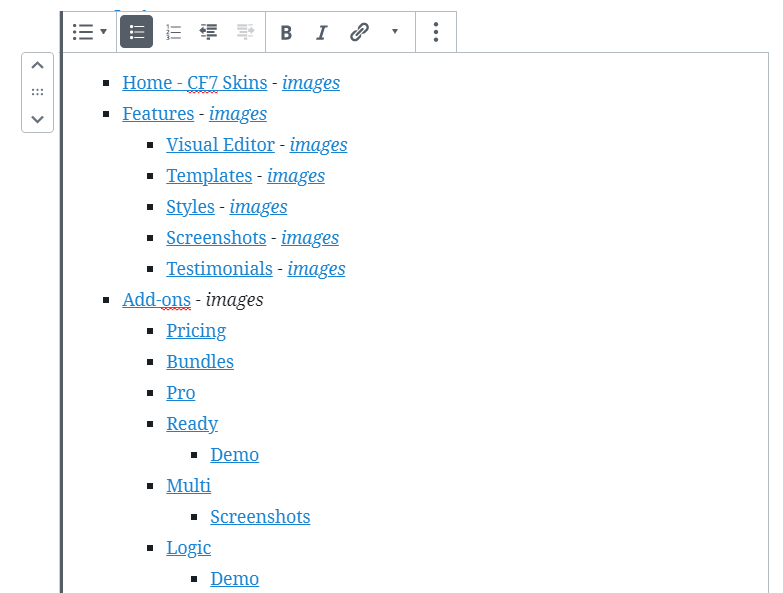
B. Also open Images – Content in another browser tab or window.

C. Grab the link to relevant images by clicking on the hash # symbol at the end of each heading & selecting Copy link address.
D. Now back on the Content page open for editing, add the link to page where you found the images.

E. Click the Update button when you’ve finished.
F. Finally open the Content page in another browser tab or window & check the link is added correctly.

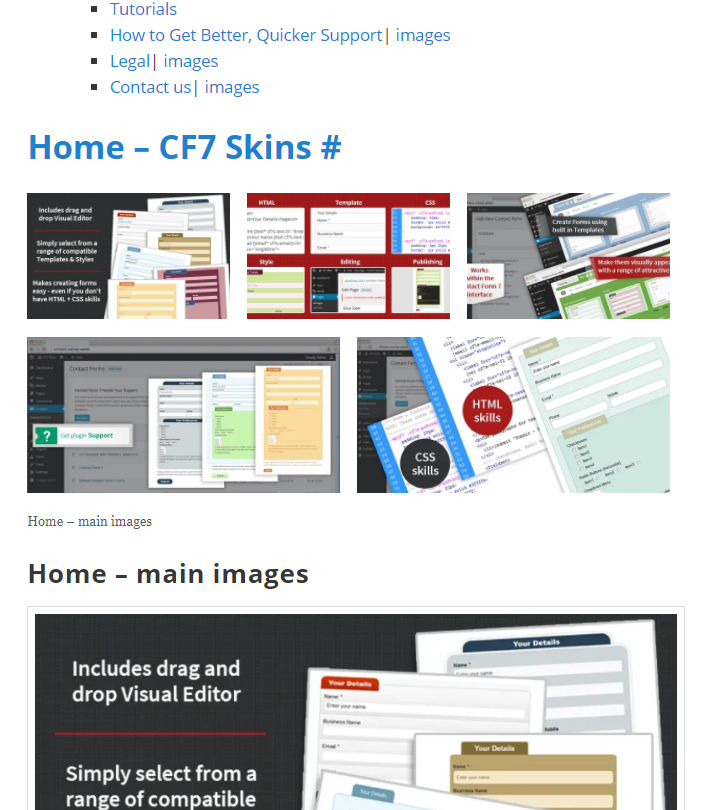
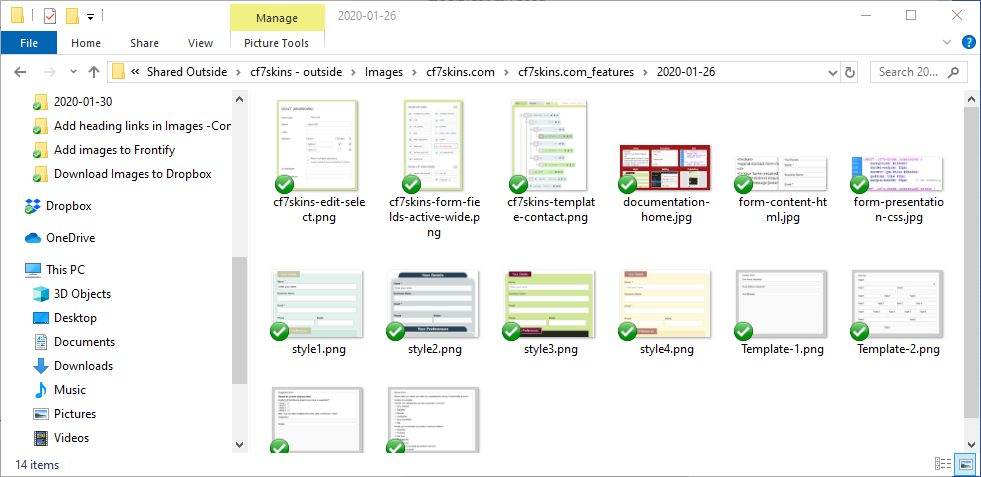
Add images in Images – Content #
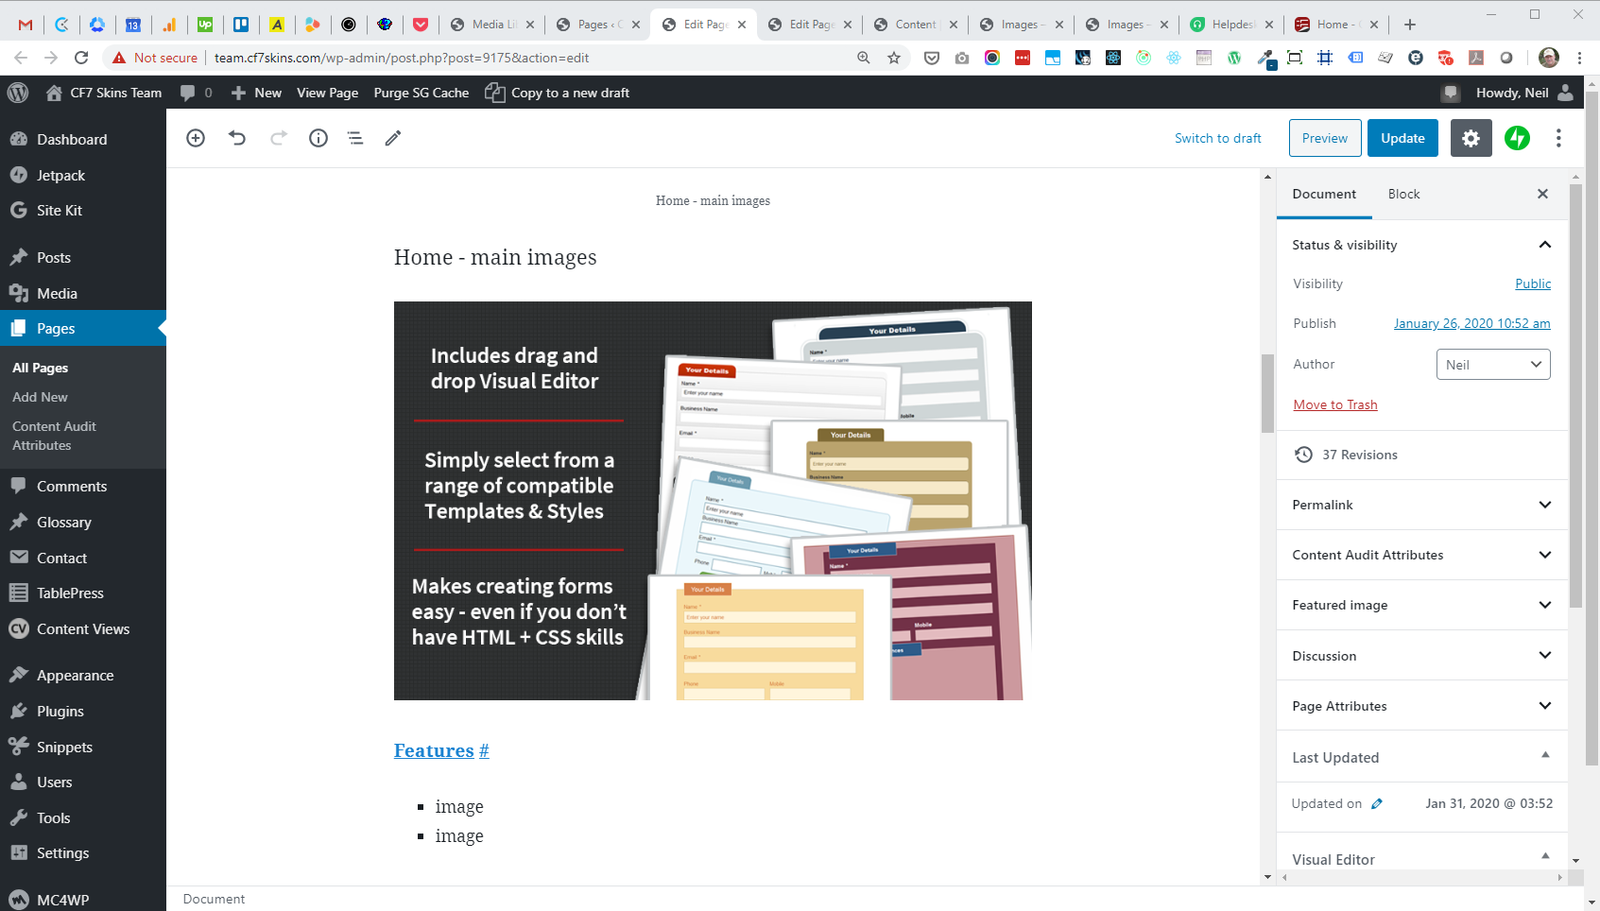
The images used on all our websites are collected & stored in Dropbox.

Find the folder that contains the images of the website page you are working on.
Open the relevant Images – Content page on this website using the Gutenberg Block Editor.
Scroll to the area showing the website page you are updating
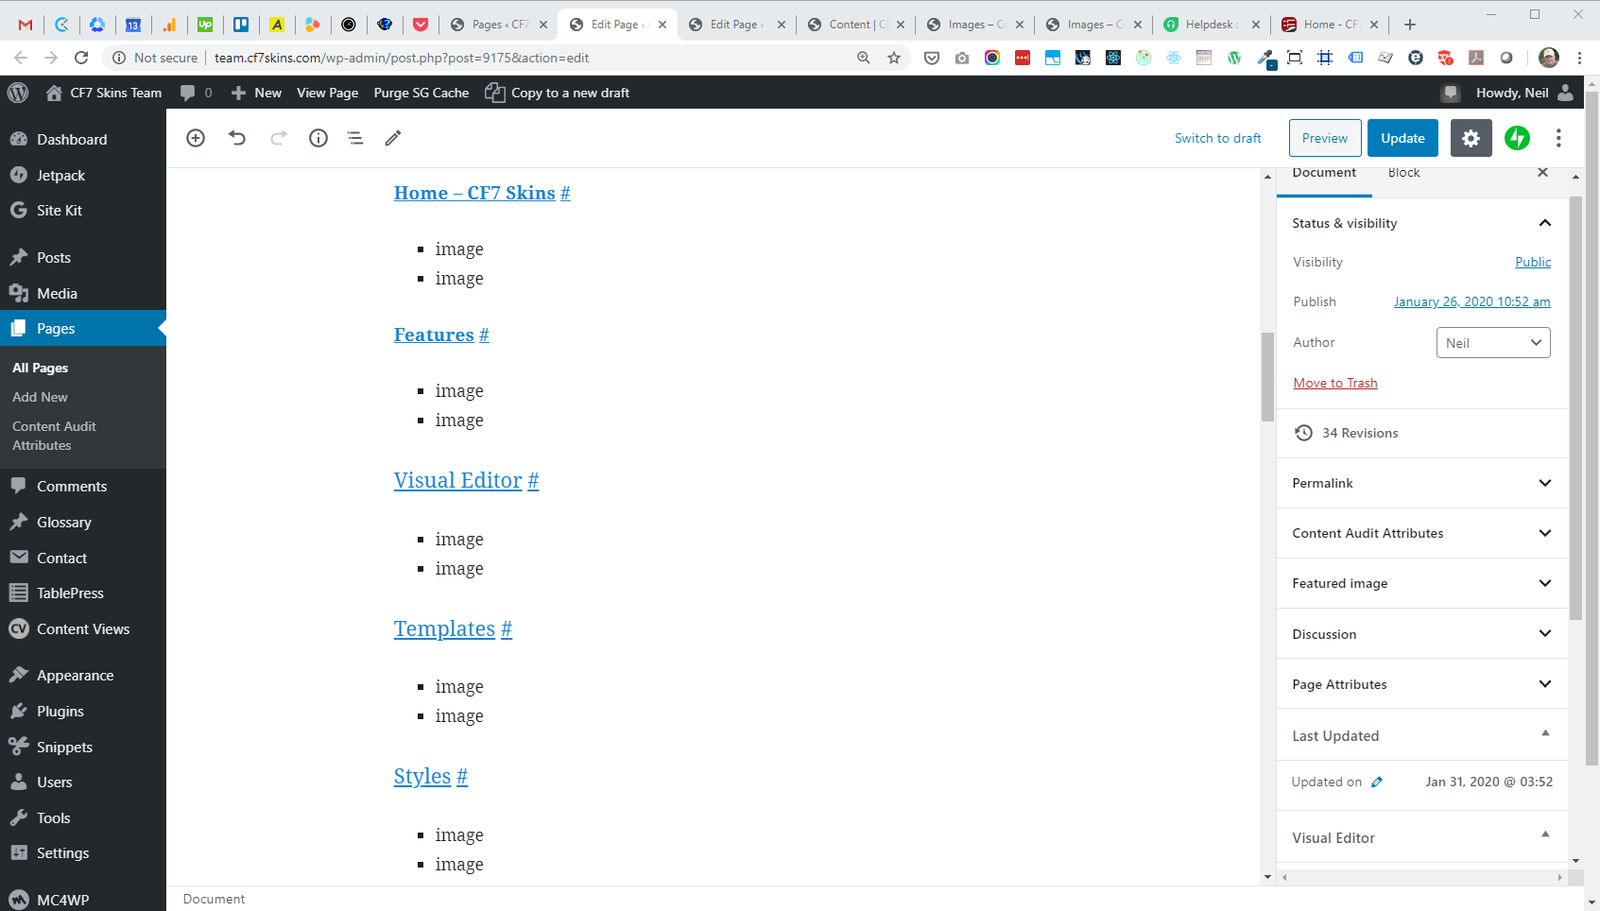
Drag an image from the Dropbox folder onto the area where you want to add the image.

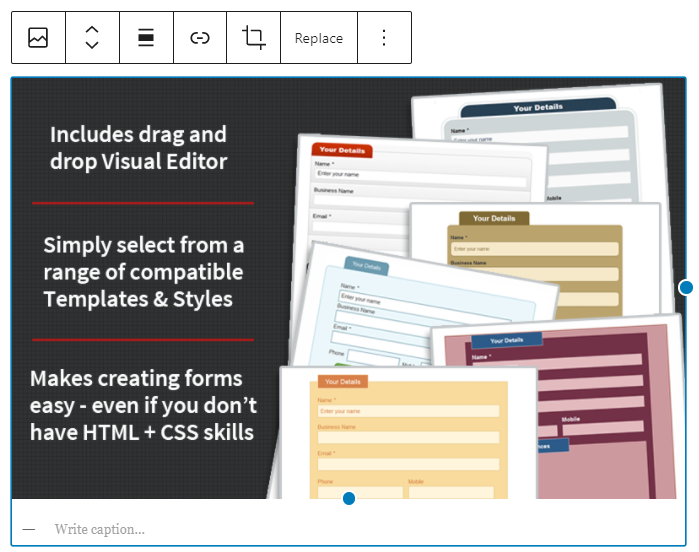
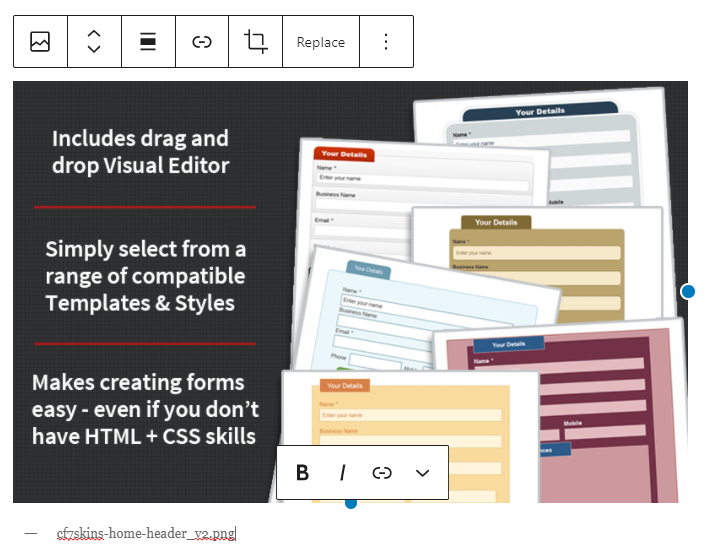
The image is added to the page.
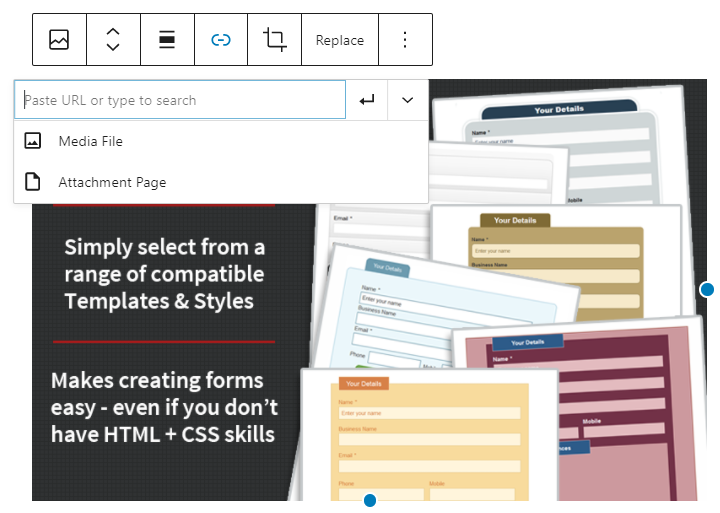
Click on the image block to edit it.
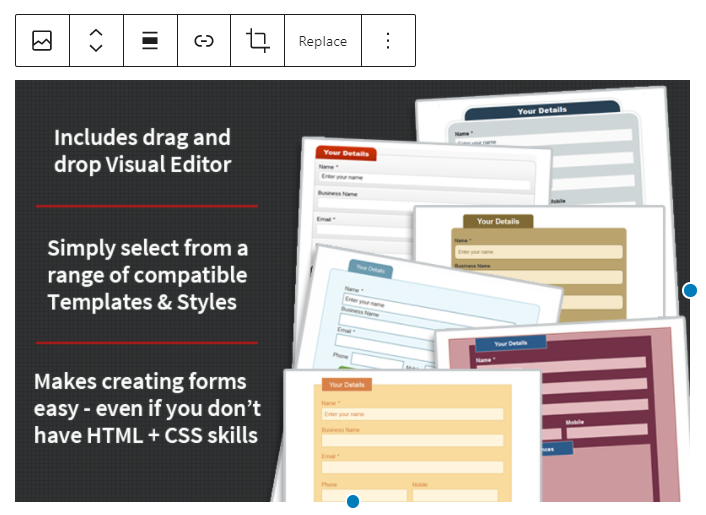
Click on the link icon & select Media File from the drop down menu.
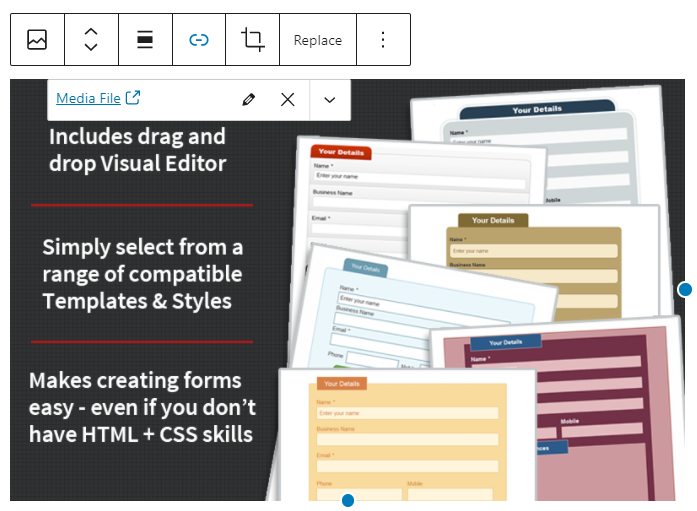
Now add the image file name as the image caption.
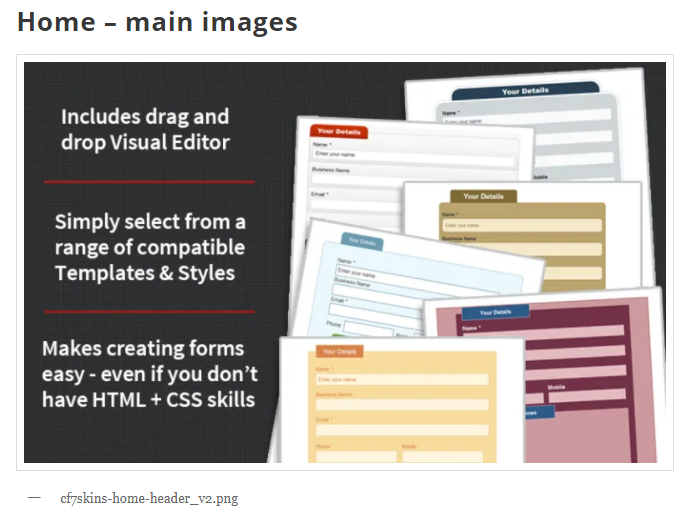
Click the Update button to save your progress.

Your work is added to the relevant Images – Content page.
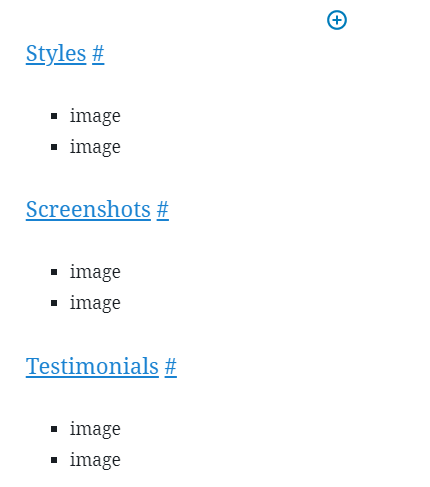
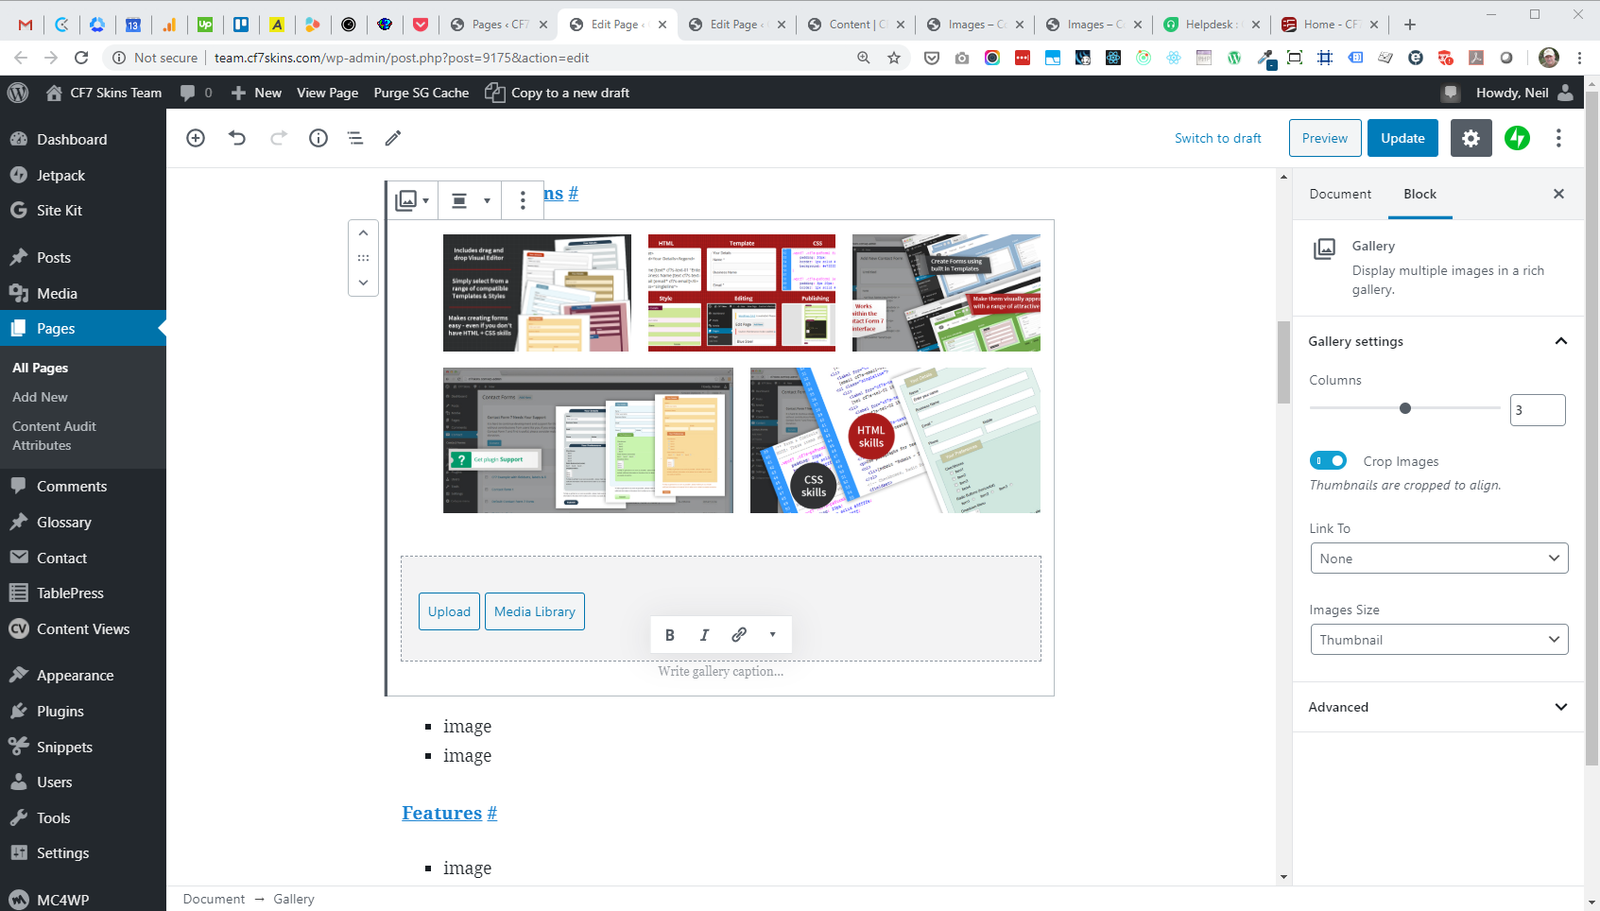
Add a Gallery
We add a Gallery which shows a collection of all the images used on that website page.
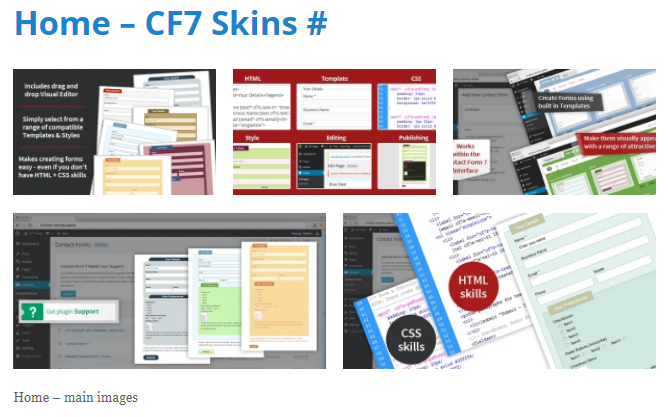
To add a Gallery choose Gallery via the Block Inserter.
Select all of the images used on that website page.
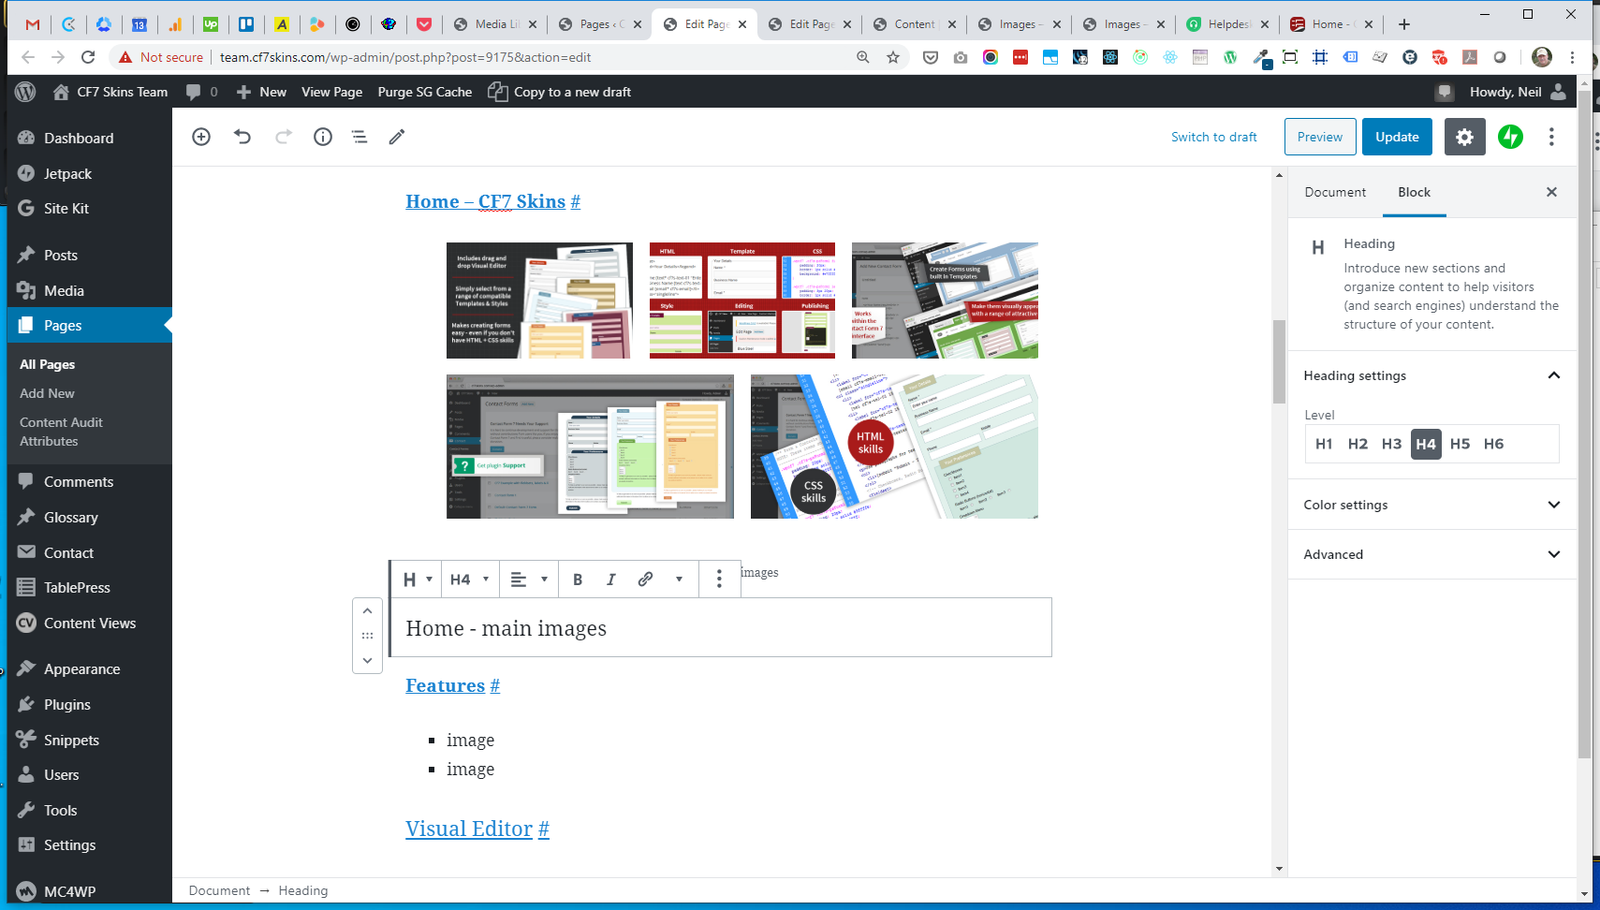
Add headings #
Add headings to group images as they appear on the website page to help team members easily identify where each image is used.
Tip: We may also need to add any new images on Frontify.
3. Long Screenshot Problem #
When taking long screenshots we’ve sometimes had the following problems:
A. Using the default firefox screenshot option, a dark line displays almost at the bottom of the page.

B. Taking the long screenshot manually by click & dragging method we encounter the block error.

C. In order to correct the error, take screenshot and this time choose the option save full page.

D. Save the image.

E. Open the image and crop it.

Further reading:
Notes
Save all Images to Sync – use ..\Sync\..\Documentation\Documentation Guidelines\IMAGES\Images – Data Entry\