
Last Updated on October 24, 2024 by Neil Murray
Table of Contents #
Creating Screenshots #
Use correct website #
To ensure consistency across all our posts, it is important that screenshots are created on the correct website.
Always try to take your screenshots on the site where the article will be used.
This allows others to easily make adjustments to your screenshots if necessary.
There are other options depending on what kind of article you are working on:
- Use cf7simages.project.buzztoned.com to get screenshots of default setups for Contact Form 7 & CF7 Skins.
Tip: Never take your screenshots on your local computer which is not accessible to others.
Resize your screenshot window #
You should adjust window when taking screenshots to reduce unnecessary white space in images.

Text in each image should be legible #
Ensure that the text in each image is legible as far as possible.


Use WordPress Screen Options #
Creating Images #
Image Properties #
- Max Width
- 725 px (this is so it fits in the FAQ accordion view.)
- 800 px (if not required for FAQ)
- Match image size to size image is shown at in the article
- Use WordPress full-size image format (not other WP image sizes)
Tip: If necessary, add an extra space above and/or below the image to ensure paragraph text is not squished beside the image.
Naming Images #
We now use a consistent naming system for all images:
cf7skins-(areaofapp)-(extra-info)
- Some examples:
- cf7skins-template-contact-selected – ‘contact form’ is selected inside the templates section
- cf7skins-wp-style-default-contactform – a contact form with the default style applied in a WordPress page view.
Many older images do not follow this system
You will see many older images where we have included the location where the image originally appeared:
e.g. cf7skins-blog-change-type-cf7tags-from-edit-window.png
This was a mistake as images often get used in multiple locations.
Uploading Images #
We generally upload the image directly in the article – it will be automatically added to the WordPress Media Library.
Wherever possible add images on the site where the article will be used.
Make sure images are always loaded from the same site
Make sure images are always loaded from the same site where each article is posted – particularly important when articles are moved from Dev to Live site.
This has caused problems in the past when we made url changes on our Dev sites. Suddenly images were just not showing in articles & we didn’t know about it.
Use Alt Tags #
All images should make use of an appropriate alt tag. The alt tag should describe what is in the image for screen readers.
[ADD image]
Save all Images to Sync Dropbox #
We’ve switched from using Dropbox to using Sync as Dropbox has become unreasonably expensive.
- Add all Images used in an article into ..\Sync\ .. \Tasks\.. as you work. This allows others to review your work as you progress.
- If there is not a Sync folder for the item, create a new one.
- Add screenshots you take in Screenshots folder.

Refer to Working with Sync for detailed guidance on using Sync.
Image Tips #
- Crop Images – The screenshot should only focus on what is necessary to help someone follow along.
- Use Arrow and Rectangle Indicators – Arrows and rectangles are used to highlight important, or multiple, parts of a screenshot.
Arrow – 4 thickness (sometimes 2-3 on images that are a closer view)
Rectangle – 3 thickness, 2 border radius
Colors – #008CC1 or #C5000B depending on which provides the most contrast.

Arrows can go in any direction but rectangles should always be horizontal, not distorted.
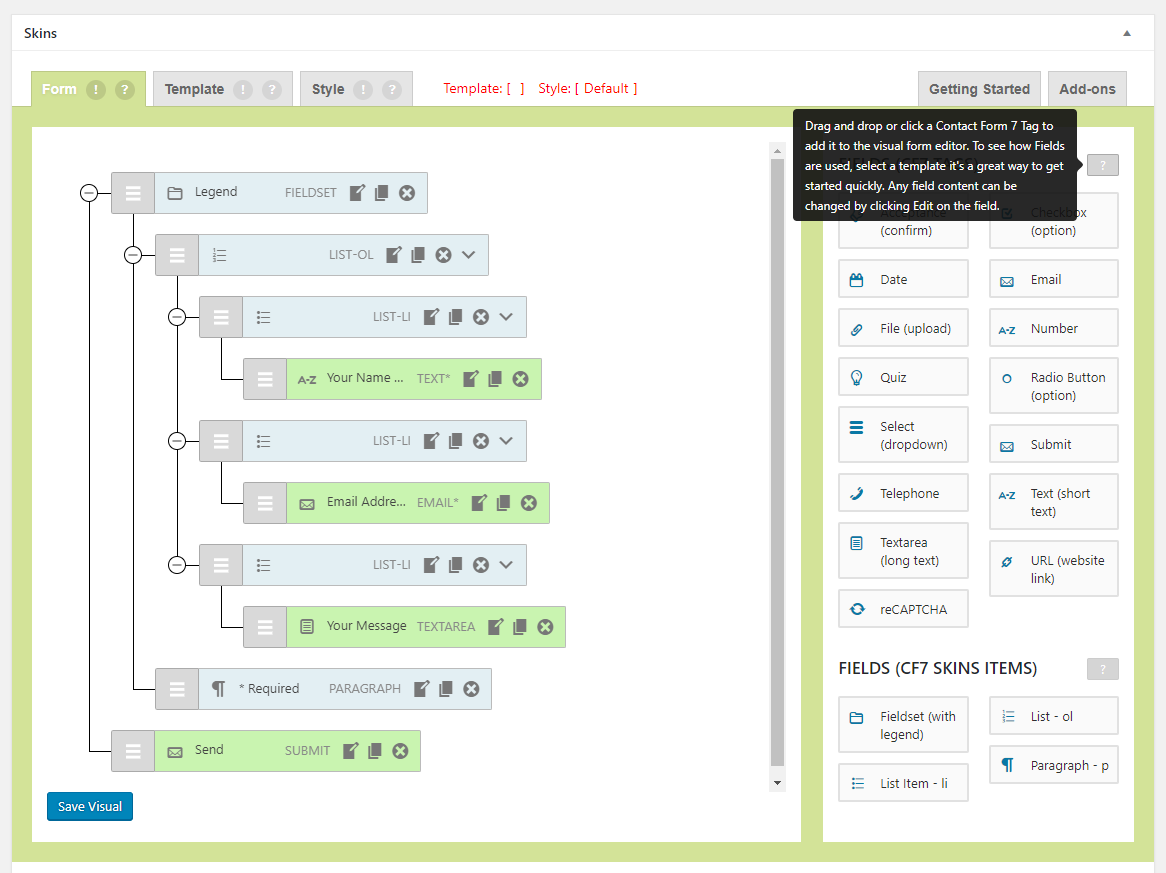
- Use an image to help convey any step or to help clarify the location of something in the plugin.
Use Dummy Images #
It is a good idea to add dummy images in place of actual pictures/screenshots when you first start writing an article. You can create these dummy images at Dynamic Dummy Image Generator. After the article has been finalized, these dummy images should be replaced by the actual images.
So why use dummy images? The main advantage of using dummy images
is that you can get a good idea of what the final layout of the article will be. This allows you to wait until the layout of the article has been approved to create the relevant screenshot(s) and pictures, saving a lot of time and effort over having to re-do screenshot(s) that might ultimately be unfit for the final version of the article.


Link all images to the media file #
Link the original media file to the image to easily view the contents of the file.

Steps to link the image
Click on the image you need to give the link
Click on the link button
Select Media File from the options
Image System #
We are building a way to see all the many different images used on our various websites at Images – Content.
Graphic Design #
If necessary, Husnain Ali is our professional go-to Graphic Designer can help with improving our images. All team members can get assistance via Dropbox.
Further reading:
Notes
Outdated:
- For documenting existing live functionality, we use http://cf7simages.project.buzztoned.com/
- For documenting Visual Multi, we use http://cf7visual.project.buzztoned.com
- For blog articles, we use either blog.cf7skins.com or blog-dev.cf7skins.com. This is because we need to show the actual forms embedded into the blog.
Note: We should avoid using the old site http://cf7skins-test.project.buzztoned.com/ for any new screenshots.
Save all Images to Sync – use ..Sync\..\Documentation\Documentation Guidelines\Documentation Images\