
Last Updated on March 6, 2022 by Neil Murray
I use P4Merge for complex Git merges. It's Window GUI software that really helps.
- It integrates well with Sourcetree
- you can also use it stand-alone
- or with the Git CLI.
Yesterday I did a complex merge of package.json with it – it made it so much easier.
Neil Murray
For simple Git Merges use default Sourcetree merge tool #
For simple Git Merges I tend to use the default Sourcetree merge tool.
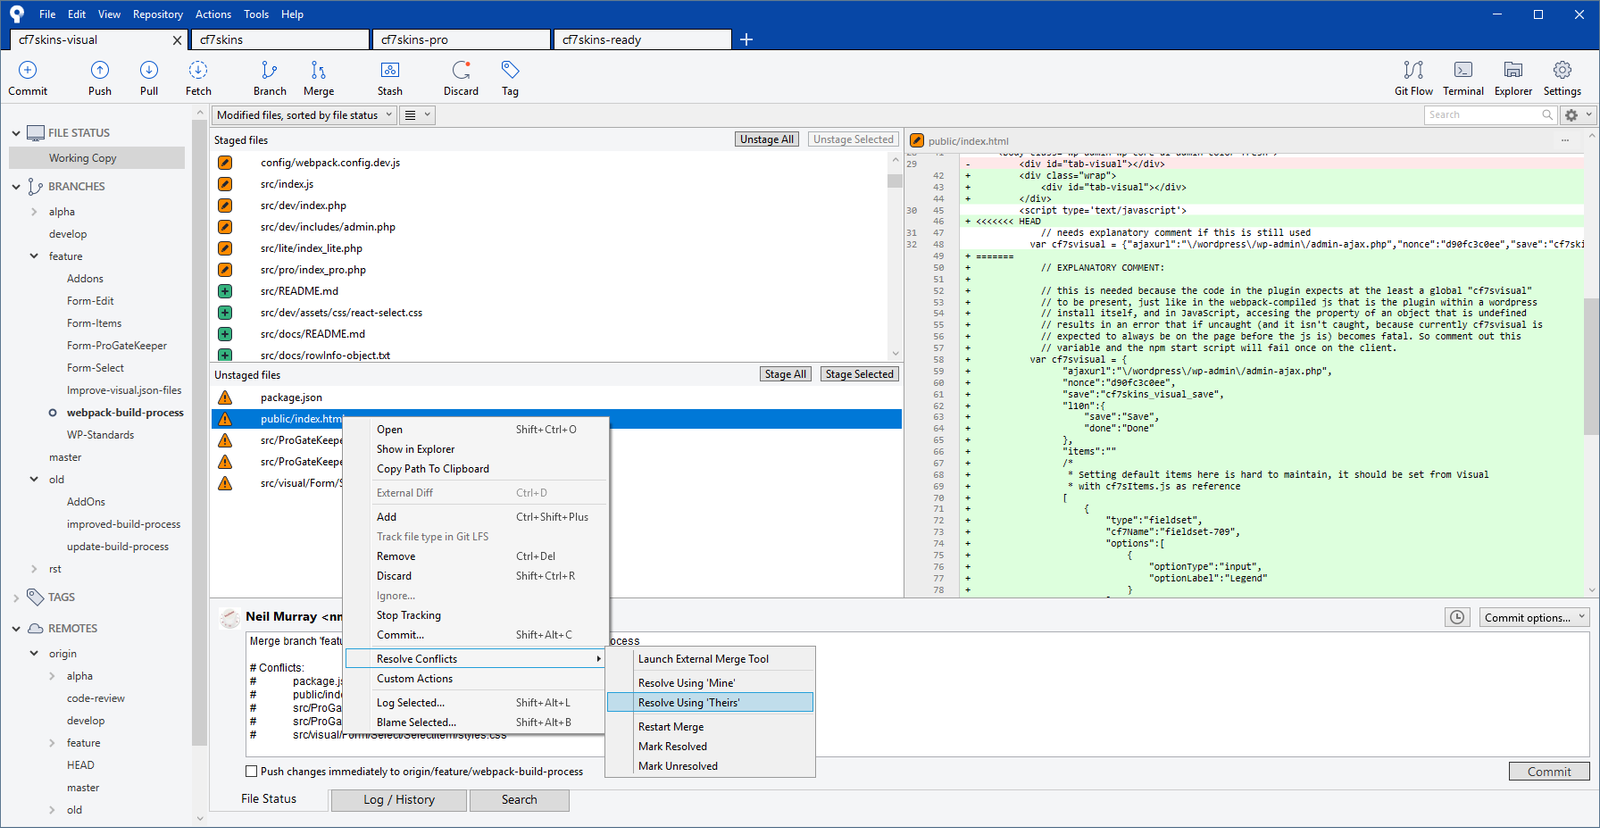
Usually you can just choose to Resolve Using 'Theirs'.
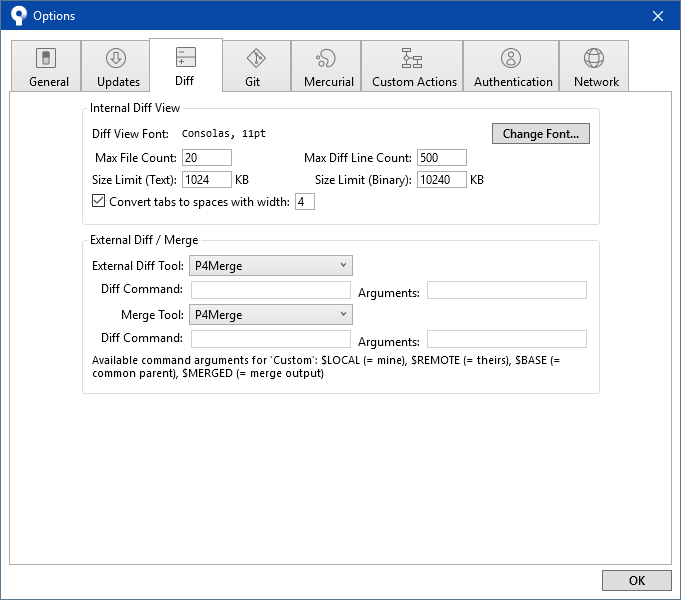
Setup Sourcetree to use External Diff and Merge tools #
You can setup Sourcetree to use External Diff and Merge tools.
Use P4Merge for complex Git Merges #
Sastra Manurung: It's very interesting if it can do diff for texts.
Neil Murray: The diff is very good but merge is brilliant.
Select Resolve Conflicts > Launch External Merge Tool.
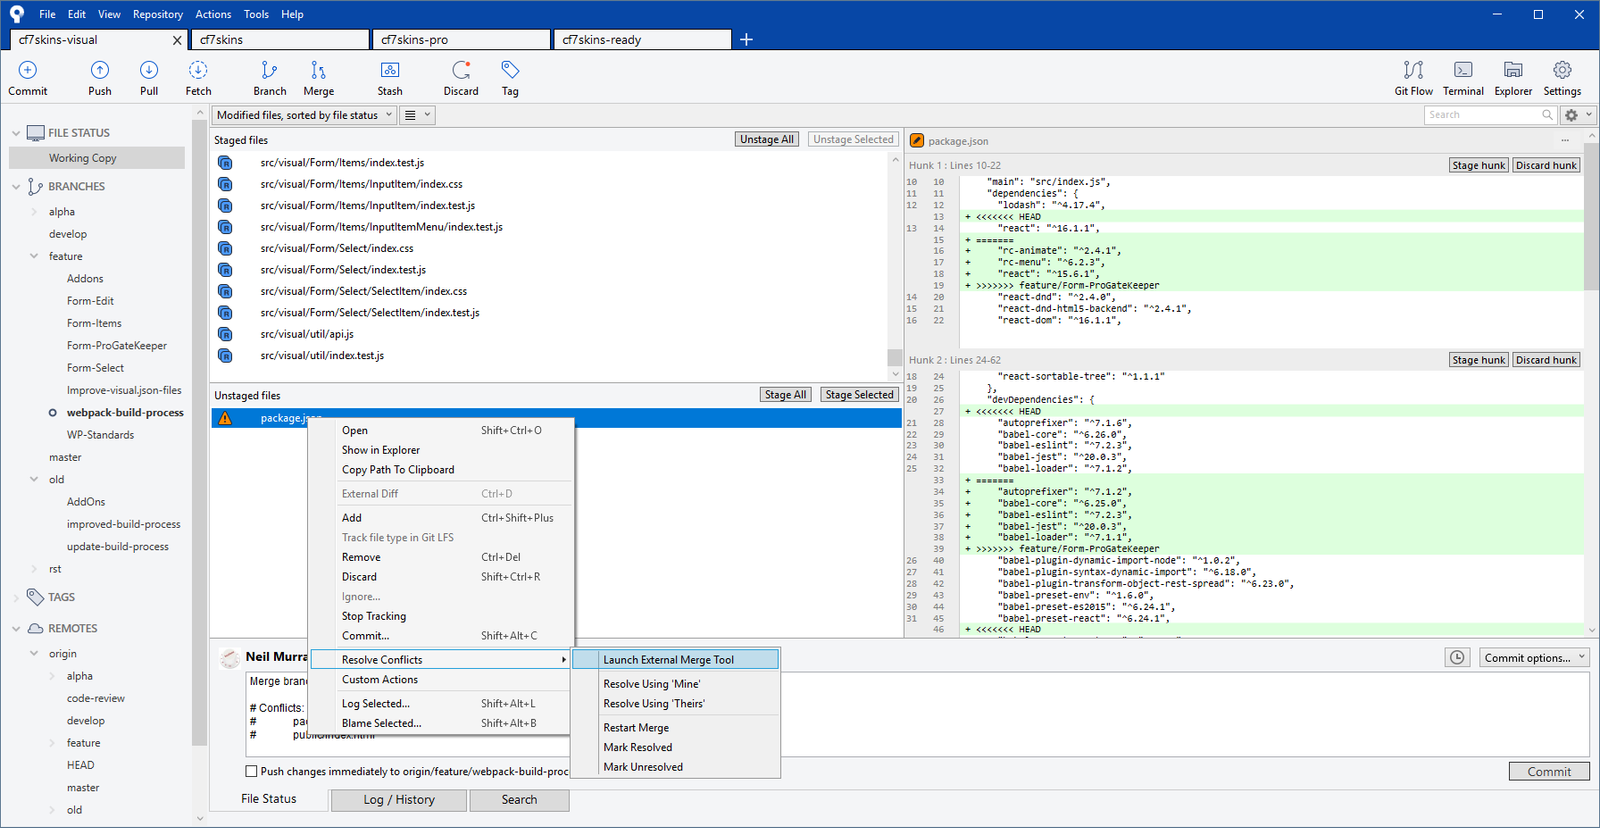
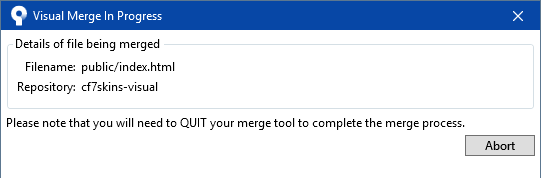
Wait until Sourcetree launches P4Merge (you will need to have installed P4Merge on your computer).
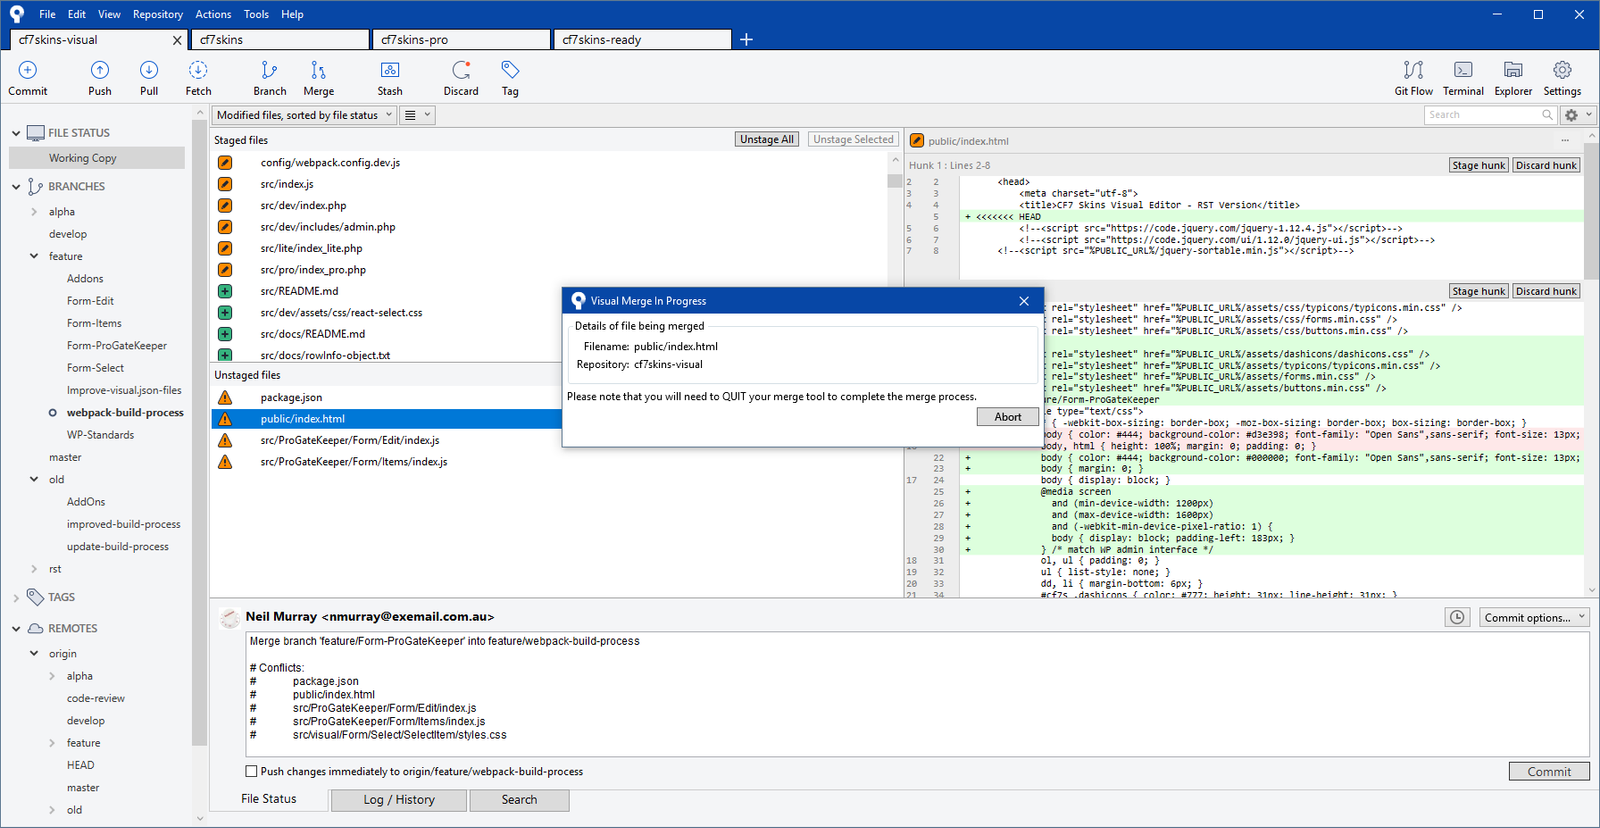
The Git Merge process at Sourcetree will be locked in until you save any changes in P4Merge & close P4Merge.
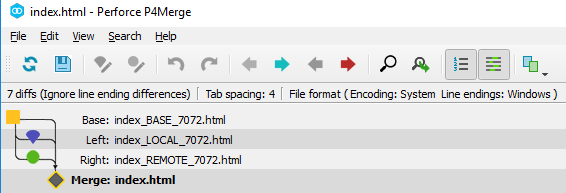
When P4Merge starts you'll see the following versions of the file:
- Base_BASE – yellow
- Yours_LOCAL – purple
- Theirs_REMOTE – green.
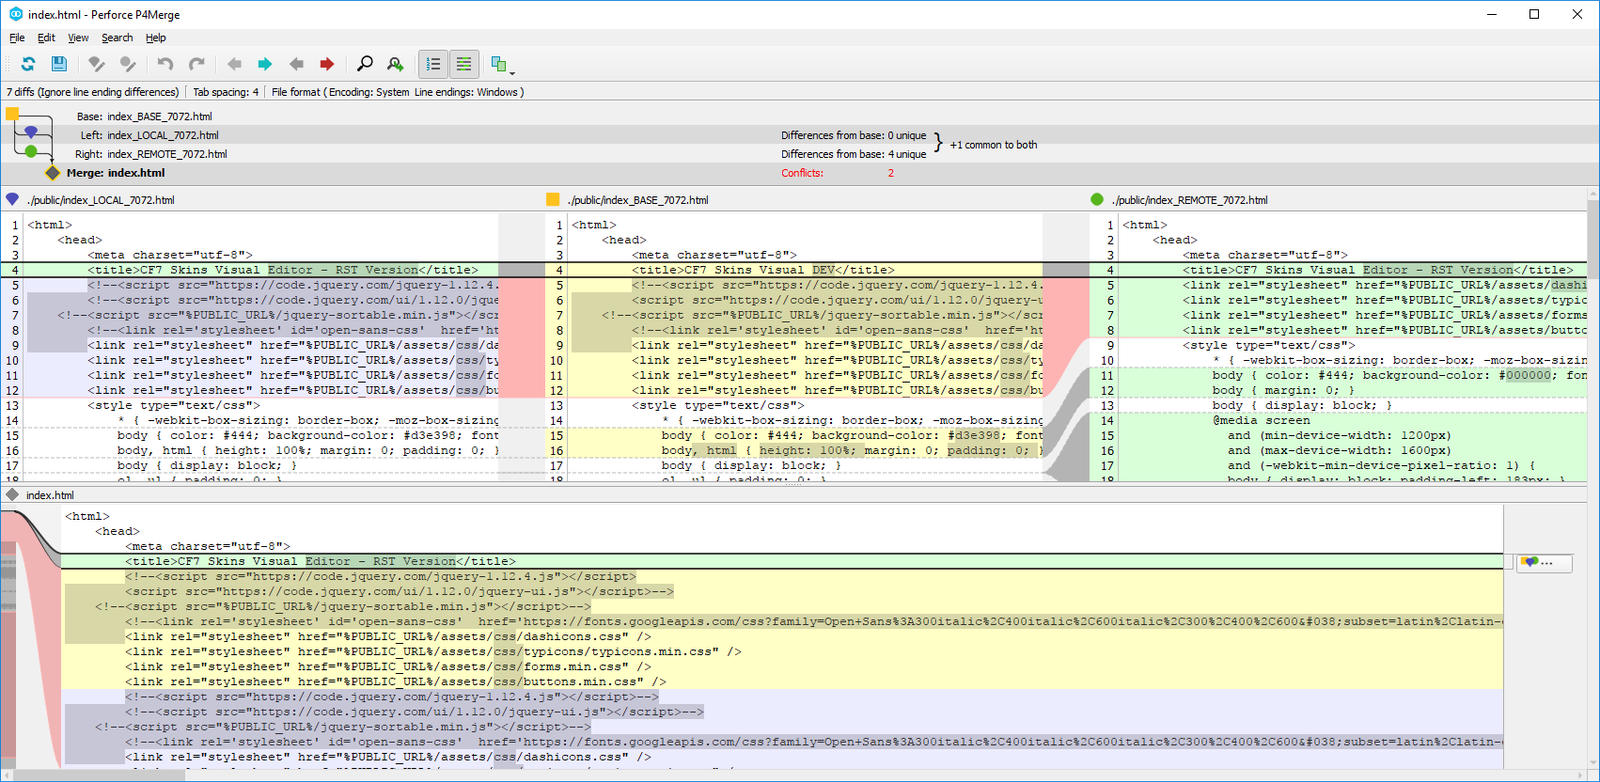
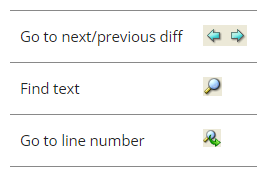
You can then step though each change (diff) using the P4Merge Nav buttons.
Choose a single chunk of text from a set of diffs, by clicking the buttons to the right of the chunk.
These are toggle buttons: Click once to select the corresponding text, click again to deselect it.
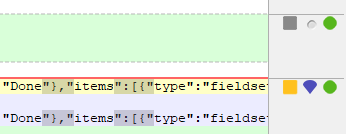
If P4Merge encounters too many changes to display all the required buttons, it displays this button:  . Click it to view the details.
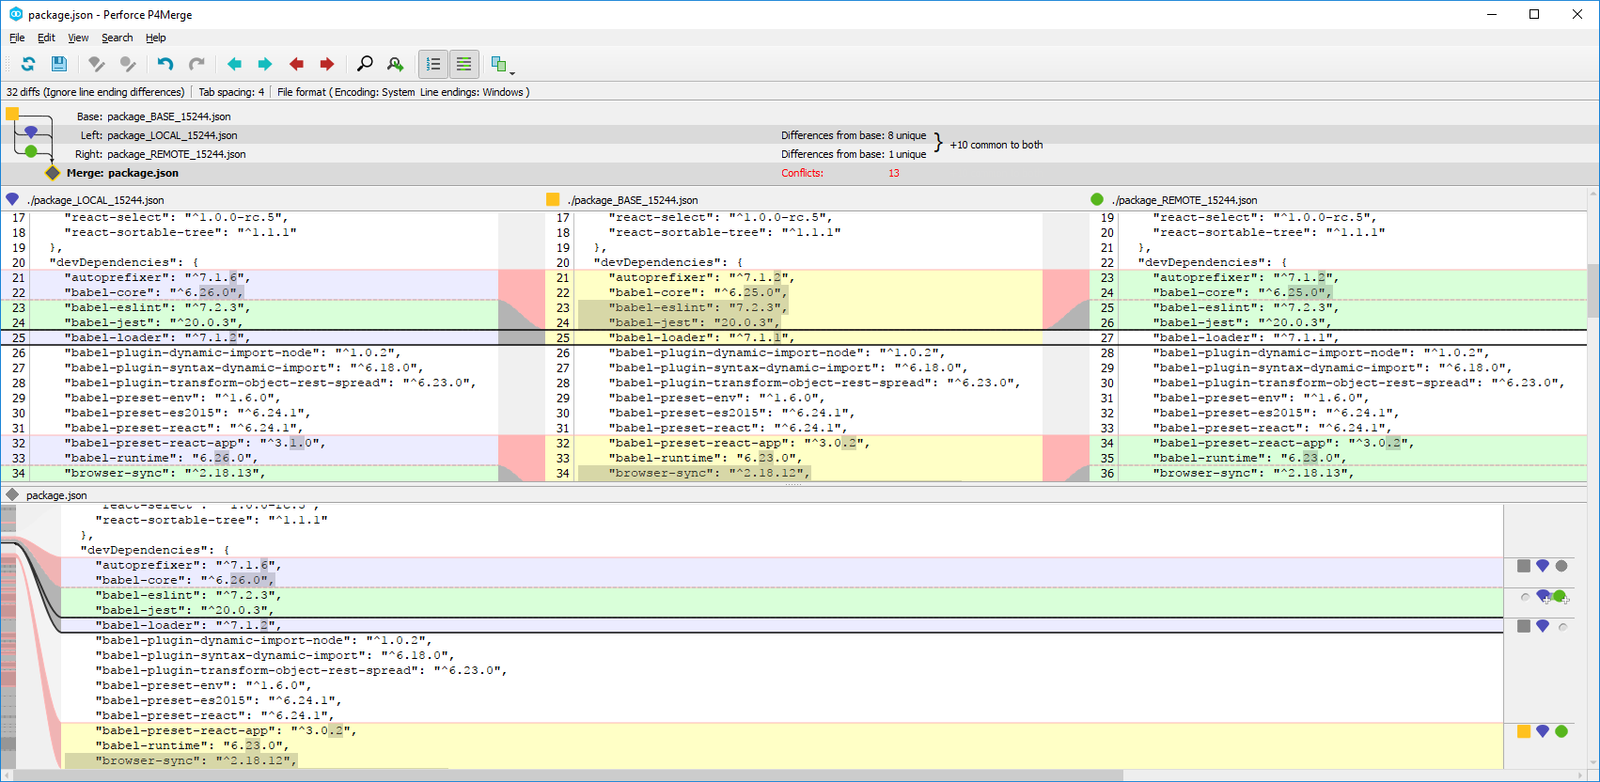
As you accept changes from each version, they are added to the Merge Result in the wider section along the bottom of the screen.
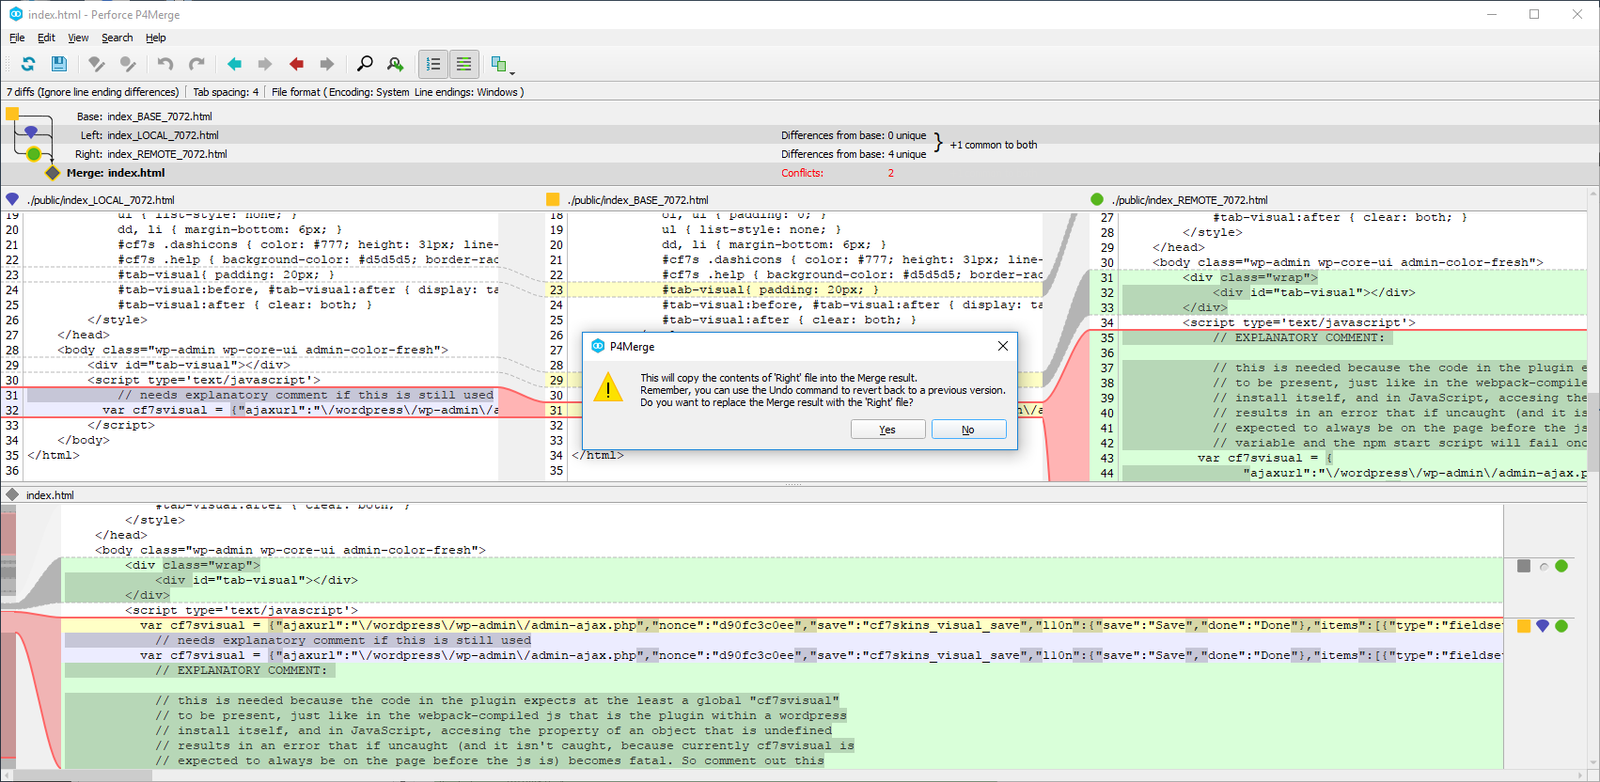
You can also enter changes directly into the merge results file. The Merge Result becomes the accepted file version.

Now you need to Save and exit P4Merge.
Back at Sourcetree you can now complete the Git Merge.