
Last Updated on October 26, 2024 by Neil Murray
Table of Contents #
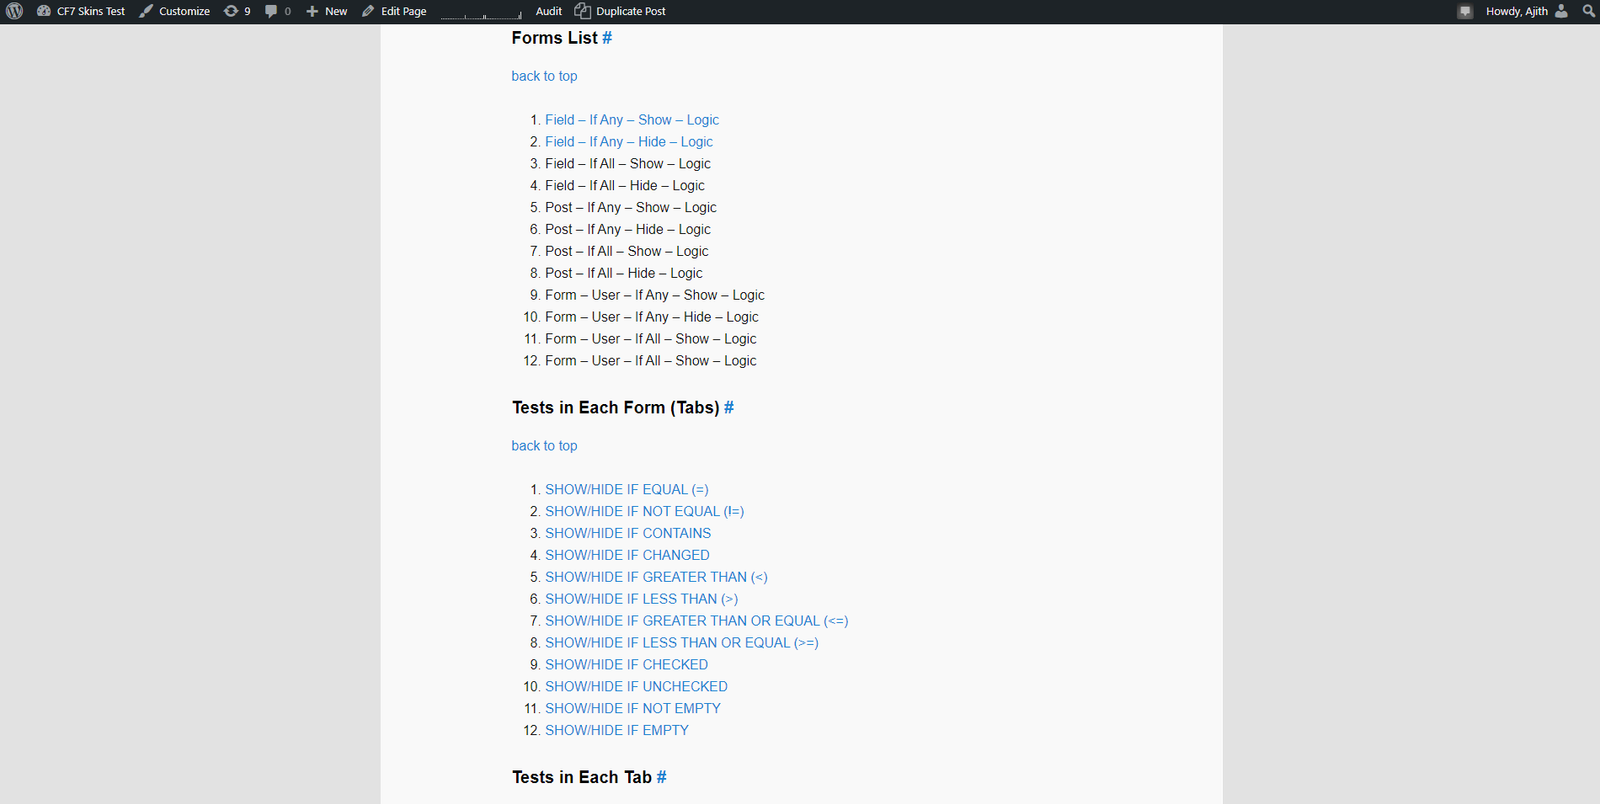
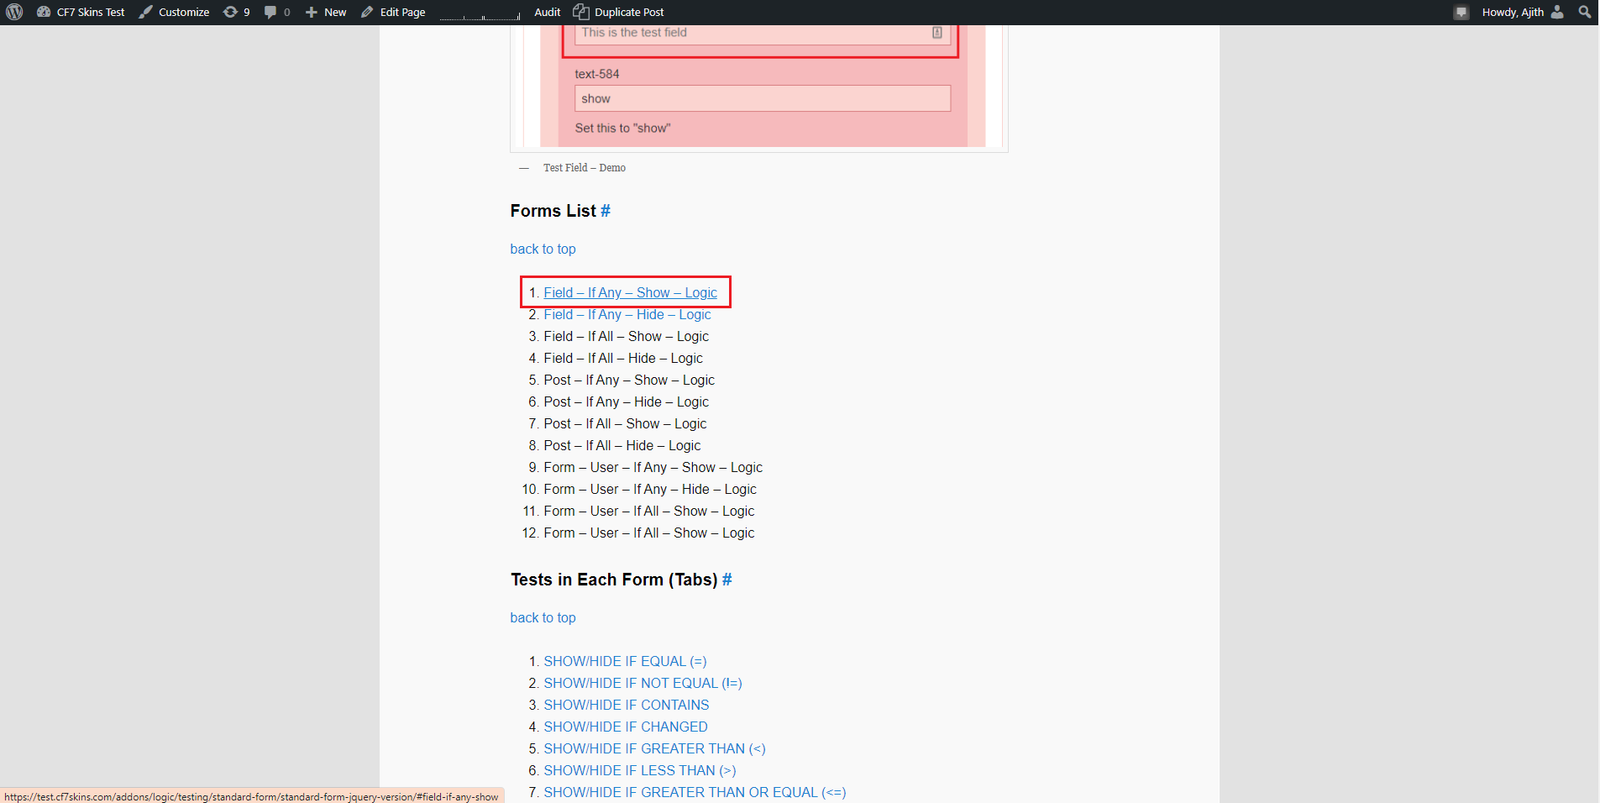
Standard Testing #
Images – ..\Sync\..\Testing\Test Site\Manual Testing\LOGIC\Standard Testing\

Instructions: #
- Standard Forms (jQuery version) (React version) are used to test logic functionality in each release.
- Each form have multiple tabs, each tab consist of multiple individual tests.
- A text field is attached to each logic item to test if the logic works.
- Each section/tab of a form has this text field and it will be visible or invisible according to the logic
Checklist
Open a Standard Form #
Steps #
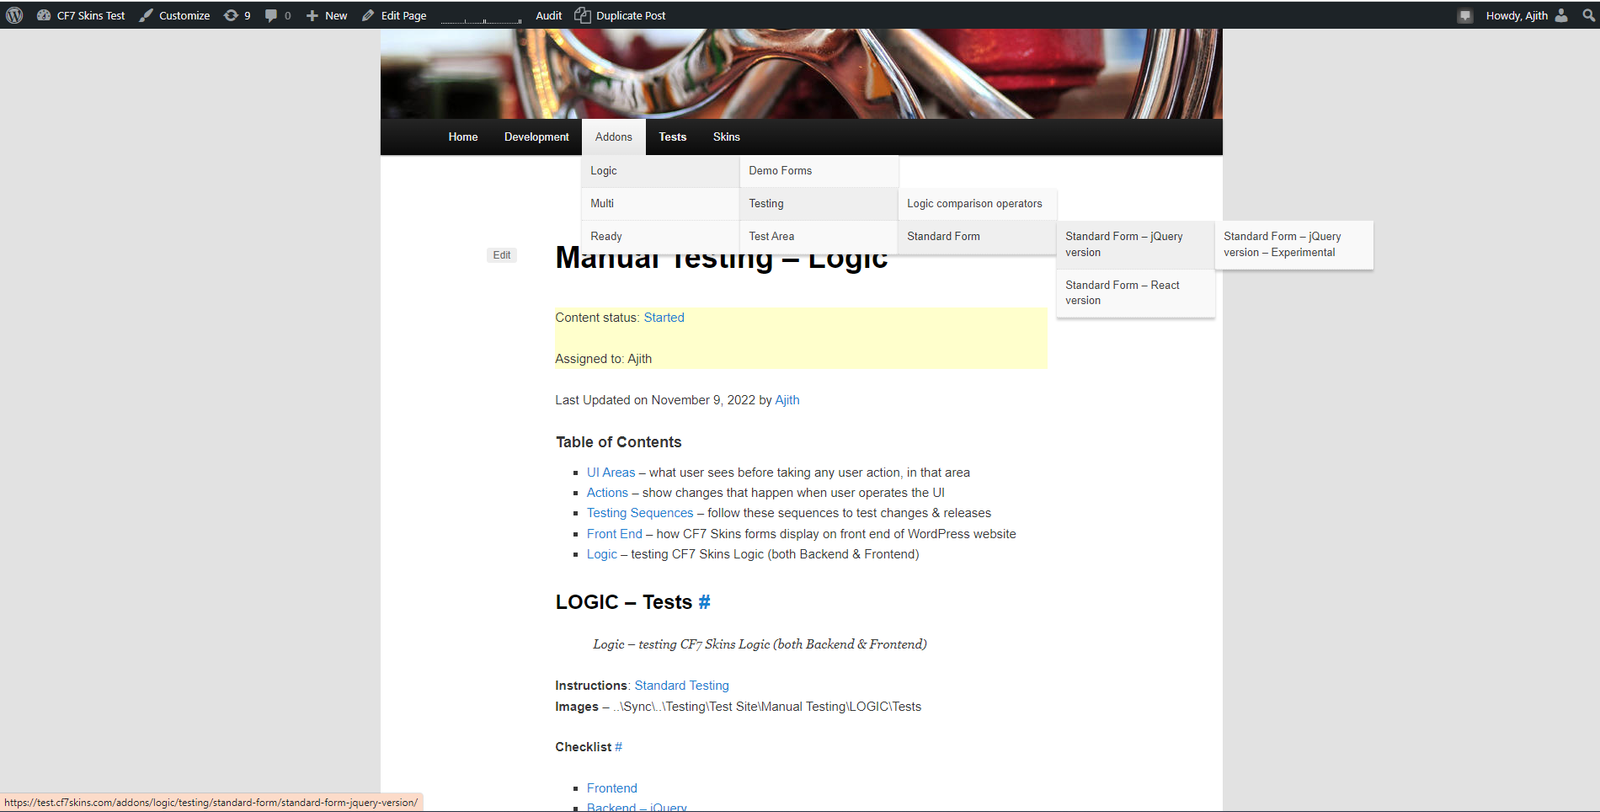
1. Open Stanadrd Testing – Logic Form Page from navigation menu
You need to select the correct form from the menu, there will be two standard testing forms to test frontend logic for now.
- Standard Form – jQuery version
- Standard Form – React version — Under Development
2. Check the available Standard forms
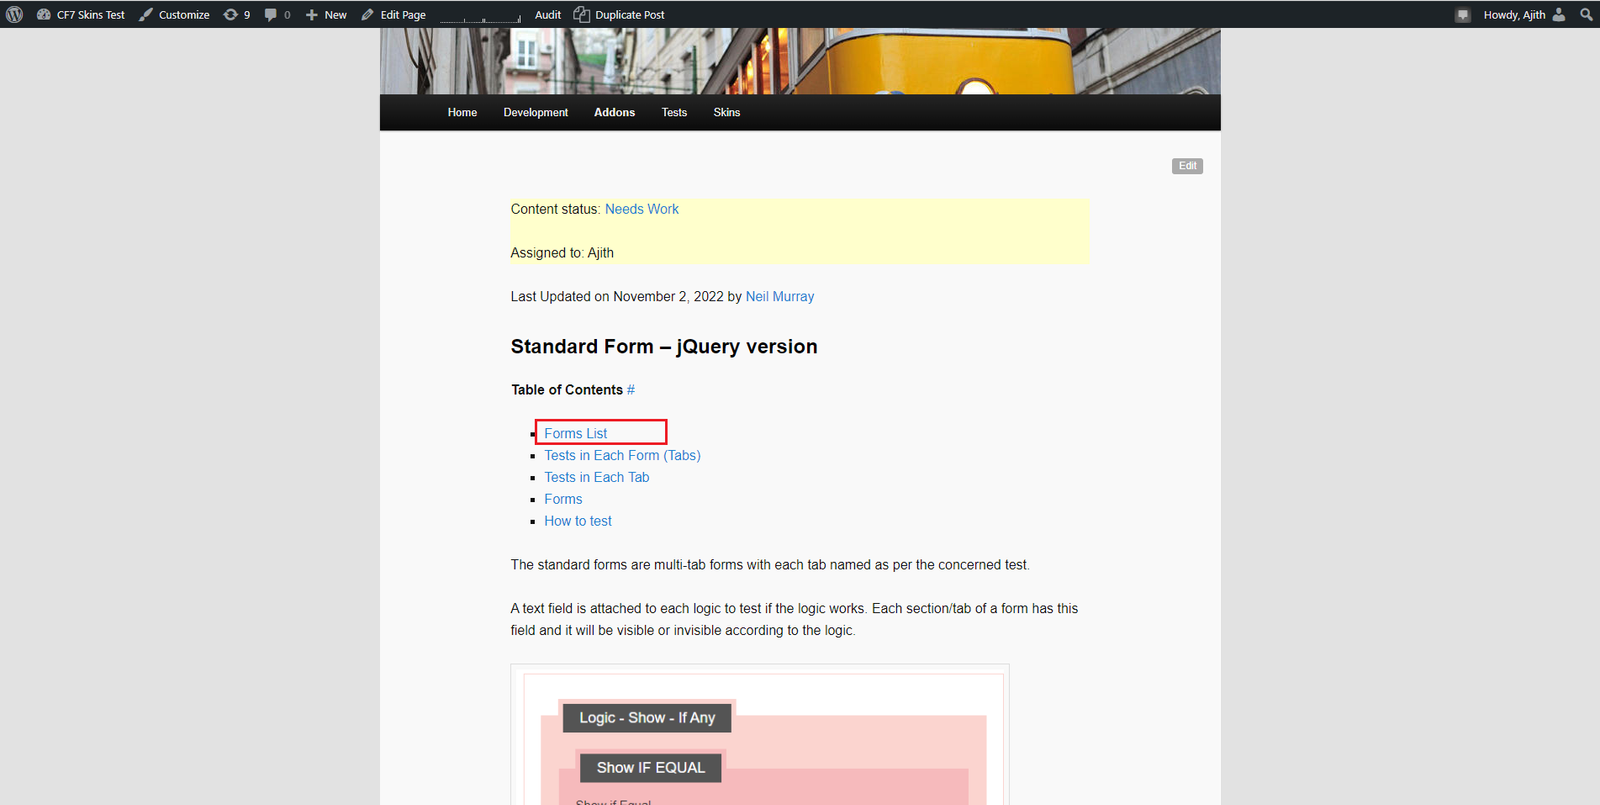
3. Choose the Form for Testing
Open the relevant tab/test #
Click on the tab with the performing test as the tab name. This will open up the tab with fields to test.
Testing the Logic #
To understand how test works, you need to read the instruction given in the reference field area. Also the instructions with each field gives an idea to what input should be given. The field will be visible once the input matches the field instruction.
Checklist
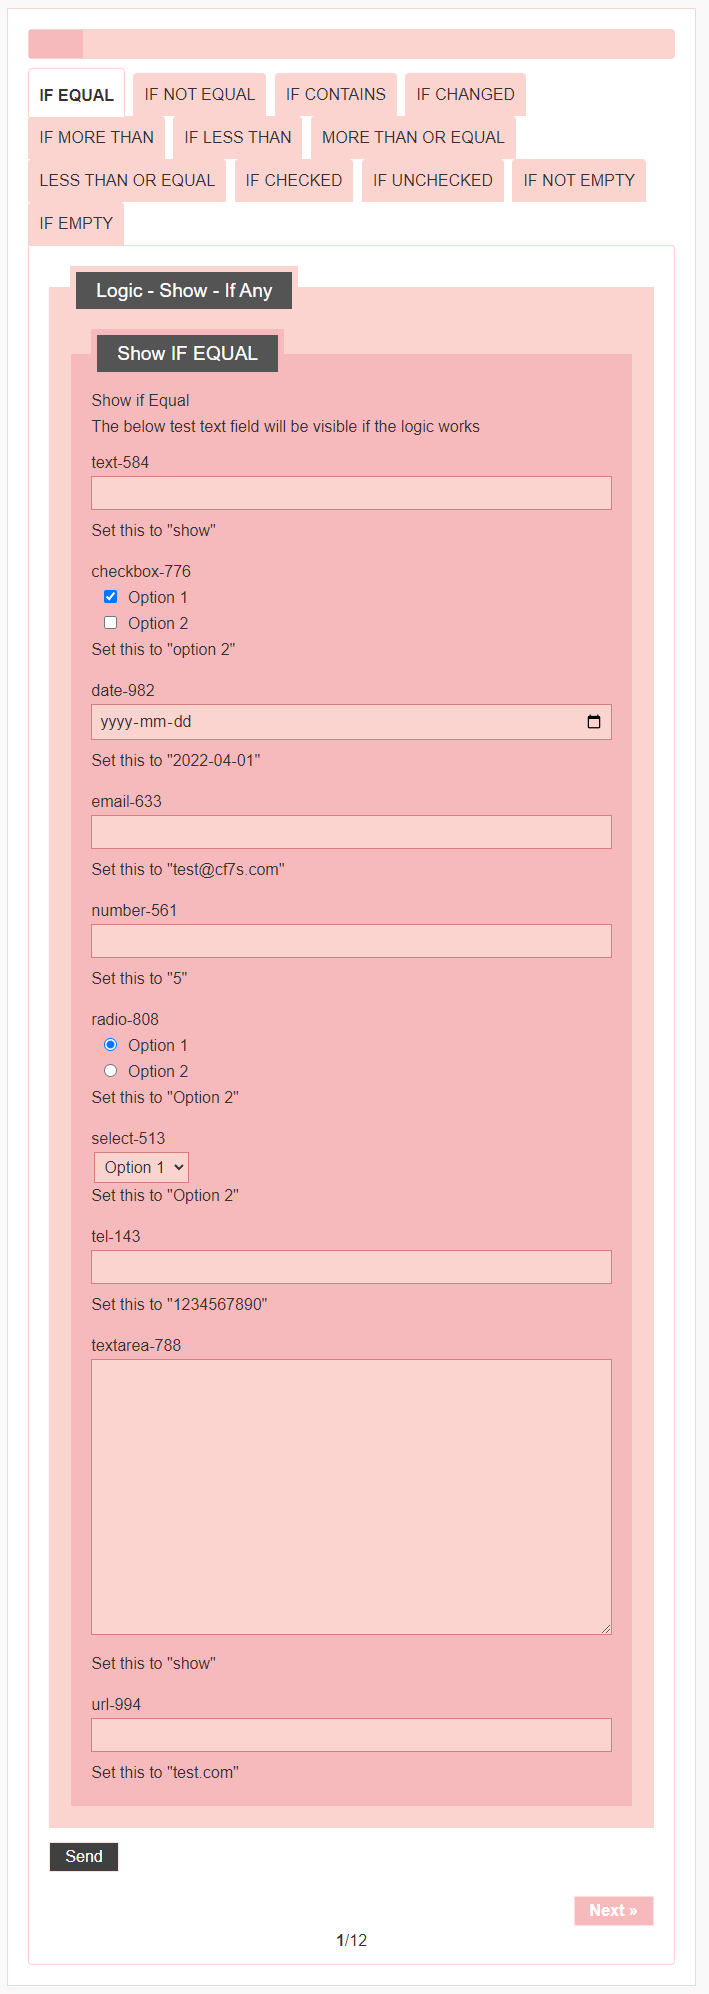
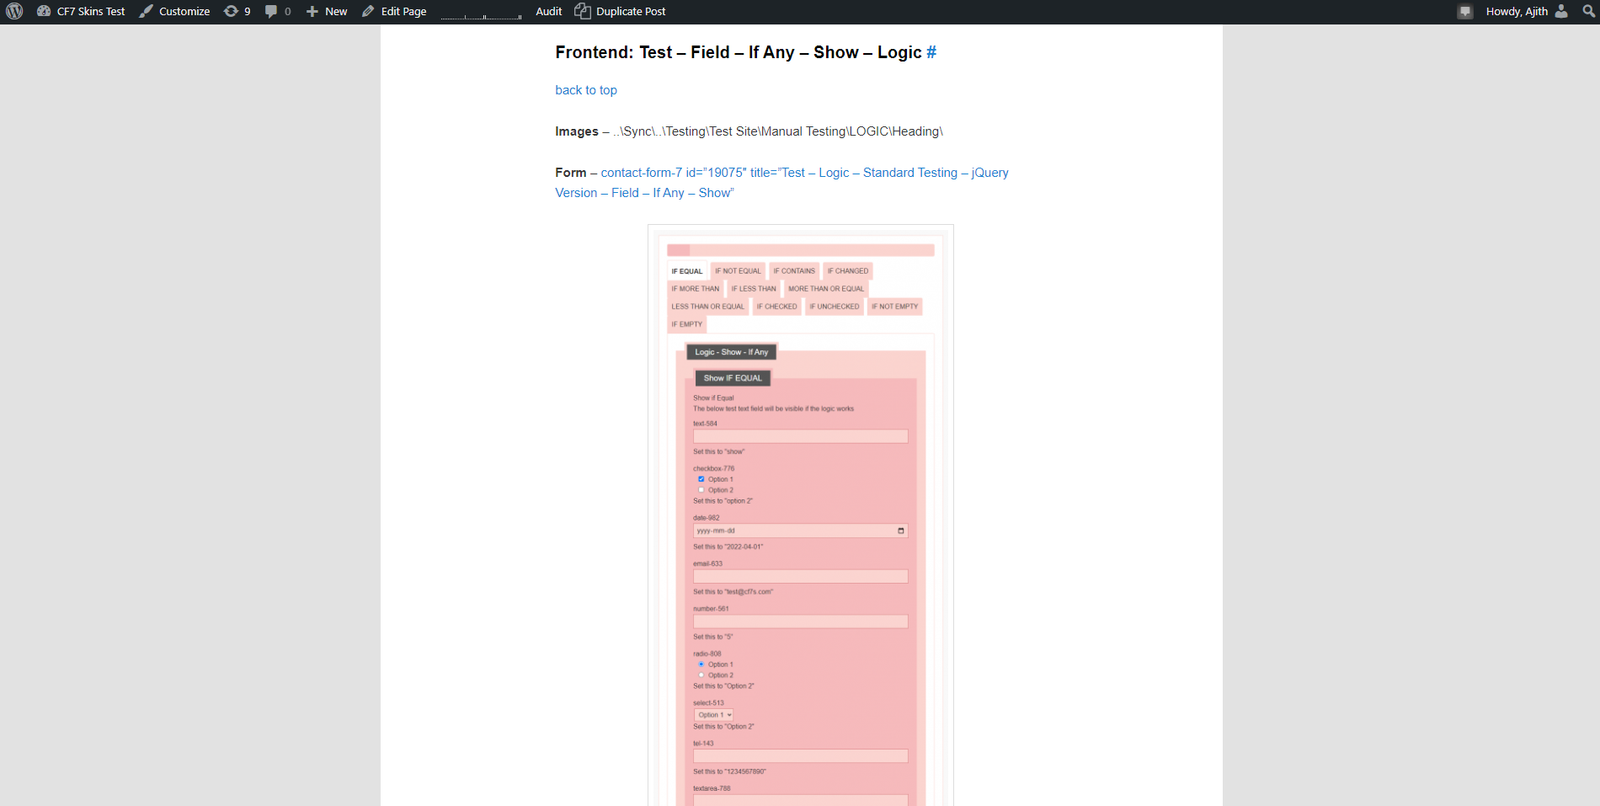
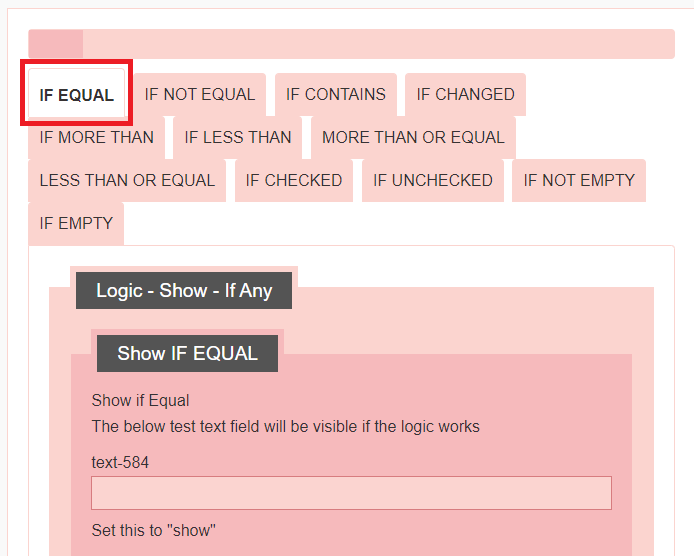
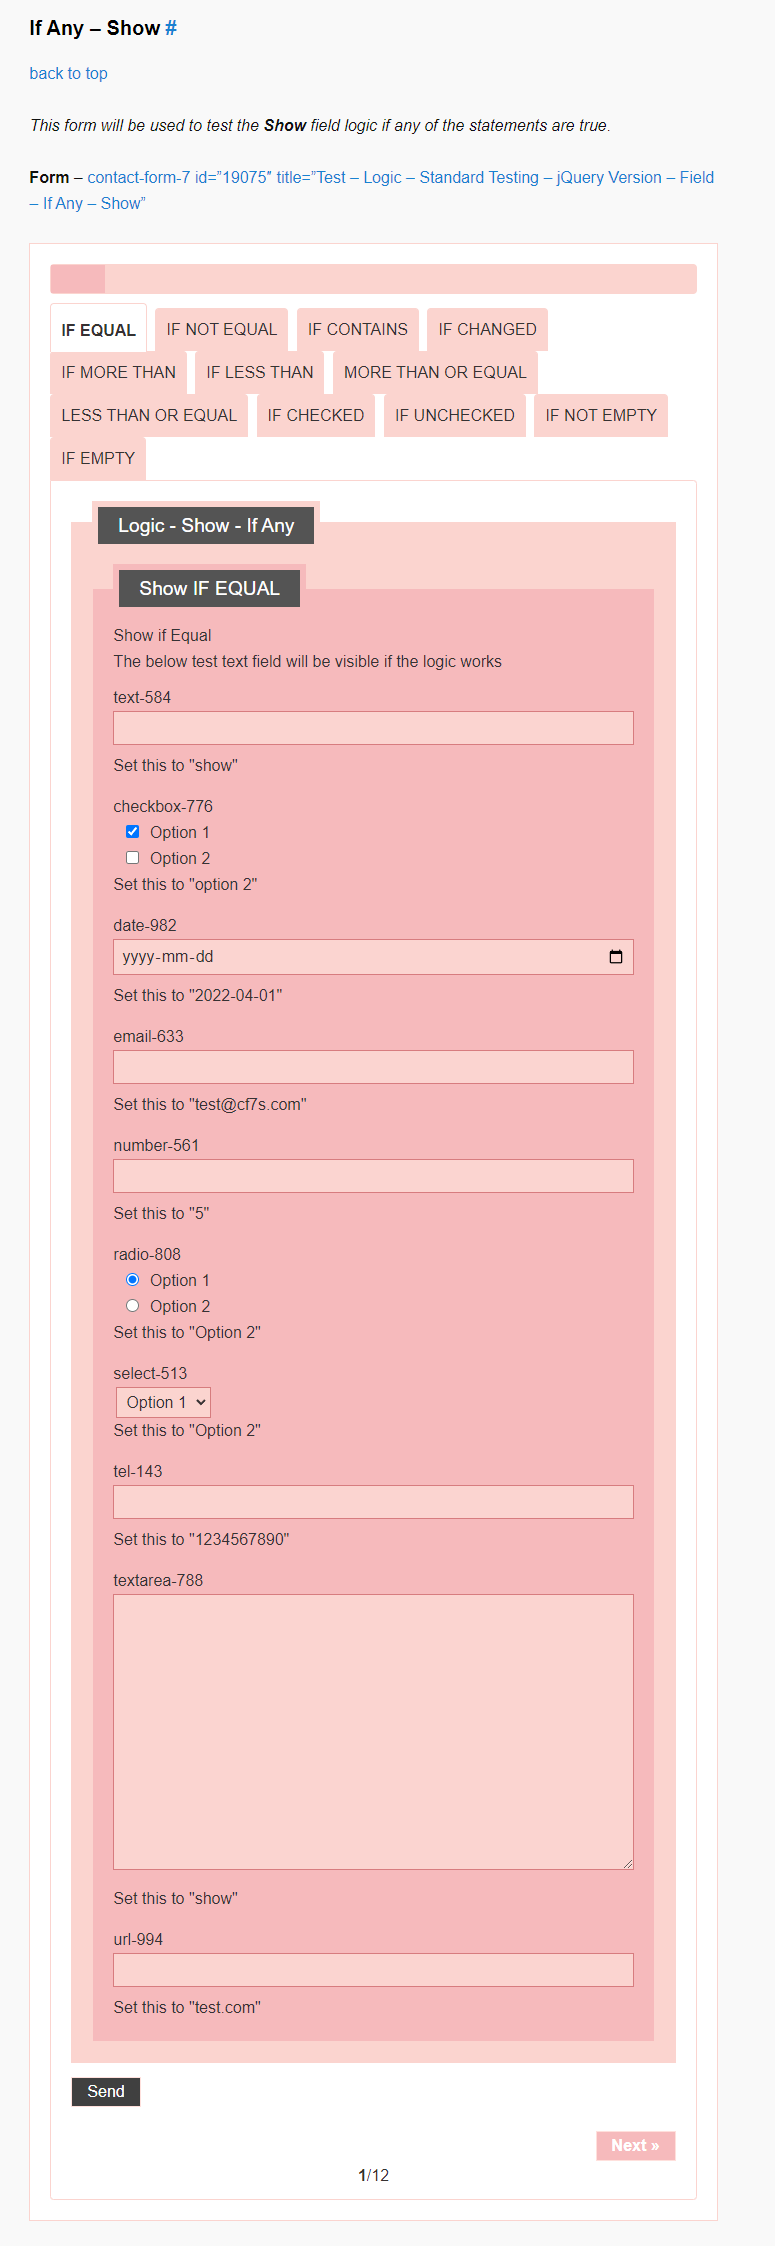
Reference Field Area #
This area contains the main test reference field, which will be the result of tested logic. This field will shown/hide as per the logic.

Field Instruction #
Field instruction is given just below the each test field. To test a field the field needs to be set to the exact values as per the field instruction. once the field isnstruction is followed and set the value to a field then the Refference field will be shown/hidden as per the logic applied.
Test and Screenshot #
Checklist
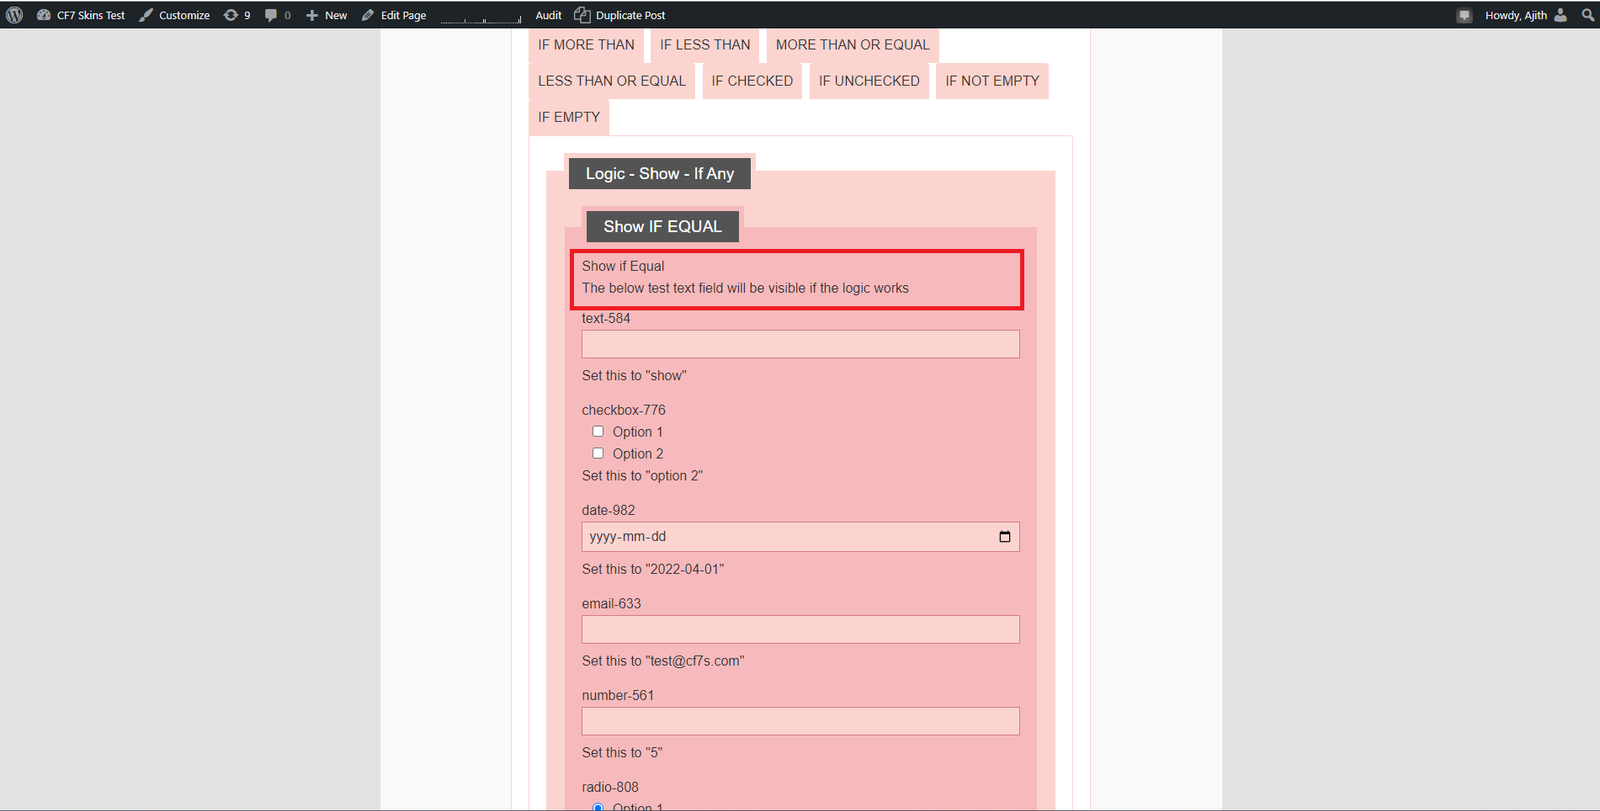
The screenshot need to contain the full form, after each field value is set as per the Field Instruction.
If the test is for “IF ANY” condition then the other fields in the form other than the testing form should not following the field instruction. Otherwise the logic will not be applied. Make sure that Reference Field is shown/hidden as per the test before testing a field.
Screenshots #
Start with the screenshot of initially loaded form just after loading the page. This will give the status of form when loaded.
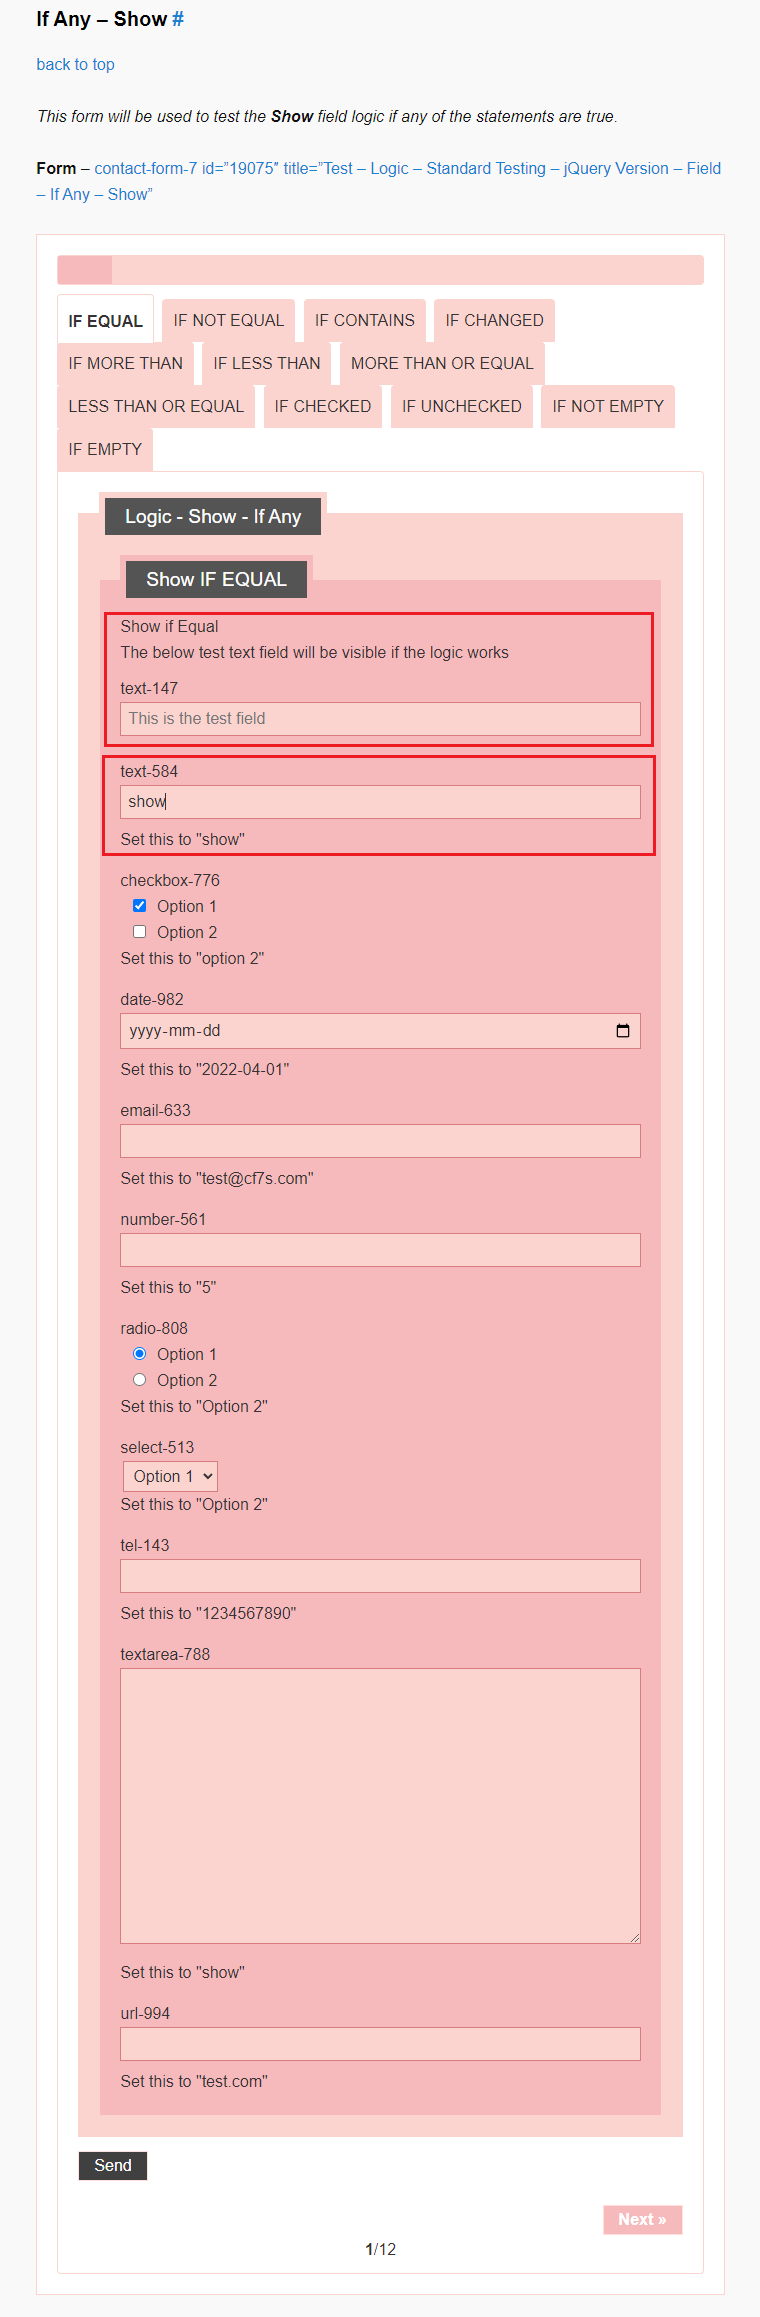
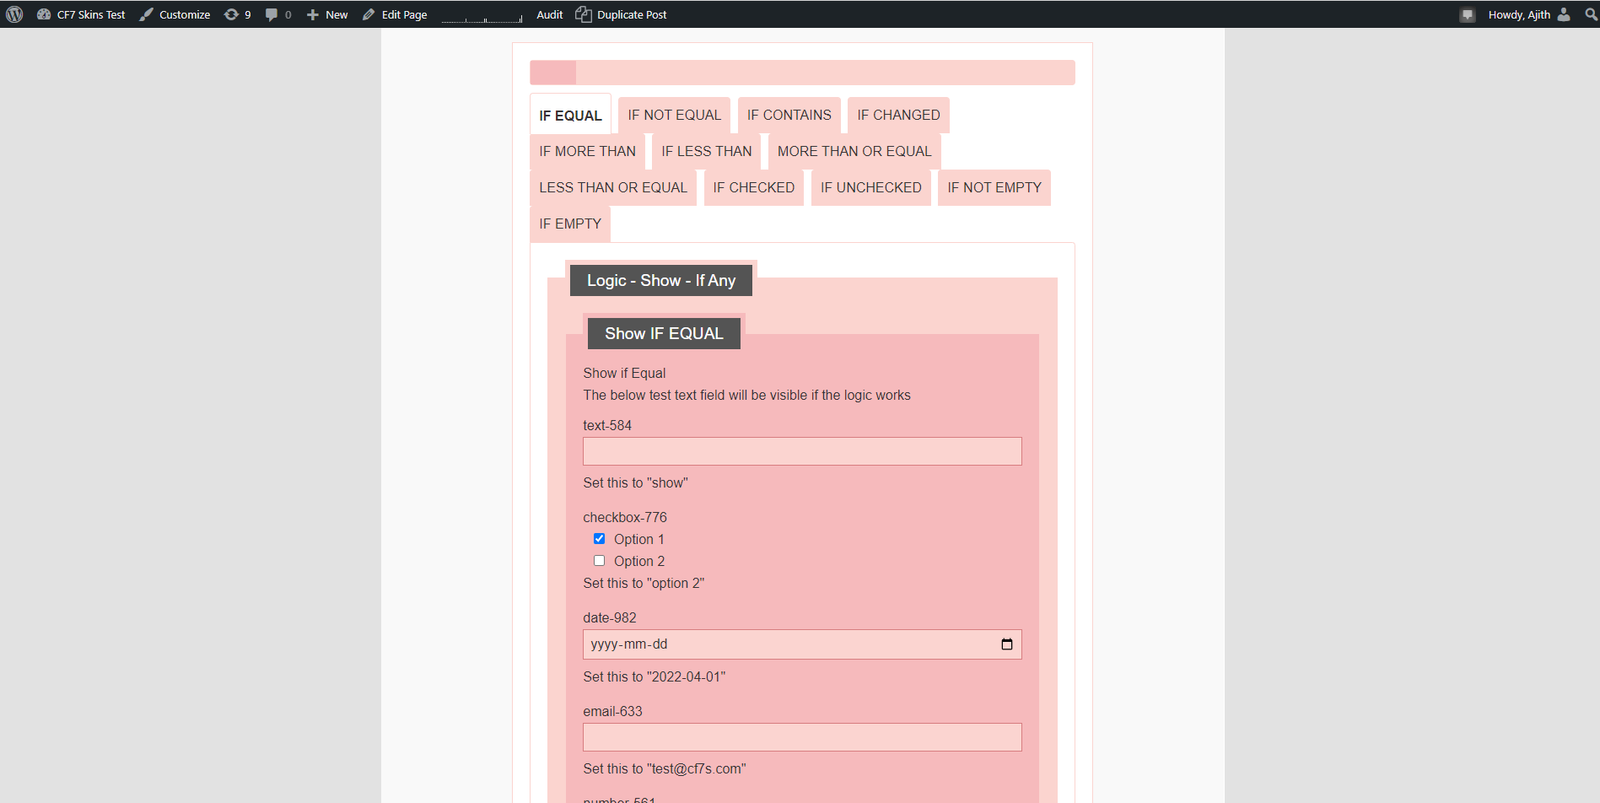
In the above screenshot, the field follows the Field instruction. So the field in the Reference Field Area is shown
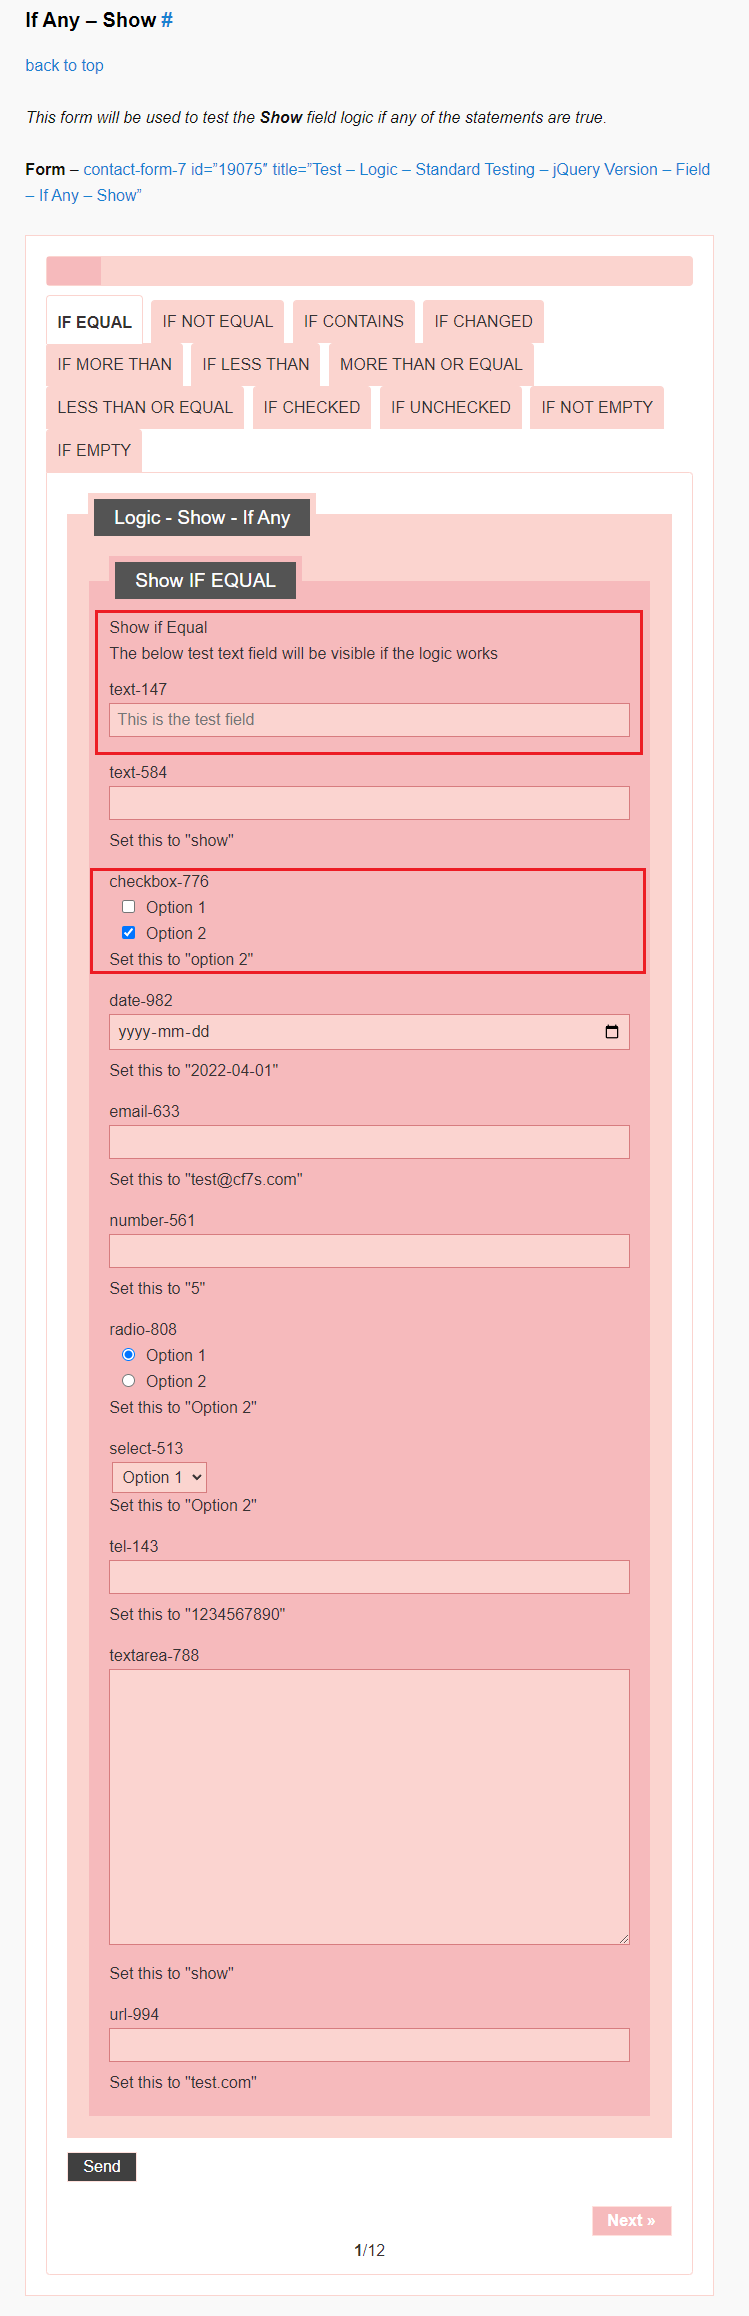
In the above screenshot, the first text field (text-584) value is unset. and second test field(checkbox-776) is set. Because as per the logic is “IF ANY”, matching single field will satisfy the logic.
Continue Test #
Continue Tests with the other fields in the same test and record screenshots

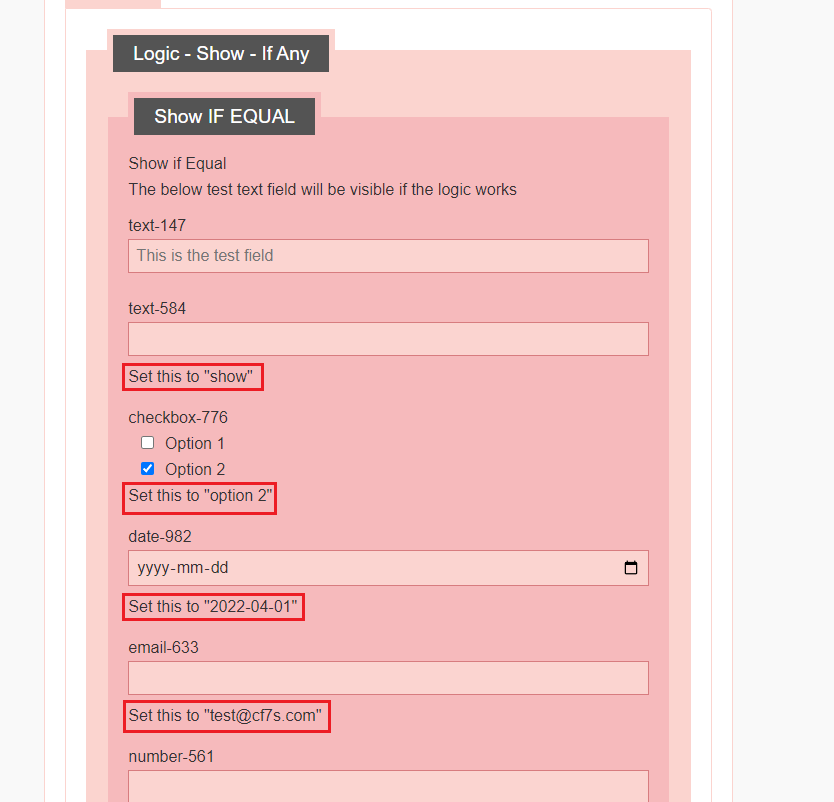
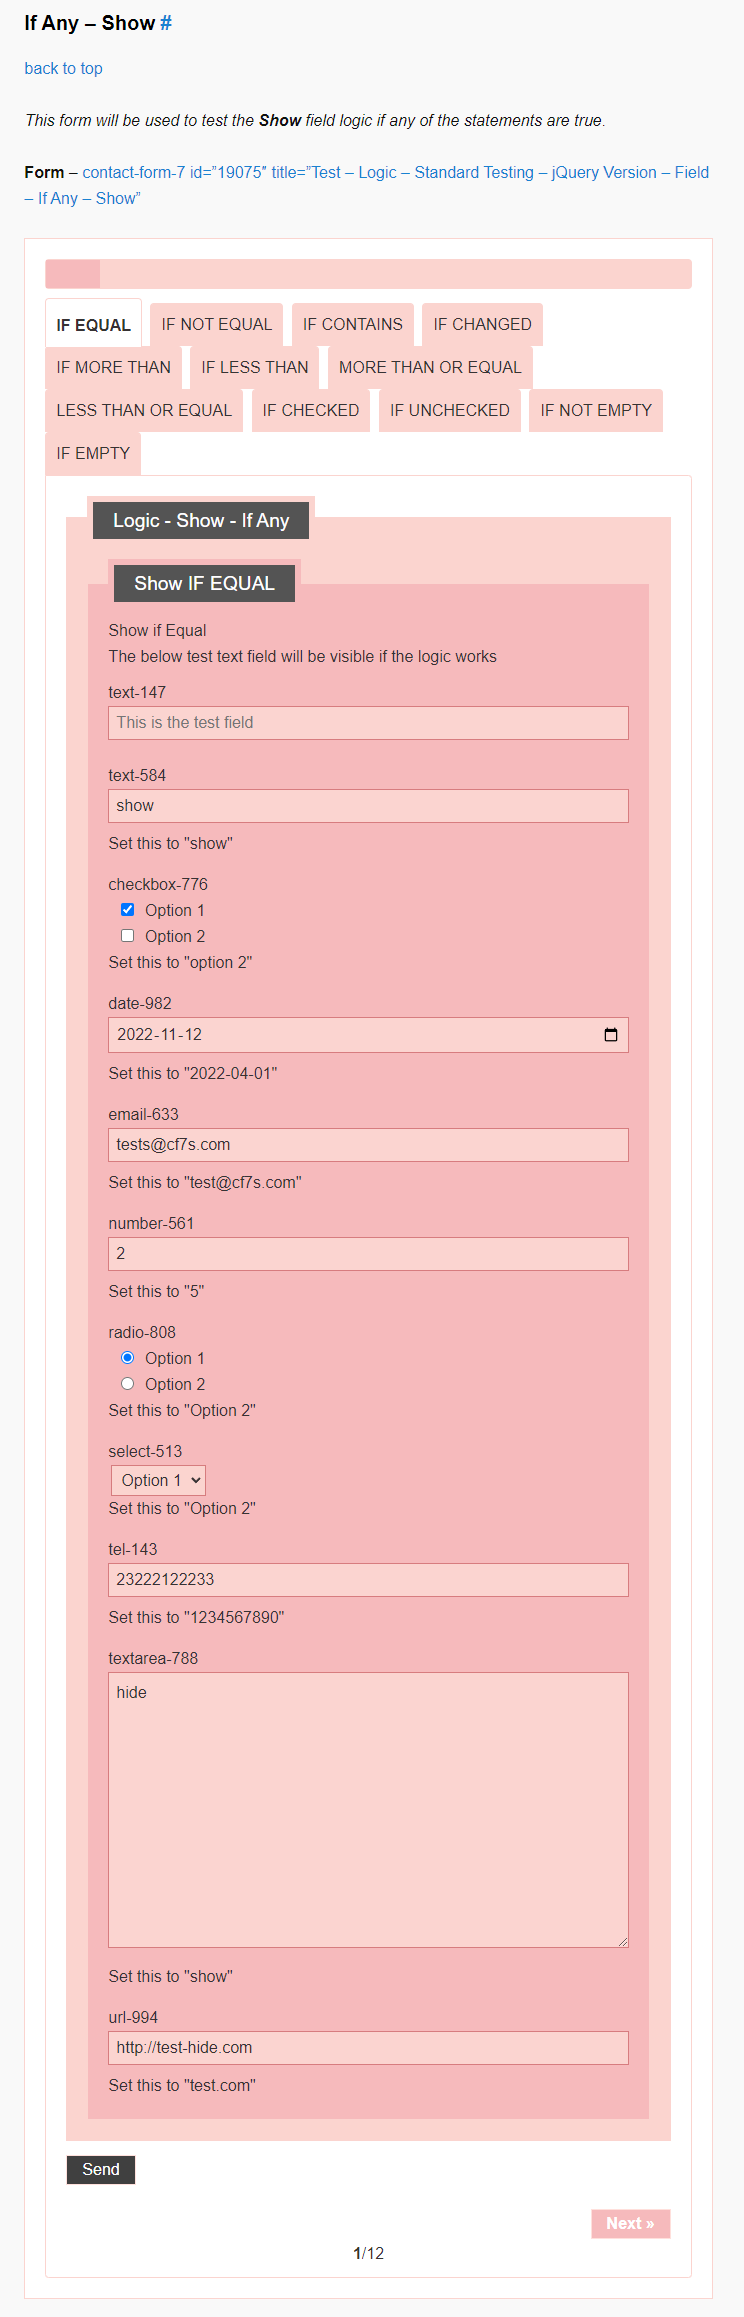
Testing with filled fields (for review) #
It is also important to make sure that logic comparisons works even with inputs on all fields, so that the functions aren’t interfearing with each other. To test it we may use the expected correct value on a field and rest fields set to distict values than in Field Instruction
After completing testing of all fields in a Test, continue testing from the next Tab/Test and record screenshots.
Notes #
As each tab consist of different tests, there are some different things to note in each test.
IF Any – Notes
- All fields other than the field which is testing should be cleared before testing or it should contain a value which is different from the value in Field Instruction
Further reading:
- Item
Logic – Responsive Styling #
Further reading:
- Recording testing via screenshots [TODO]
- Report results & problems on Bitbucket Issues [TODO]
NOTES #
Save all Images to Sync – use ..\Sync\..\Testing\Test Site\Manual Testing\LOGIC\Standard Testing -old\
- See Documentation Images – Naming Images – similar need
- ADD step by step instructions on how to test & record screenshots for any change or new version