
Last Updated on June 22, 2024 by Neil Murray
Table of Contents #
Manual Testing System #
We need to test & confirm that changes made in each release do not inadvertently affect the operation of the CF7 Skins plugins.
Key is to run testing in a standard format when we want to check a change.
We need a system:
- Where we find problems instead of customers
- That does detailed manual testing over a defined range of setups for PHP, WP, CF7 & CF7 Skins
- Which confirms the plugins are working as they did previously before any change.
Aim is to:
- record how each version is working
- check key areas before each push
- update our testing results when we make changes (as basis for future testing).
Manual Testing Pages #
We have a consistent, standard format we use on all our Manual Testing Pages. Each testing area on a Manual Testing Page includes the same typical elements.

Standard Components & Format #
Each page & section is built using the following standard components:
- Table of Contents – TOC
- Checklists
- Headings
- Hashtags
- Images
- back to top – navigation
- Further reading
- Notes
Table of Contents – TOC #
The Table of Contents – TOC at the top of each testing page provide consistent navigation to all our testing pages.
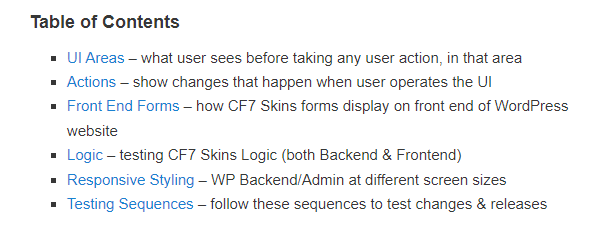
This TOC is done as a Reuseable Block (any editing appears on all pages where it is used).
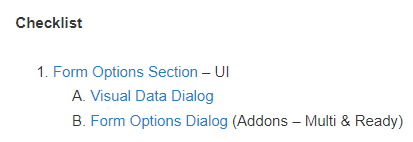
Checklists #
Checklists allow users to easily find & navigate to all sections of each testing page.
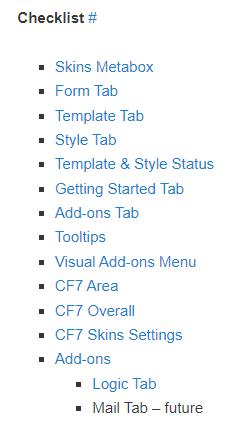
Testers can use the various Checklists to navigate easily both forward & backwards on each testing page.
Tip: Generally only H2 items should be included in the Checklist at top of each Manual Testing page.
Add a Checklist under an item to list things to be checked.
We generally avoid use of lists with sub-lists.
Instead create small discrete Checklists that can be tested separately.

Headings #
Headings allow users to easily identify sections they are looking to test. We use consistent formating & naming for all headings.
We follow semanitic HTML heading levels H1 – H4.

Tip: Don’t use numbers in Heading name or hashtags (easily becomes wrong when other items added or deleted).
Links to forms in WP Admin can be included in headings.
Hashtags #
We include hashtags in our headings to make it easy for users to link to each heading.
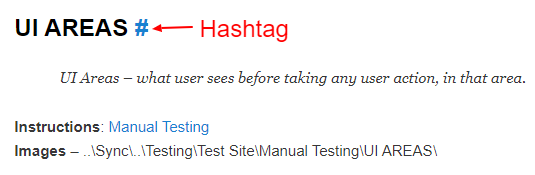
We create hashtags for all headings H1 – H3 & sometimes for H4.
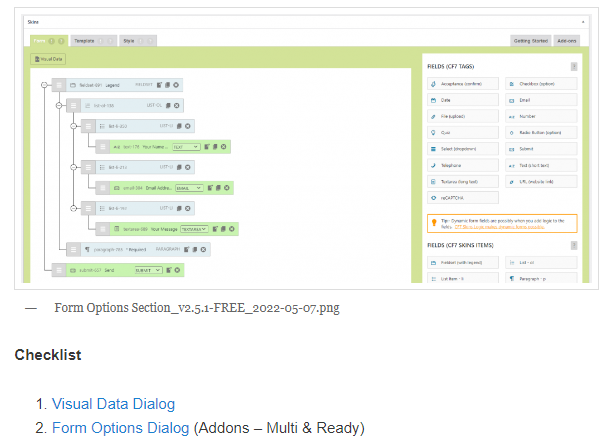
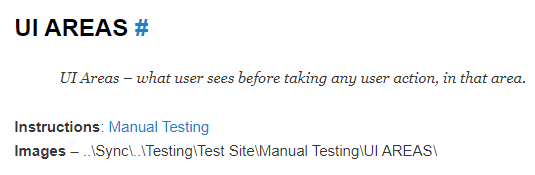
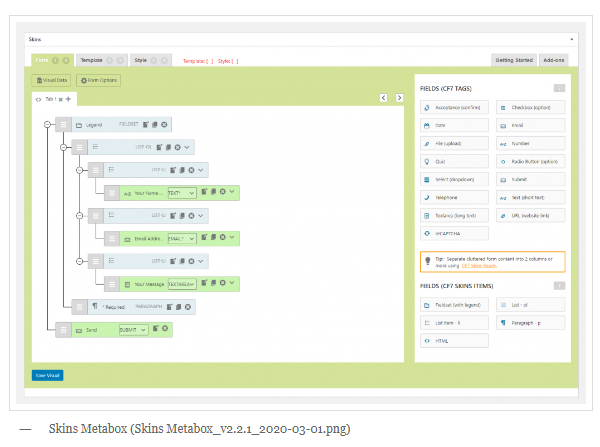
Images #
The screenshot images added form the basis for future testing. All text in an image needs to clearly legible.

Explanatory text is generally not necessary at each image.
Image naming #
We use a consistent naming format for all testing images. As testing images are taken again & again at different plugin versions, this requires some specific naming requirements.
See Image File Naming.
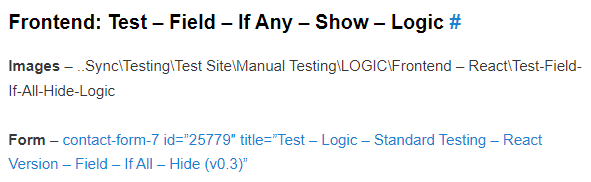
Image file location #
We include the path where the images are stored in Sync at the top of each section. This ensures the images for each version are added in the same location.

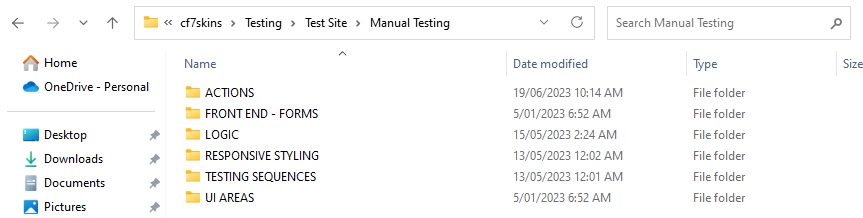
We avoid using image subfolders. as they make it difficult to take screenshots for a new version on the main folder item.
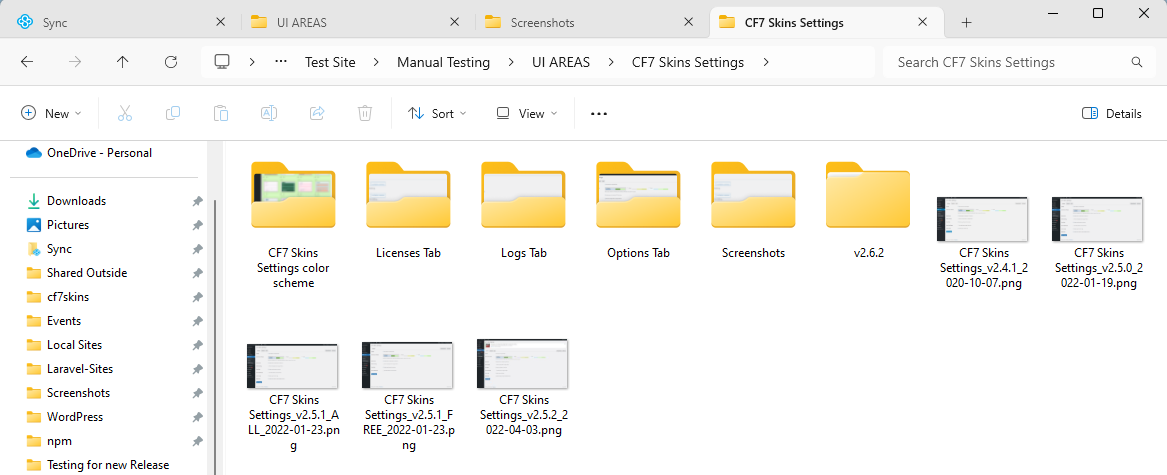
Image links #
All images must be linked to the full size version. This allows users to view the image in more detail whenever necessary.
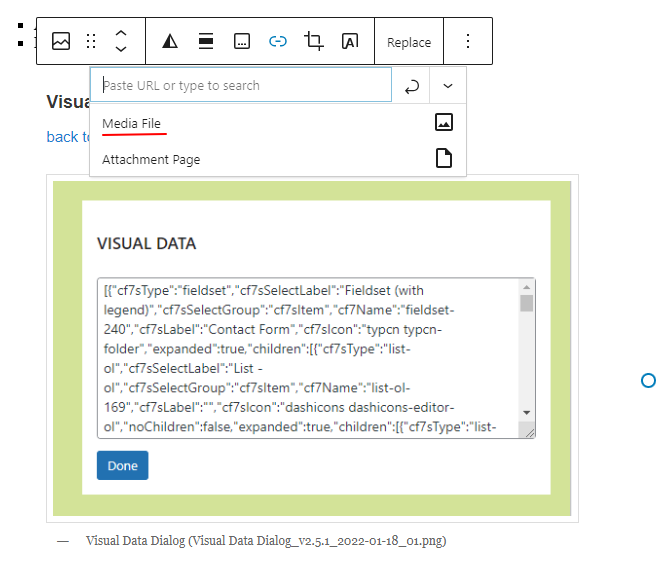
Image captions #
We add a detailed caption to each image which includes:
- Section being tested
- Exact image file name
back to top – navigation #
We add a back to top link in each section to link to Checklist at the top of that section.

Further reading #
Add links to documentation that will help the tester.

Notes #
Add info here of items that need to be dealt with on this Manual Testing page.
Add Links to Related Actions #
Giving links to related UI Areas in Action Checklist is very helpful. Our preferred method is to add a direct hyperlink to the related word and underline it.

Useful Tips #
- Don’t create large groups – instead use small groups that cover only a small discrete area
Further reading:
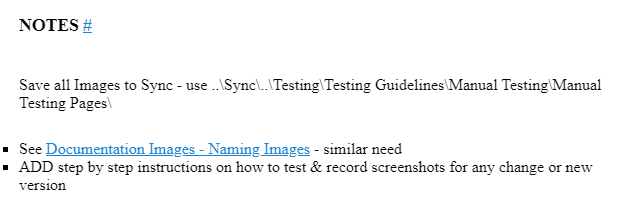
NOTES #
Save all Images to Sync – use ..\Sync\..\Testing\Testing Guidelines\Manual Testing\Manual Testing Pages\
- See Documentation Images – Naming Images – similar need
- ADD step by step instructions on how to test & record screenshots for any change or new version
Things we’ve learnt so far #
- Giving links to related UI Areas in Action Checklist is very helpful
- Our preference is to avoid image subfolders. We should only add them when the main folder becomes confusing because it has too many images.
- Use the Sync Desktop App so your screenshots are added as you work – see Team Tools – Sync.
- Avoid use of lists with sub-lists – instead create small discrete areas that can be tested separately
- Add Checklist under each item where we can list things to be checked
- Don’t create large groups – instead use small groups that cover only a small discrete area
- Only H2 items should be included in UI AREAS list
- H3 items should be in Checklist under the H2 heading.
- Clear visual distinction between H3 & H4 – improved Custom Styling
- All images should include a link to the full size version
- Explanatory text generally not necessary at each image
- Use hashtag for H1 – H4
- Don’t use numbers in Heading name or hashtags – easily becomes wrong when other items added or deleted
See CF7 Skins CSS – Classes as example of similar page.