
Last Updated on October 27, 2024 by Neil Murray
Table of Contents #
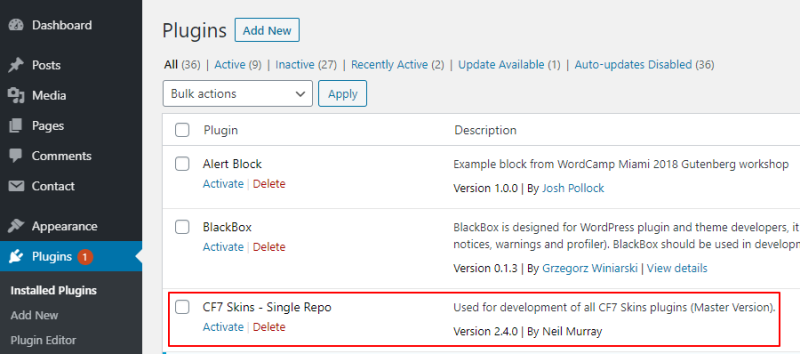
Install CF7 Skins – Single Repo plugin #
You will need to download, install, activate & add license keys for our CF7 Skins development plugins.

The CF7 Skins – Single Repo plugin contains:
- All CF7 Skins plugins in a single repository
- Our JavaScript build tools
- Build (minified) & Development (un-minified) versions
- WordPress Admin and standalone JavaScript versions that operate separately.
Step by step instructions #
1. Add CF7 Skins – Single Repo on local WordPress development install
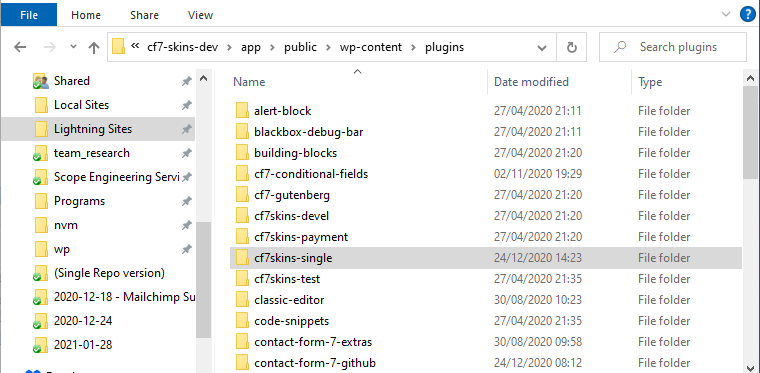
Create a new folder in your wp-content/plugins/ directory on your local WordPress install.
2. Clone CF7 Skins – Single Repo into this folder
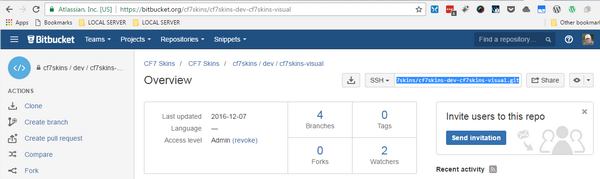
Clone CF7 Skins – Single Repo into this folder.
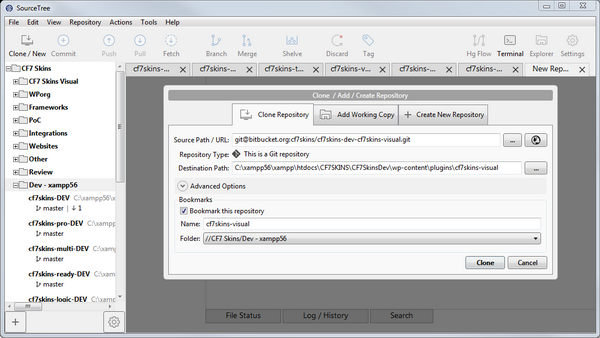
Tip: We recommend you use SourceTree – a Git GUI application for your Git interactions.
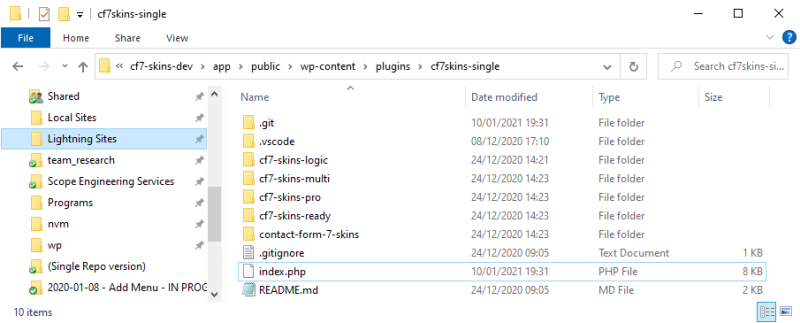
3. Contents of master branch is loaded into folder
Tip: You’ll find things easier if you initially setup everything while on the master branch.
4. Activate the CF7 Skins – Single Repo plugin
You should now be able to activate the CF7 Skins – Single Repo plugin.
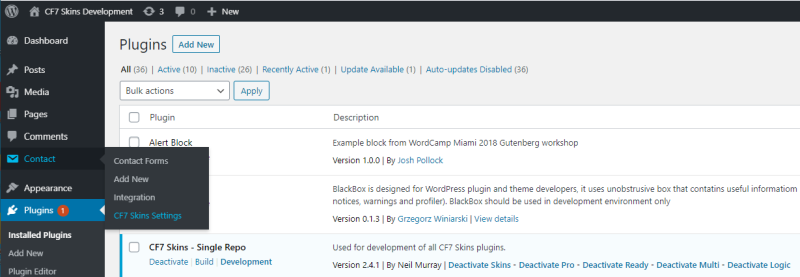
5. Add CF7 Skins plugin licenses
Go to the CF7 Skins Settings – Licenses tab.
Tip: Go to this link for some current License Keys for our CF7 Skins Add-on plugins.
- Add each license key
- Save Changes
- Press Activate License

See Add CF7 Skins Add-on Licenses.
6. The CF7 Skins – Single Repo plugin should now be active
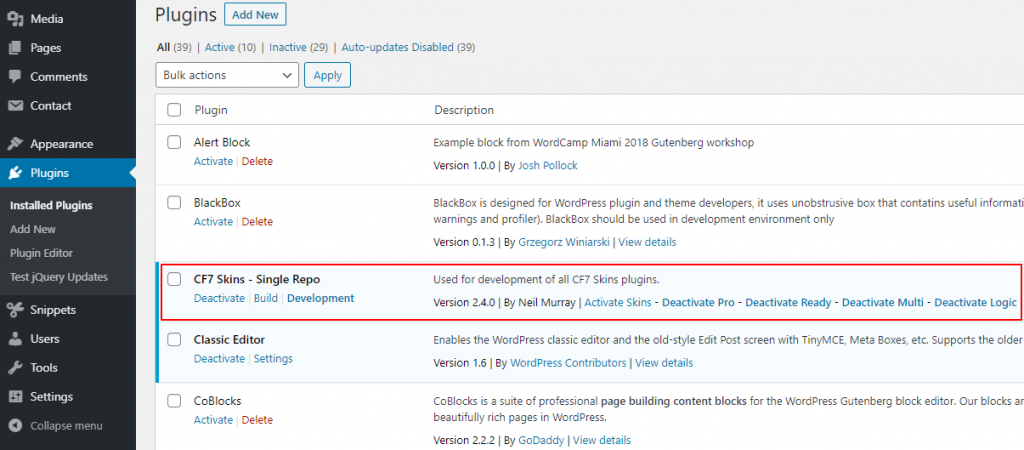
See Operate CF7 Skins – Single Repo development plugin.
Further Reading
Notes:
ADD notes here.
Save all Images to Sync – use ..\Sync\..\Development\Development Guidelines\Development Team Tools\Getting Started\Setup local install – step by step instructions\