
Last Updated on April 1, 2025 by Neil Murray
Table of Contents #
- WP Studio
- Import and Export
- Update an Existing Studio Site From a Backup
- Studio site’s SQLite database
- Studio AI Assistant
- Using Xdebug in Studio
- PHP Executable Path
- WP-CLI in Studio
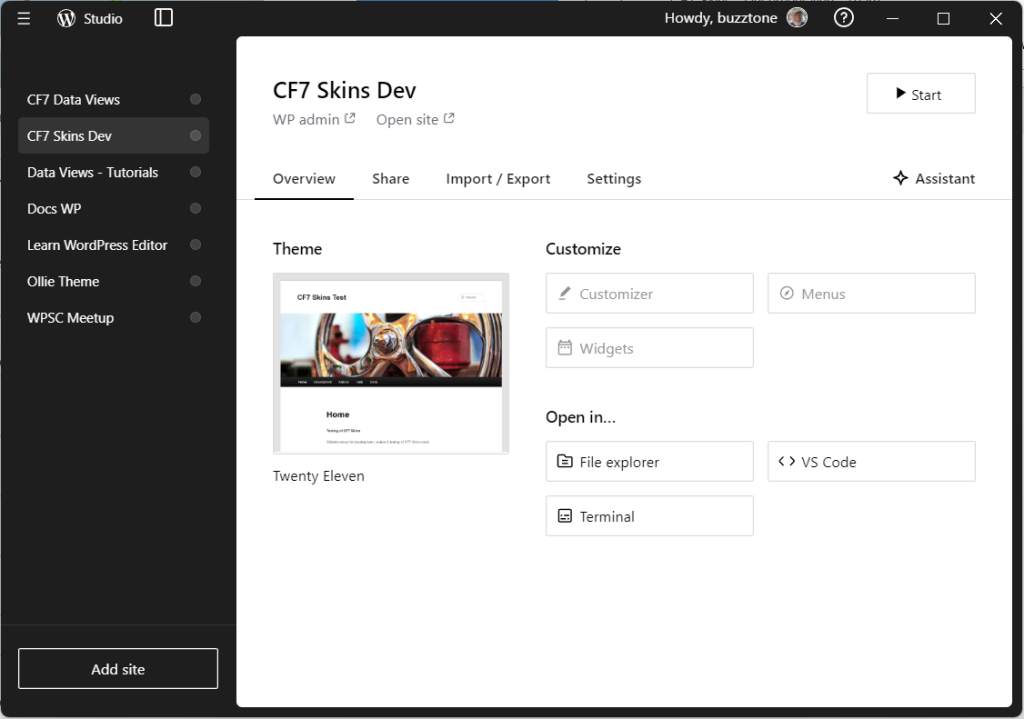
WP Studio #
We are now using WP Studio for our local WordPress development environment where possible. It starts & runs much more quickly than Local.
Import and Export #
A Studio site can be added from a backup file that contains a site’s site full content.
To add a new site to Studio from backup, you’ll need a .tar.gz, or.zip file that includes the following items:
- wp-content/plugins: The folder containing your site’s plugins.
- wp-content/themes: The folder containing your site’s themes.
- wp-content/uploads: The folder containing your site’s uploads.
- sql/: A directory with .sql files that contain your site’s database data.
- Click the Add site button in Studio.
- Name your site.
- Select the backup file in the Import a backup field.
- Optionally, under Advanced settings, select a Local path (or accept the default).
- Click Add site.
Any imported site is started by default and visible in the sidebar.
Alternatively you can create a new empty site in Studio & import only the required items:
- wp-content/plugins
- wp-content/themes
- wp-content/uploads
- .sql – .sql files that contain your site’s database data
You can simply copy the required folders into the relevant folders where the Studio files are stored. For the database you need import the database as explained below.
Update an Existing Studio Site From a Backup #
To update an existing Studio site from a backup, you’ll need a .tar.gz, .zip, or .sql file:
- Select the site you wish to update from the Studio sidebar.
- Open the Import / Export tab.
- Click the Import box to select your backup file. Alternatively, you can drag and drop your backup file into the Import box.
- When prompted, click Import to overwrite your Studio site with your backup file.
full backup file
If you have a full backup file (including ..), the Studio site will be replaced from the provided .tar.gz or .zip backup.
database sql file
When you import .sql file to an existing site, the database dump will be imported on top of the existing site.
Importing an .sql file provides a easy way to update or copy a Studio site
TODO:
- Import test.cf7skins.com database
Studio site’s SQLite database #
Studio uses SQLite instead of a MySQL server database. SQLite is a lightweight, self-contained SQL database engine that stores your database in a single file.
Each of your sites will have a database file available in the following path: wp-content/database/.ht.sqlite.
Once you’ve located the SQLite database file, you can manage the database using any application compatible with SQLite.
- SQLite3 – SQLite is installed by default in Unix systems like Mac. For Windows, you can download it from the official page.
- SQLiteStudio – if you prefer using an application with a GUI interface.
Refer:
- How can I manage the Studio site’s SQLite database?
- SQLiteStudio – User Manual
- Where Your WordPress Pages Are Stored and Why It Matters
Studio AI Assistant #
The Studio Assistant is a smart chatbot integrated within Studio.
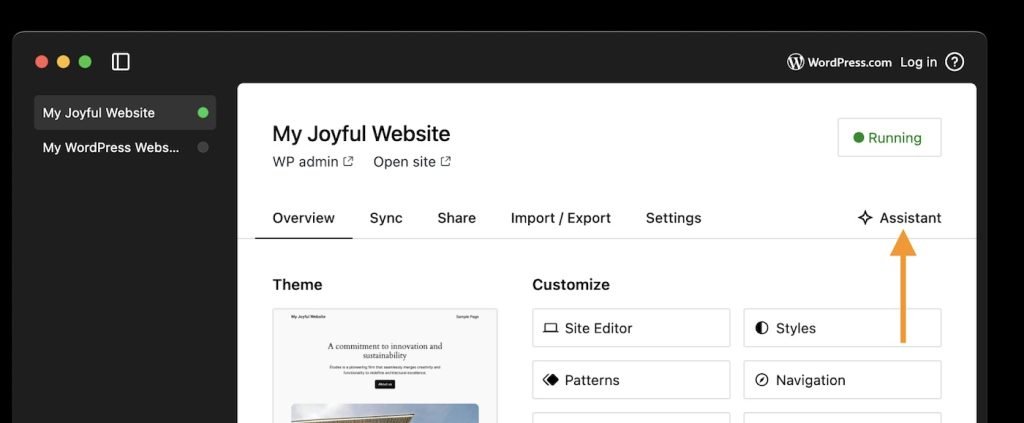
Each Studio site has its own unique chat conversation, allowing the assistant to understand and respond based on the specific context of your site.
To access the Assistant, you must be logged into your WordPress.com account, as we use WordPress.com infrastructure to generate responses and manage access.
Each user is allowed 200 prompts per month across all of their Studio sites.
Refer: Studio Assistant
WP-CLI in Studio #
Refer: Using WP-CLI
PHP Executable Path #
Refer:
Using Xdebug in Studio #
Refer:
Further reading:
- Studio – Documentation
- Setup for WordPress Contribution – Using Studio
- Add Custom Domains and HTTPS Support to Your Local WordPress Development with Studio
- Local WordPress Development Workflows Using Studio
Notes
ADD notes here.
Save all Images to Sync – use ..\Sync\..\Development\Development Guidelines\Development Team Tools\Local WordPress Development Environment\WP Studio\